Pink Pitaya Banana Smoothie with Matcha Cold Foam
October 11, 2026
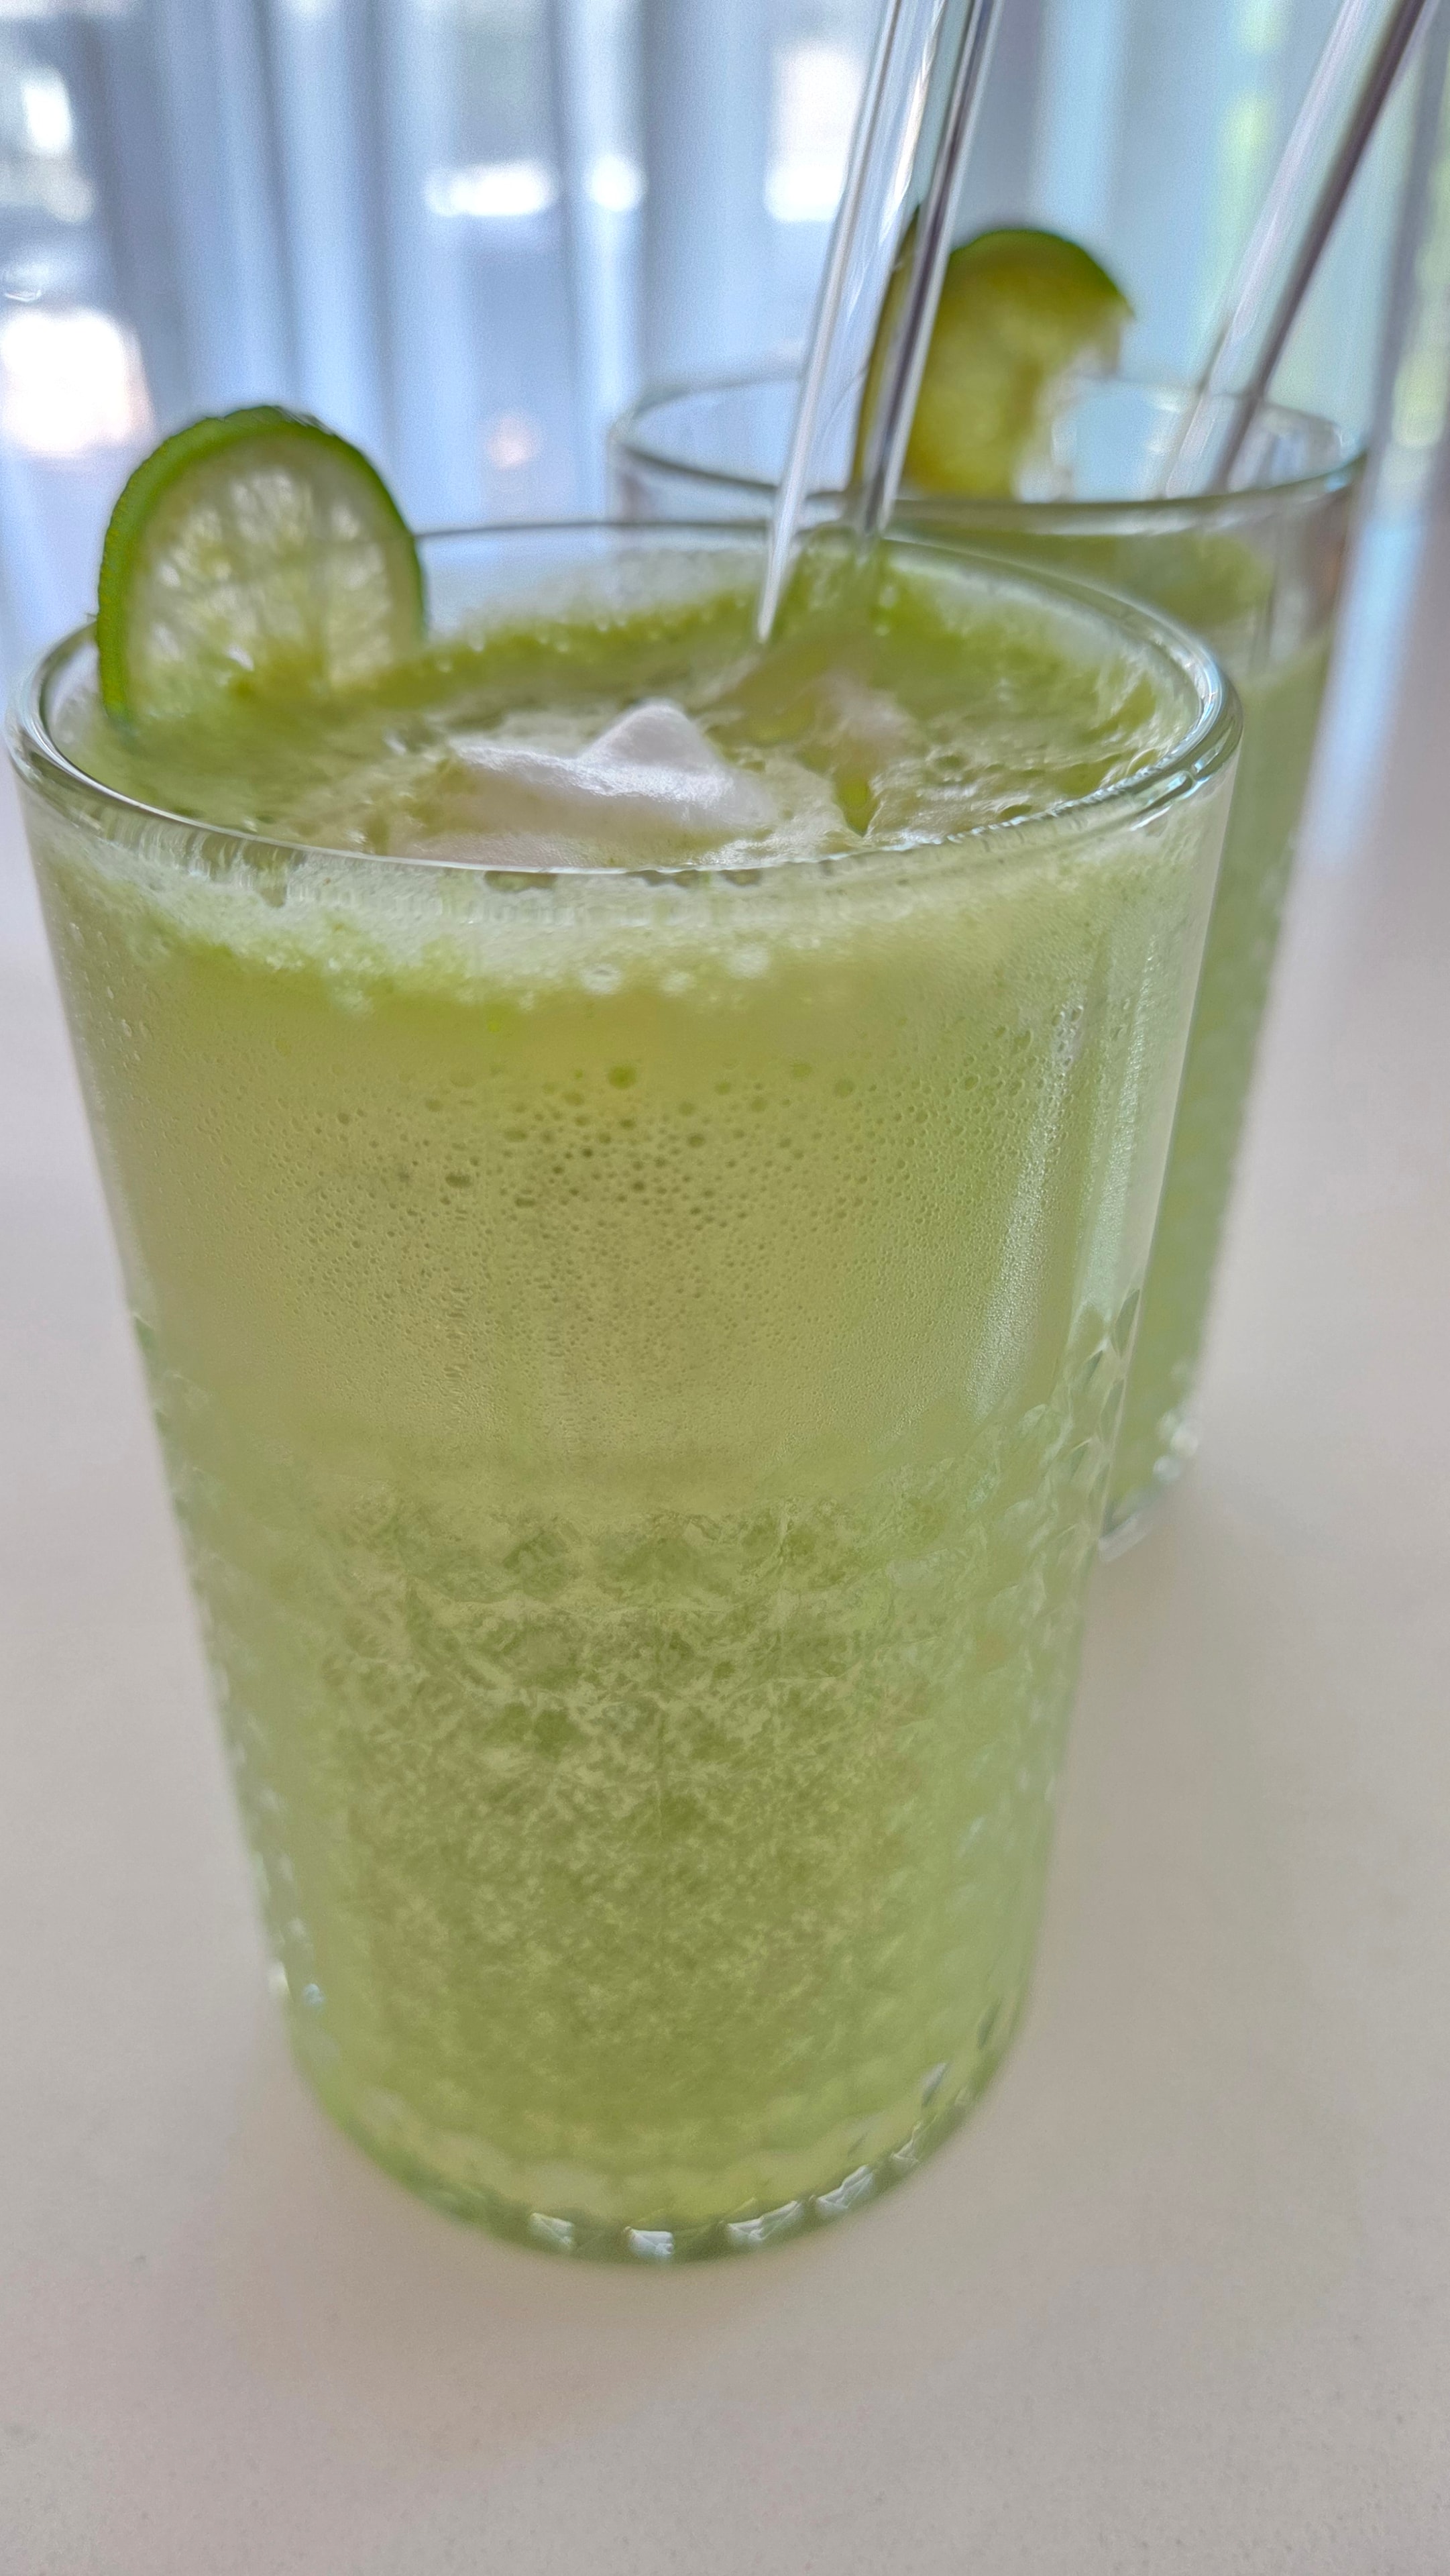
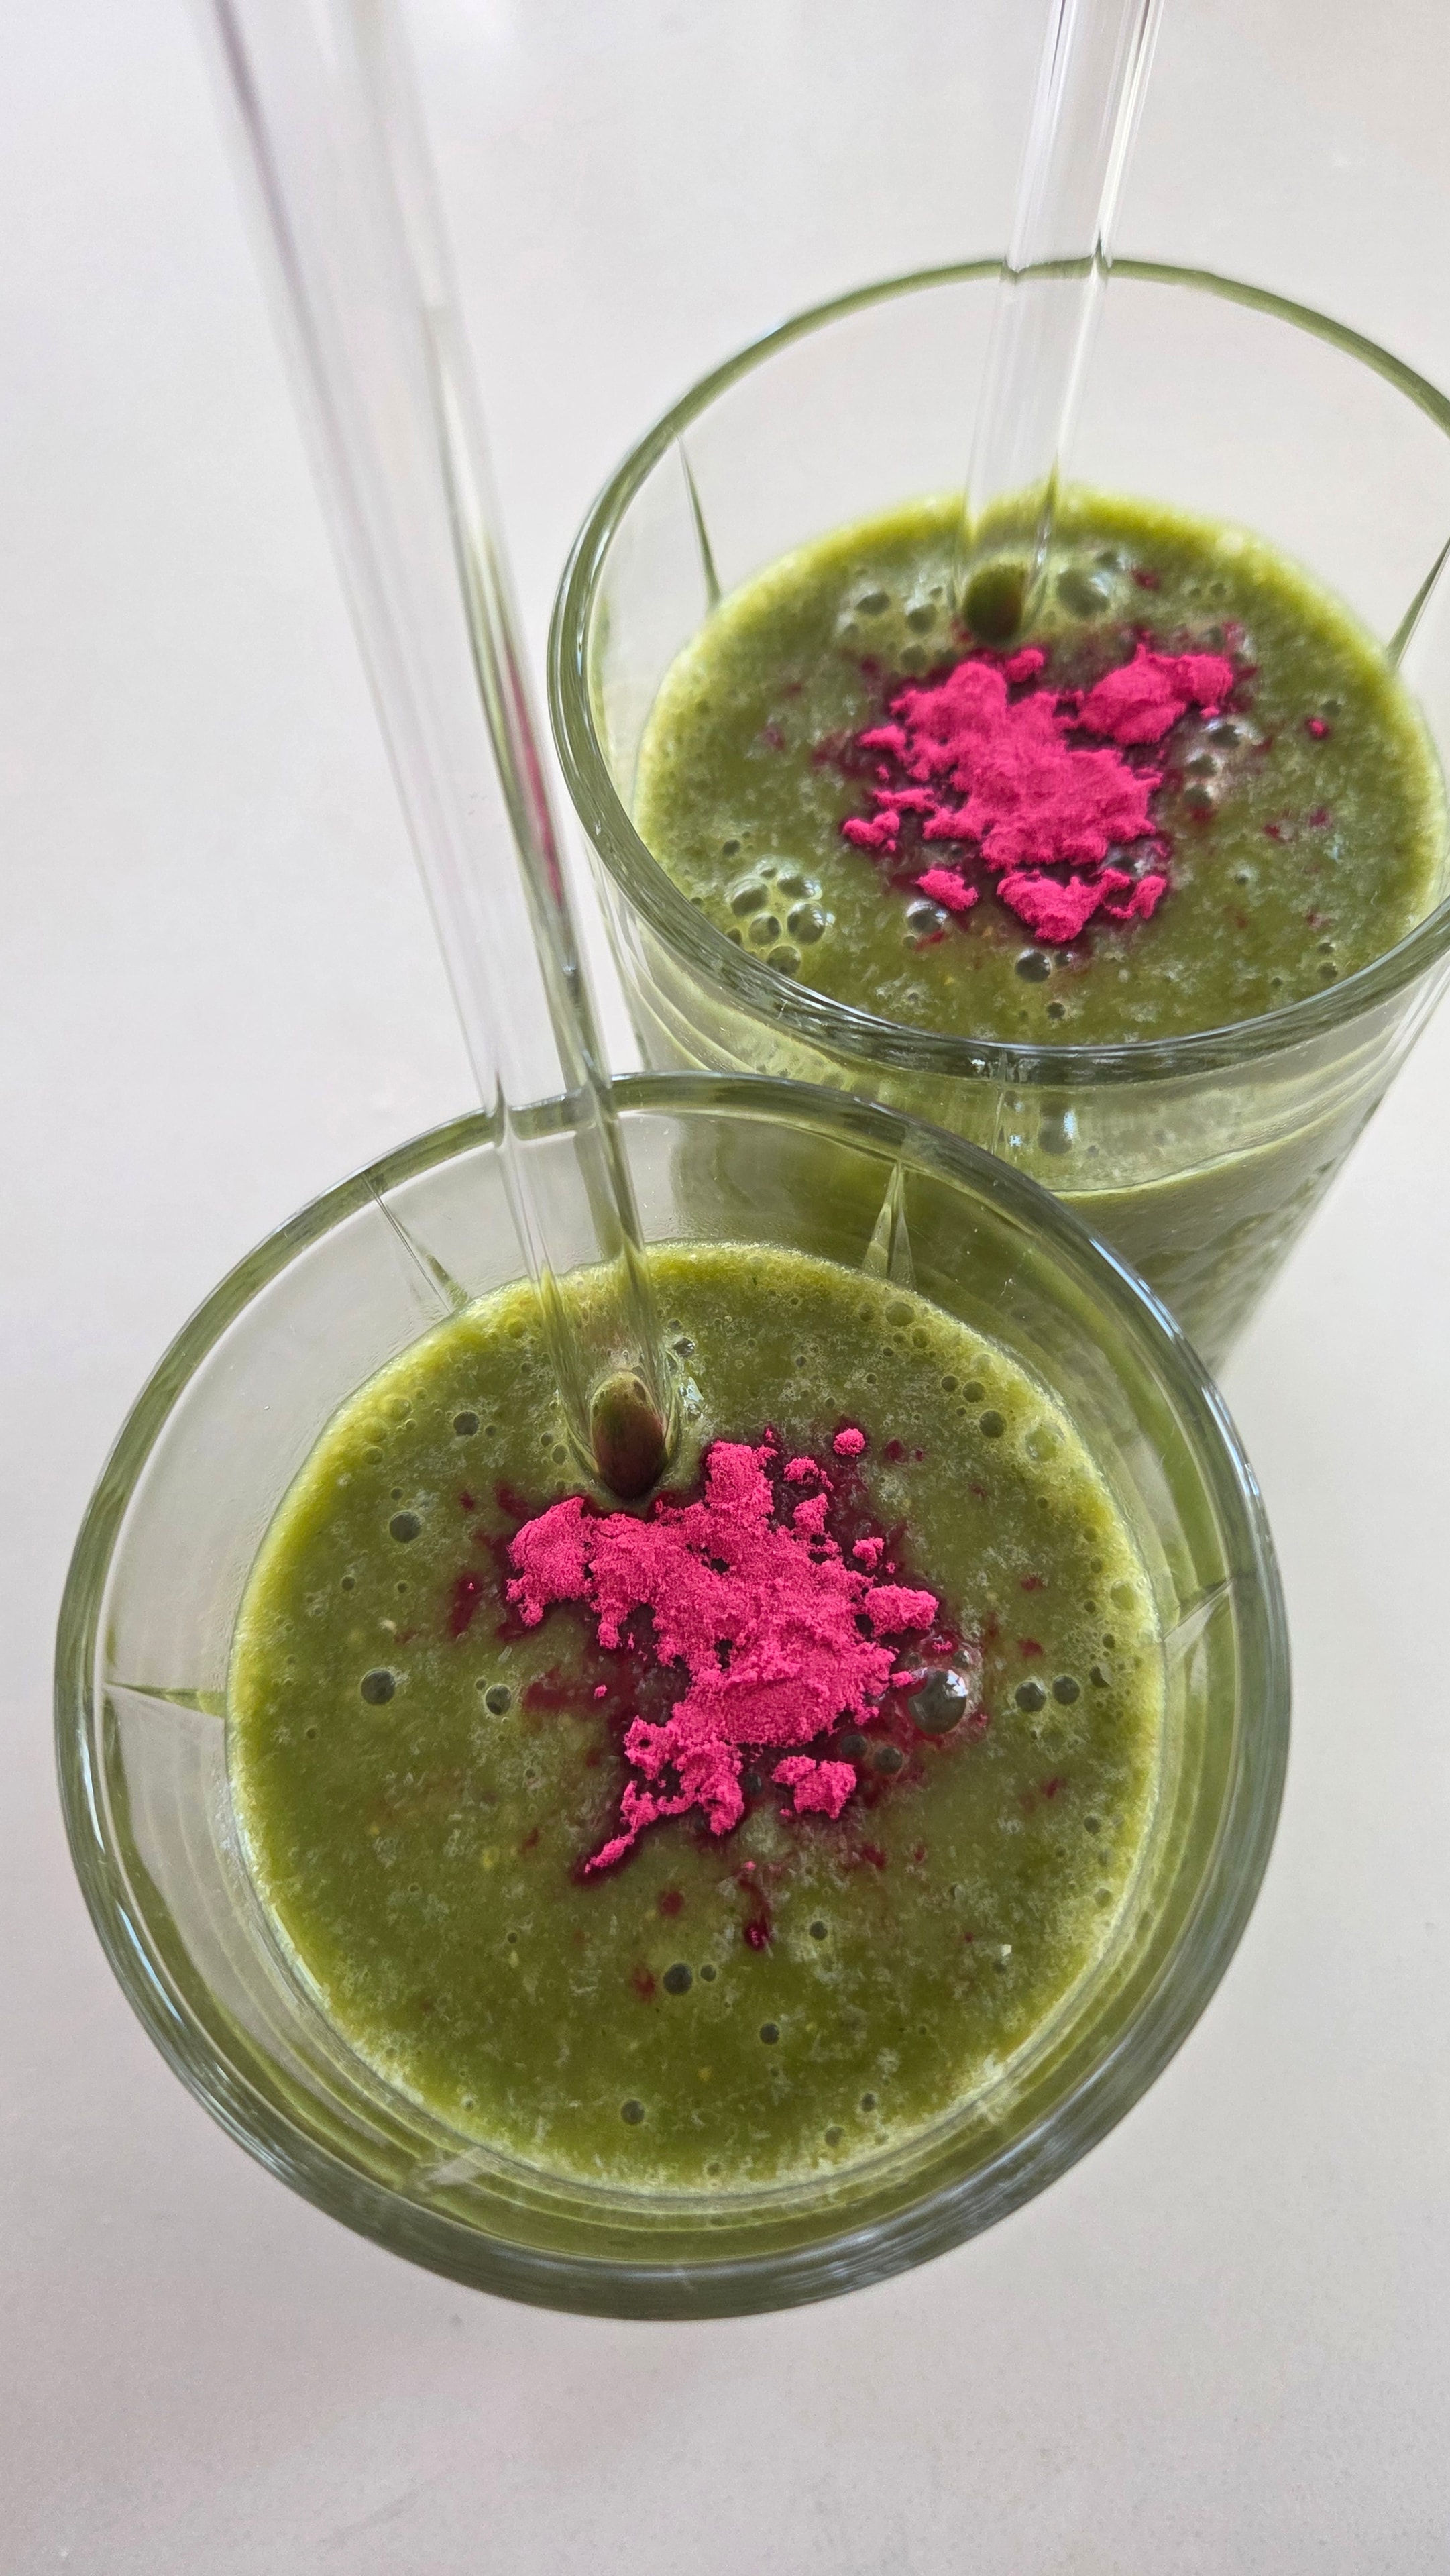
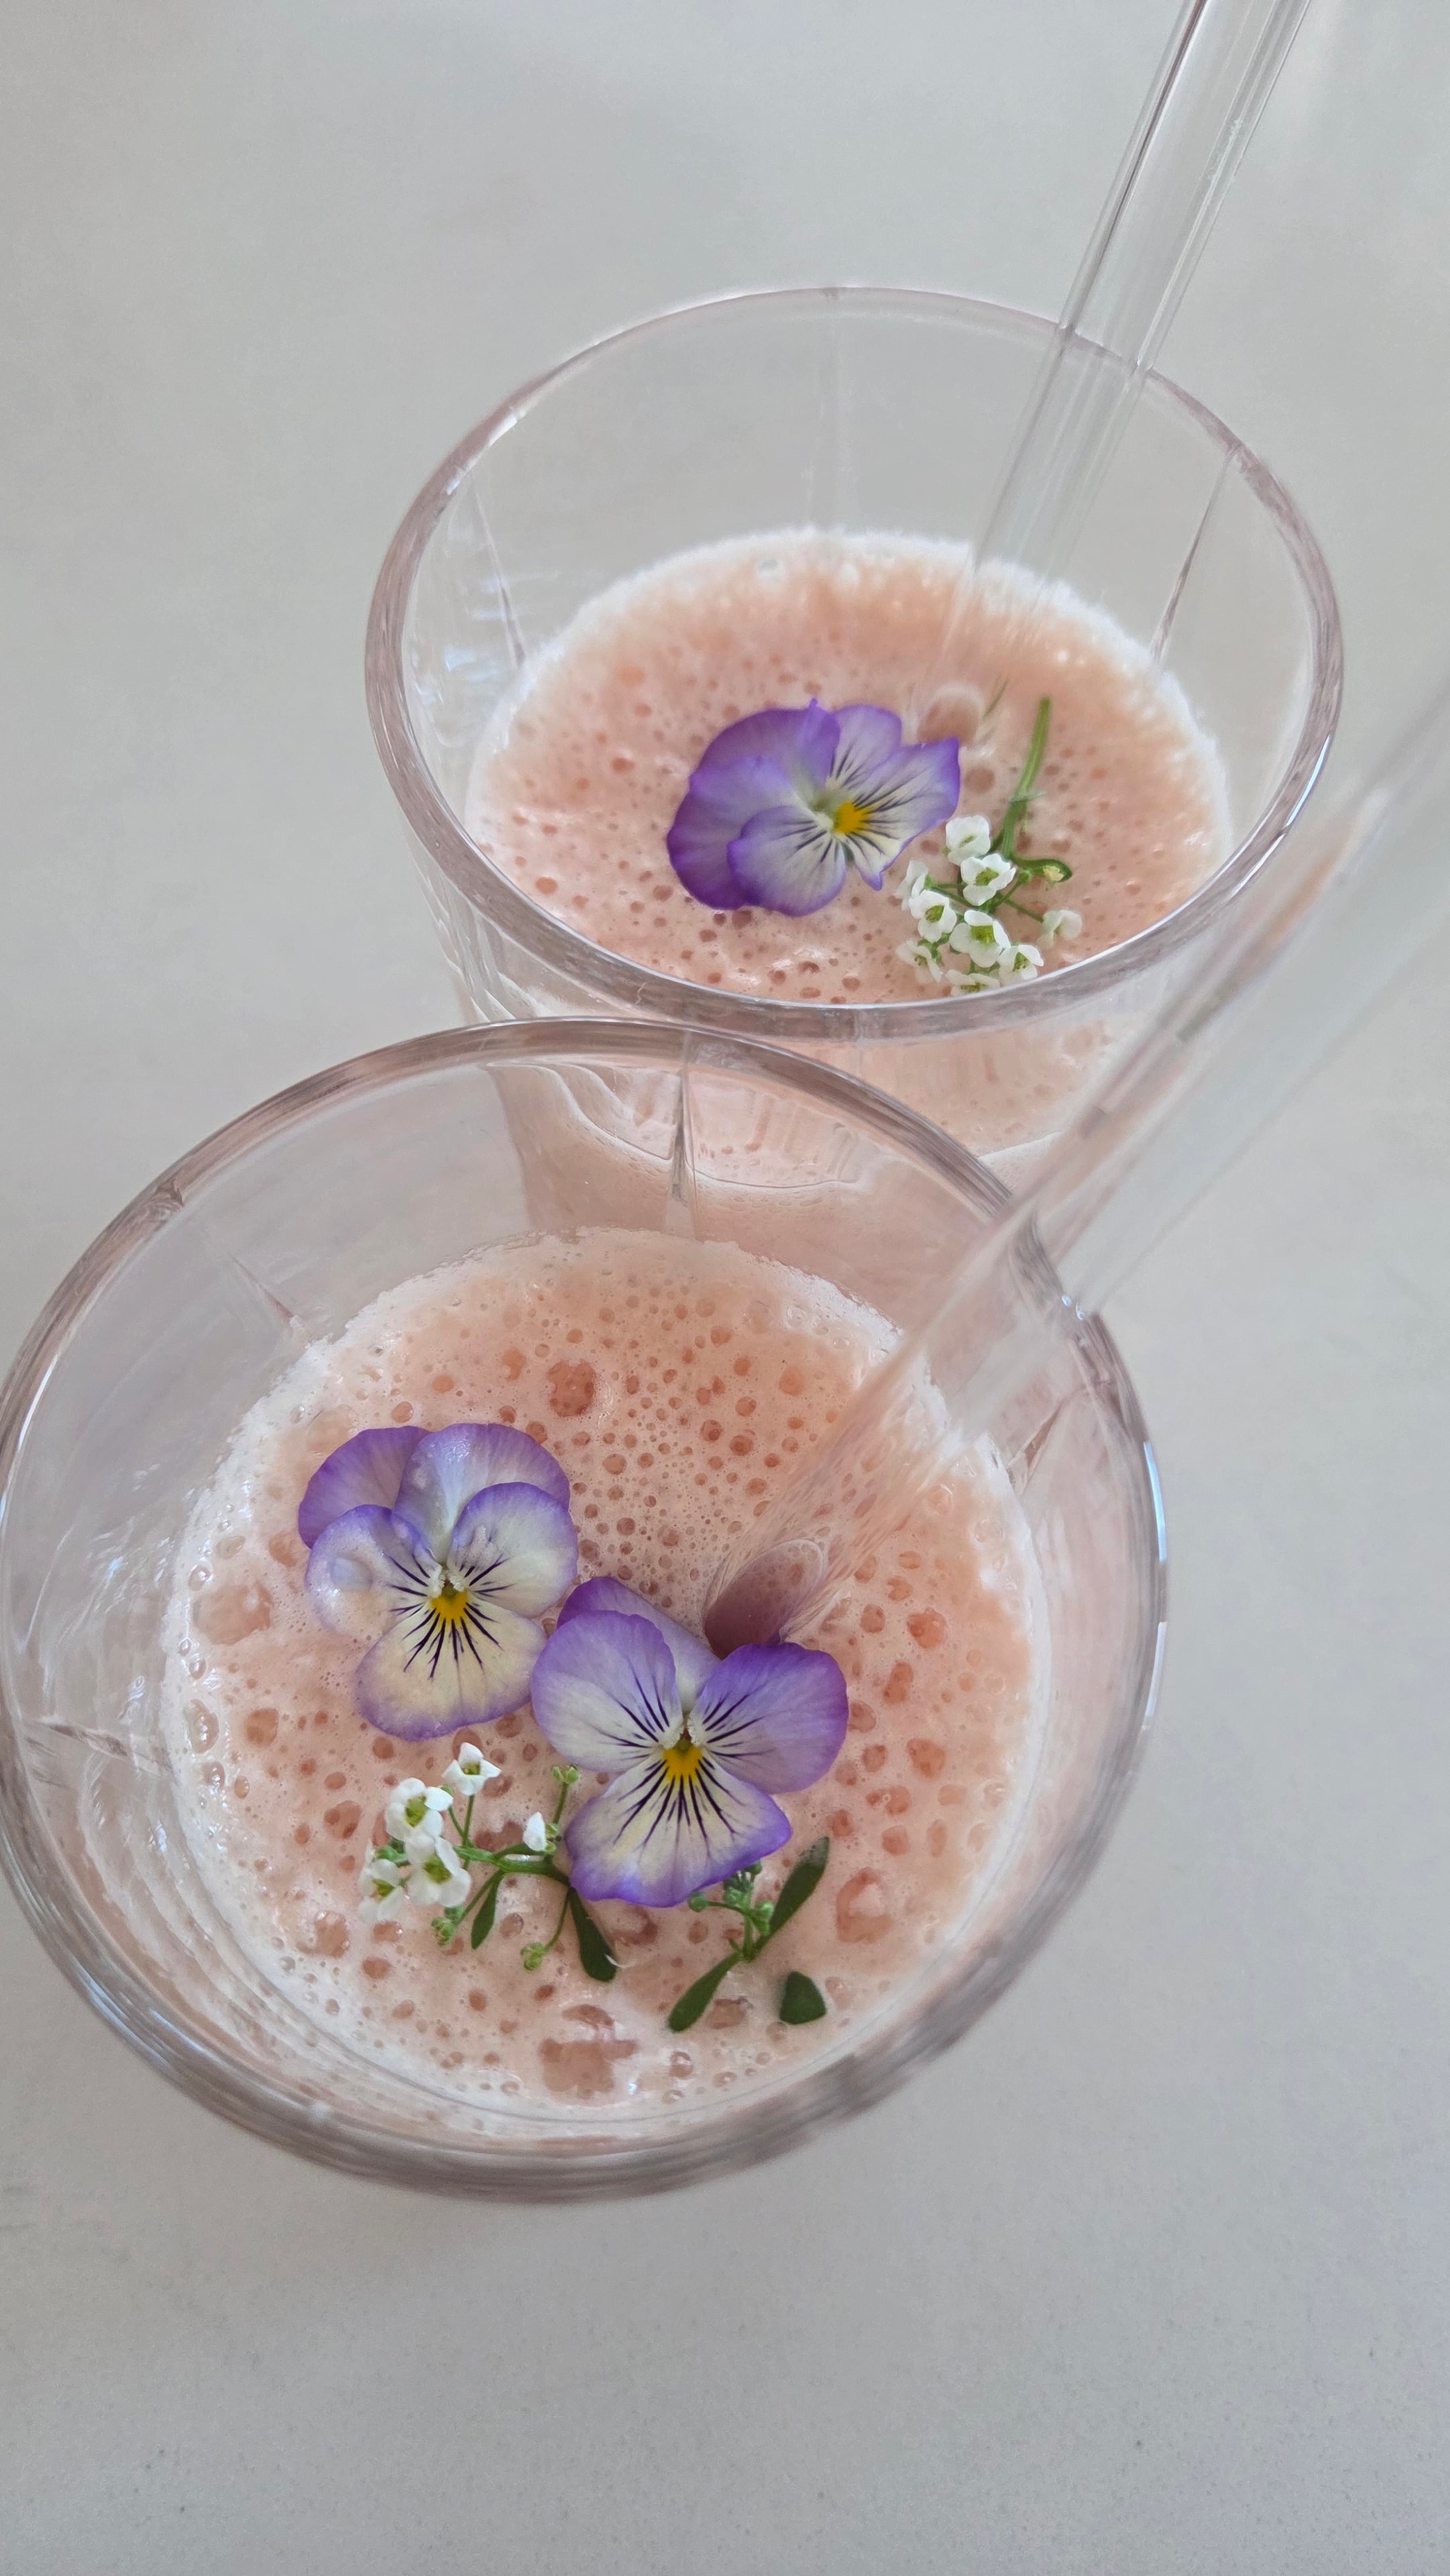
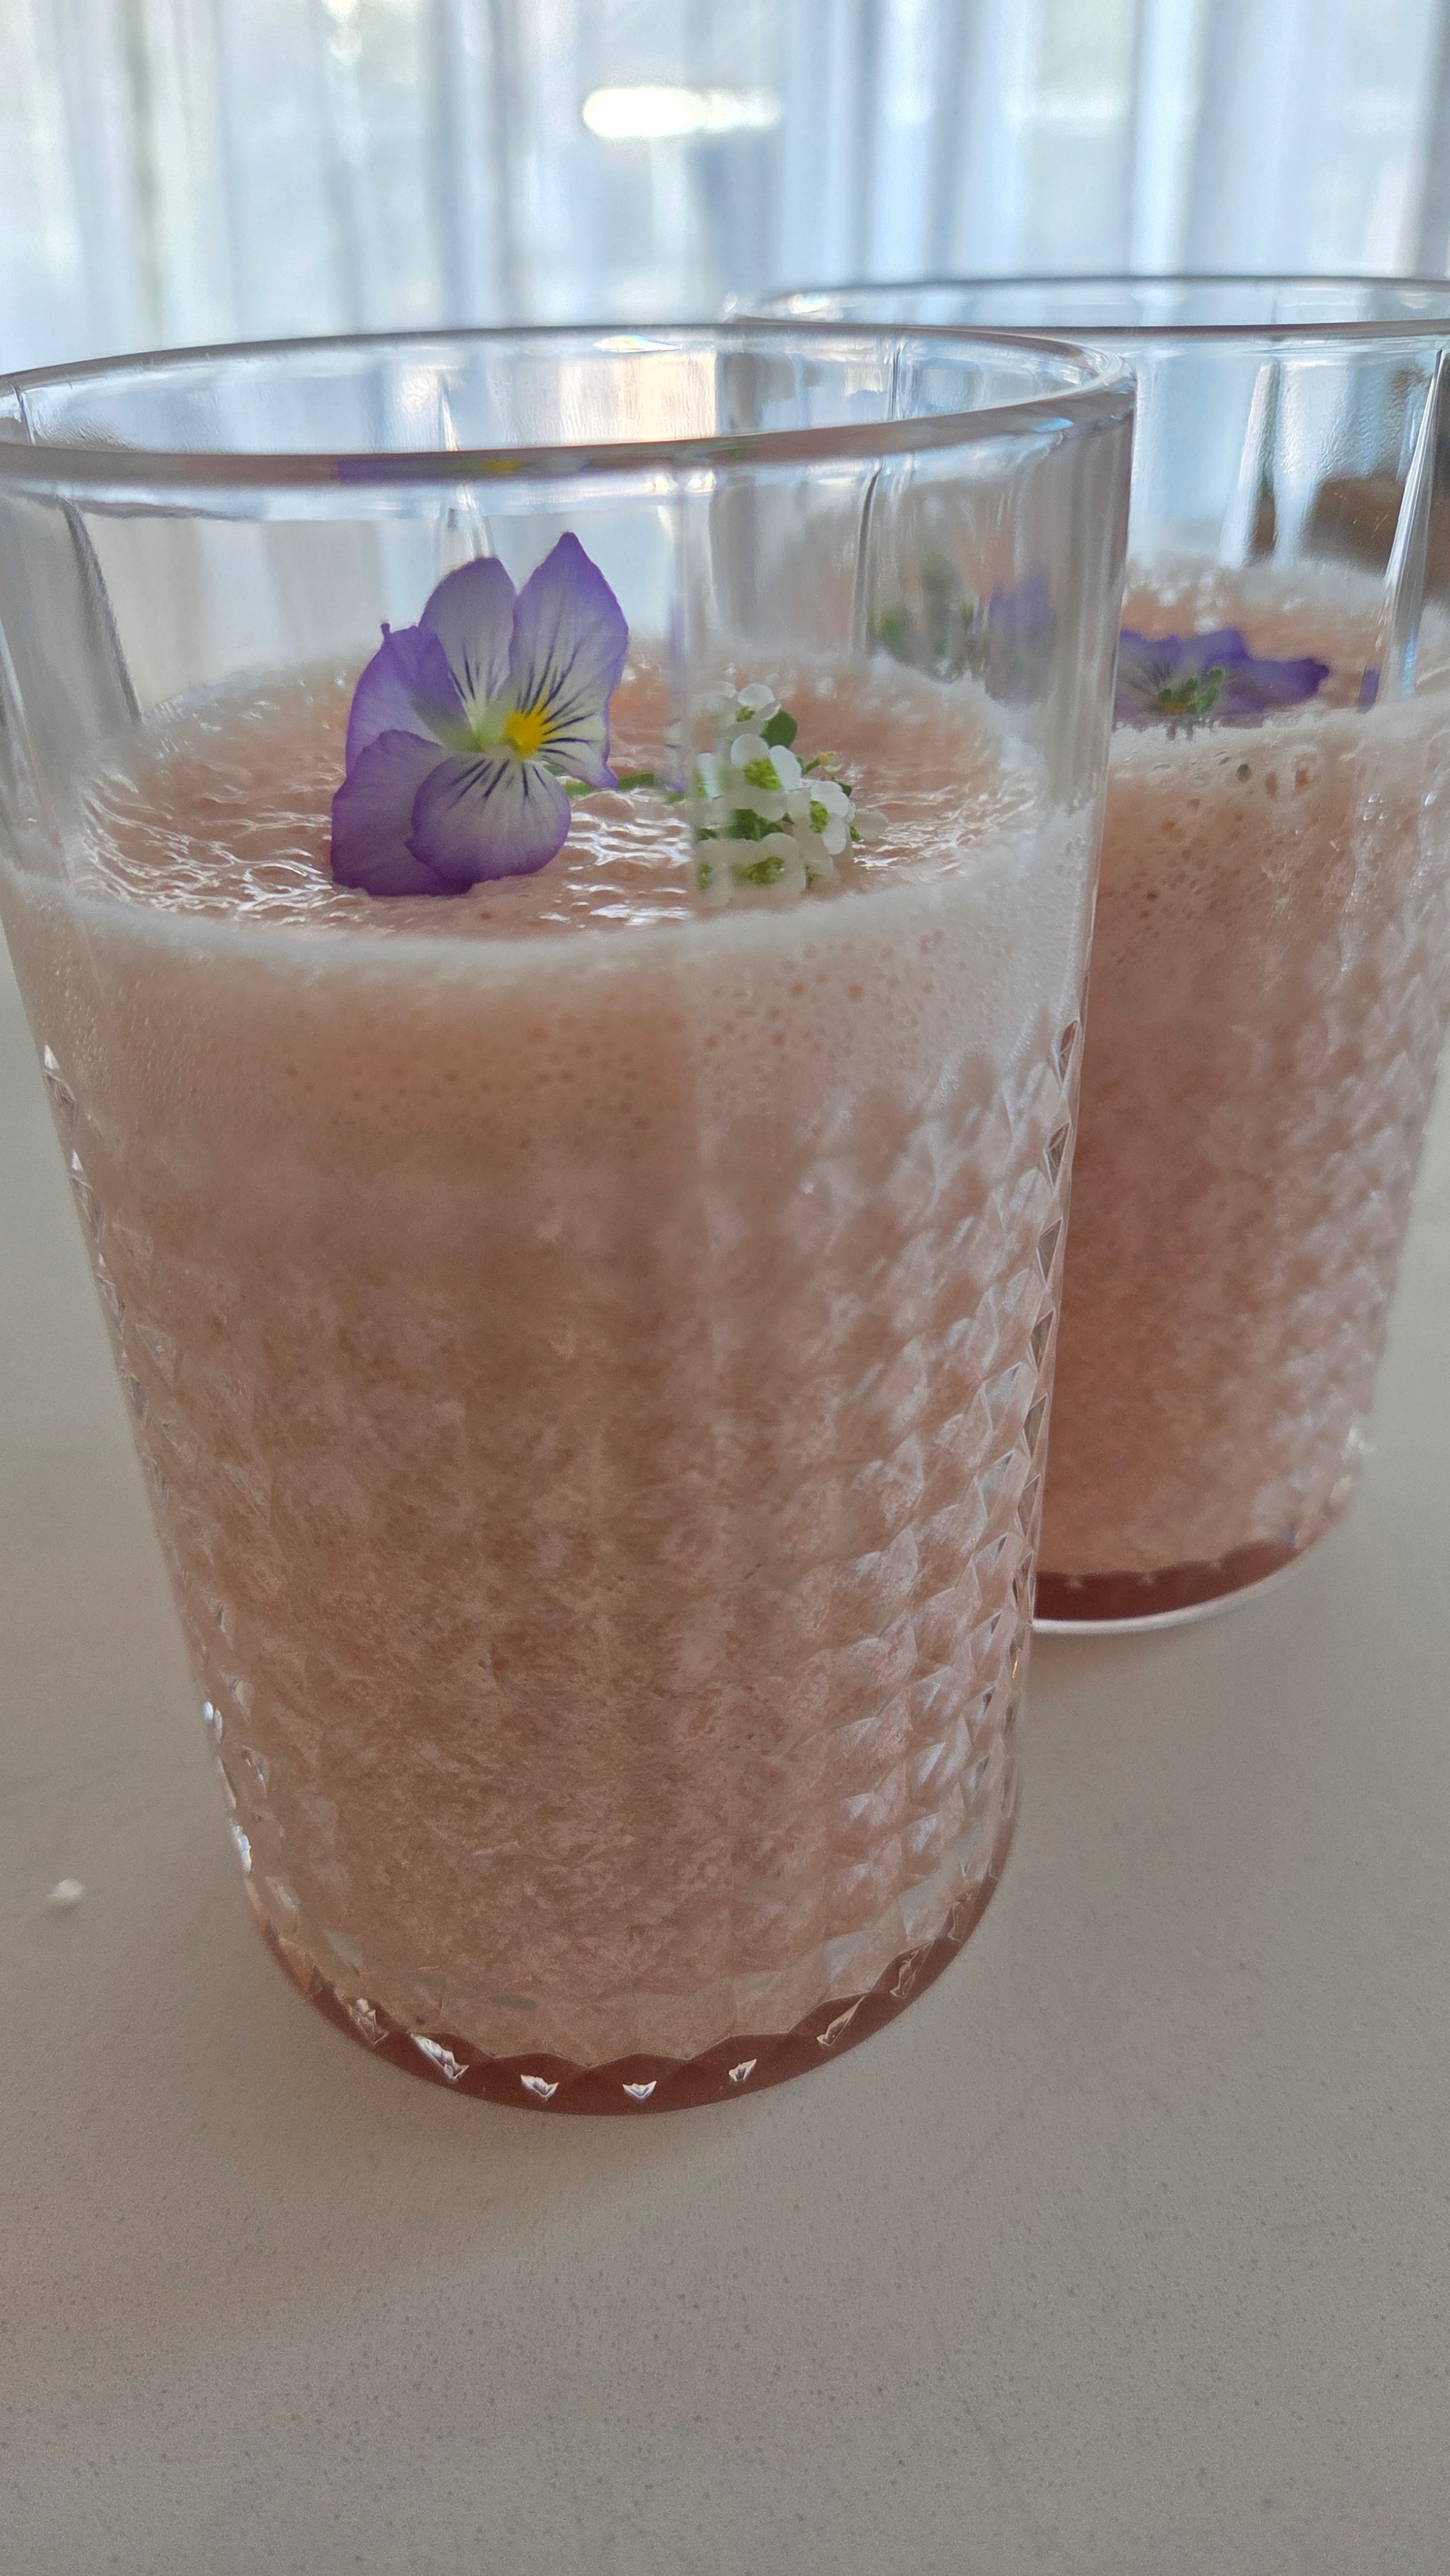
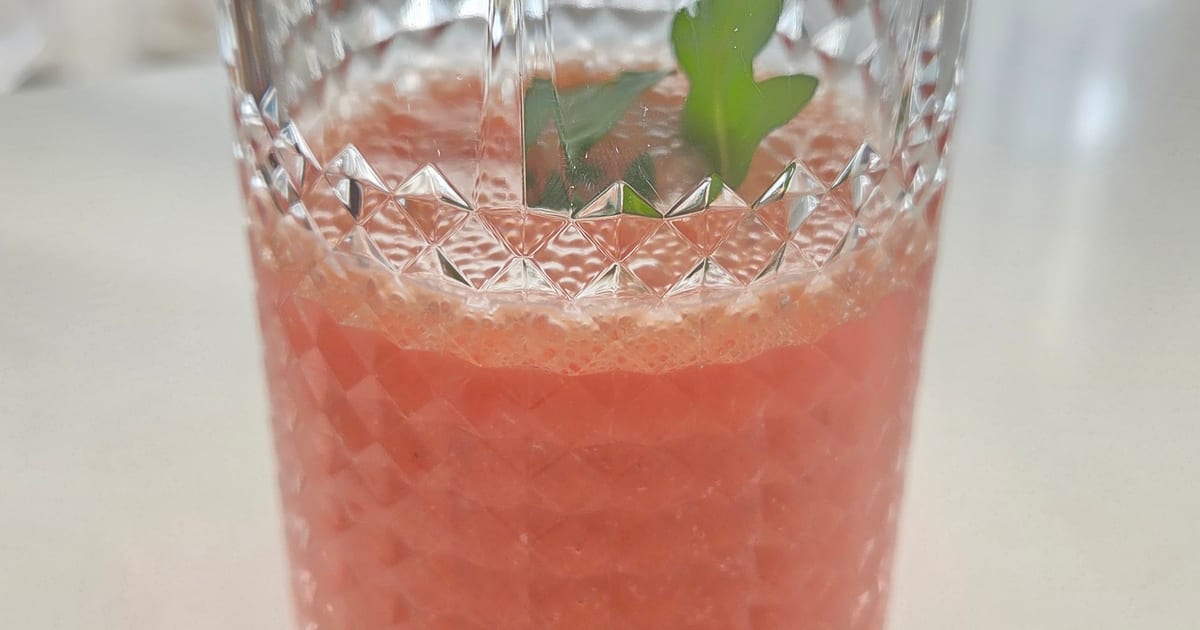
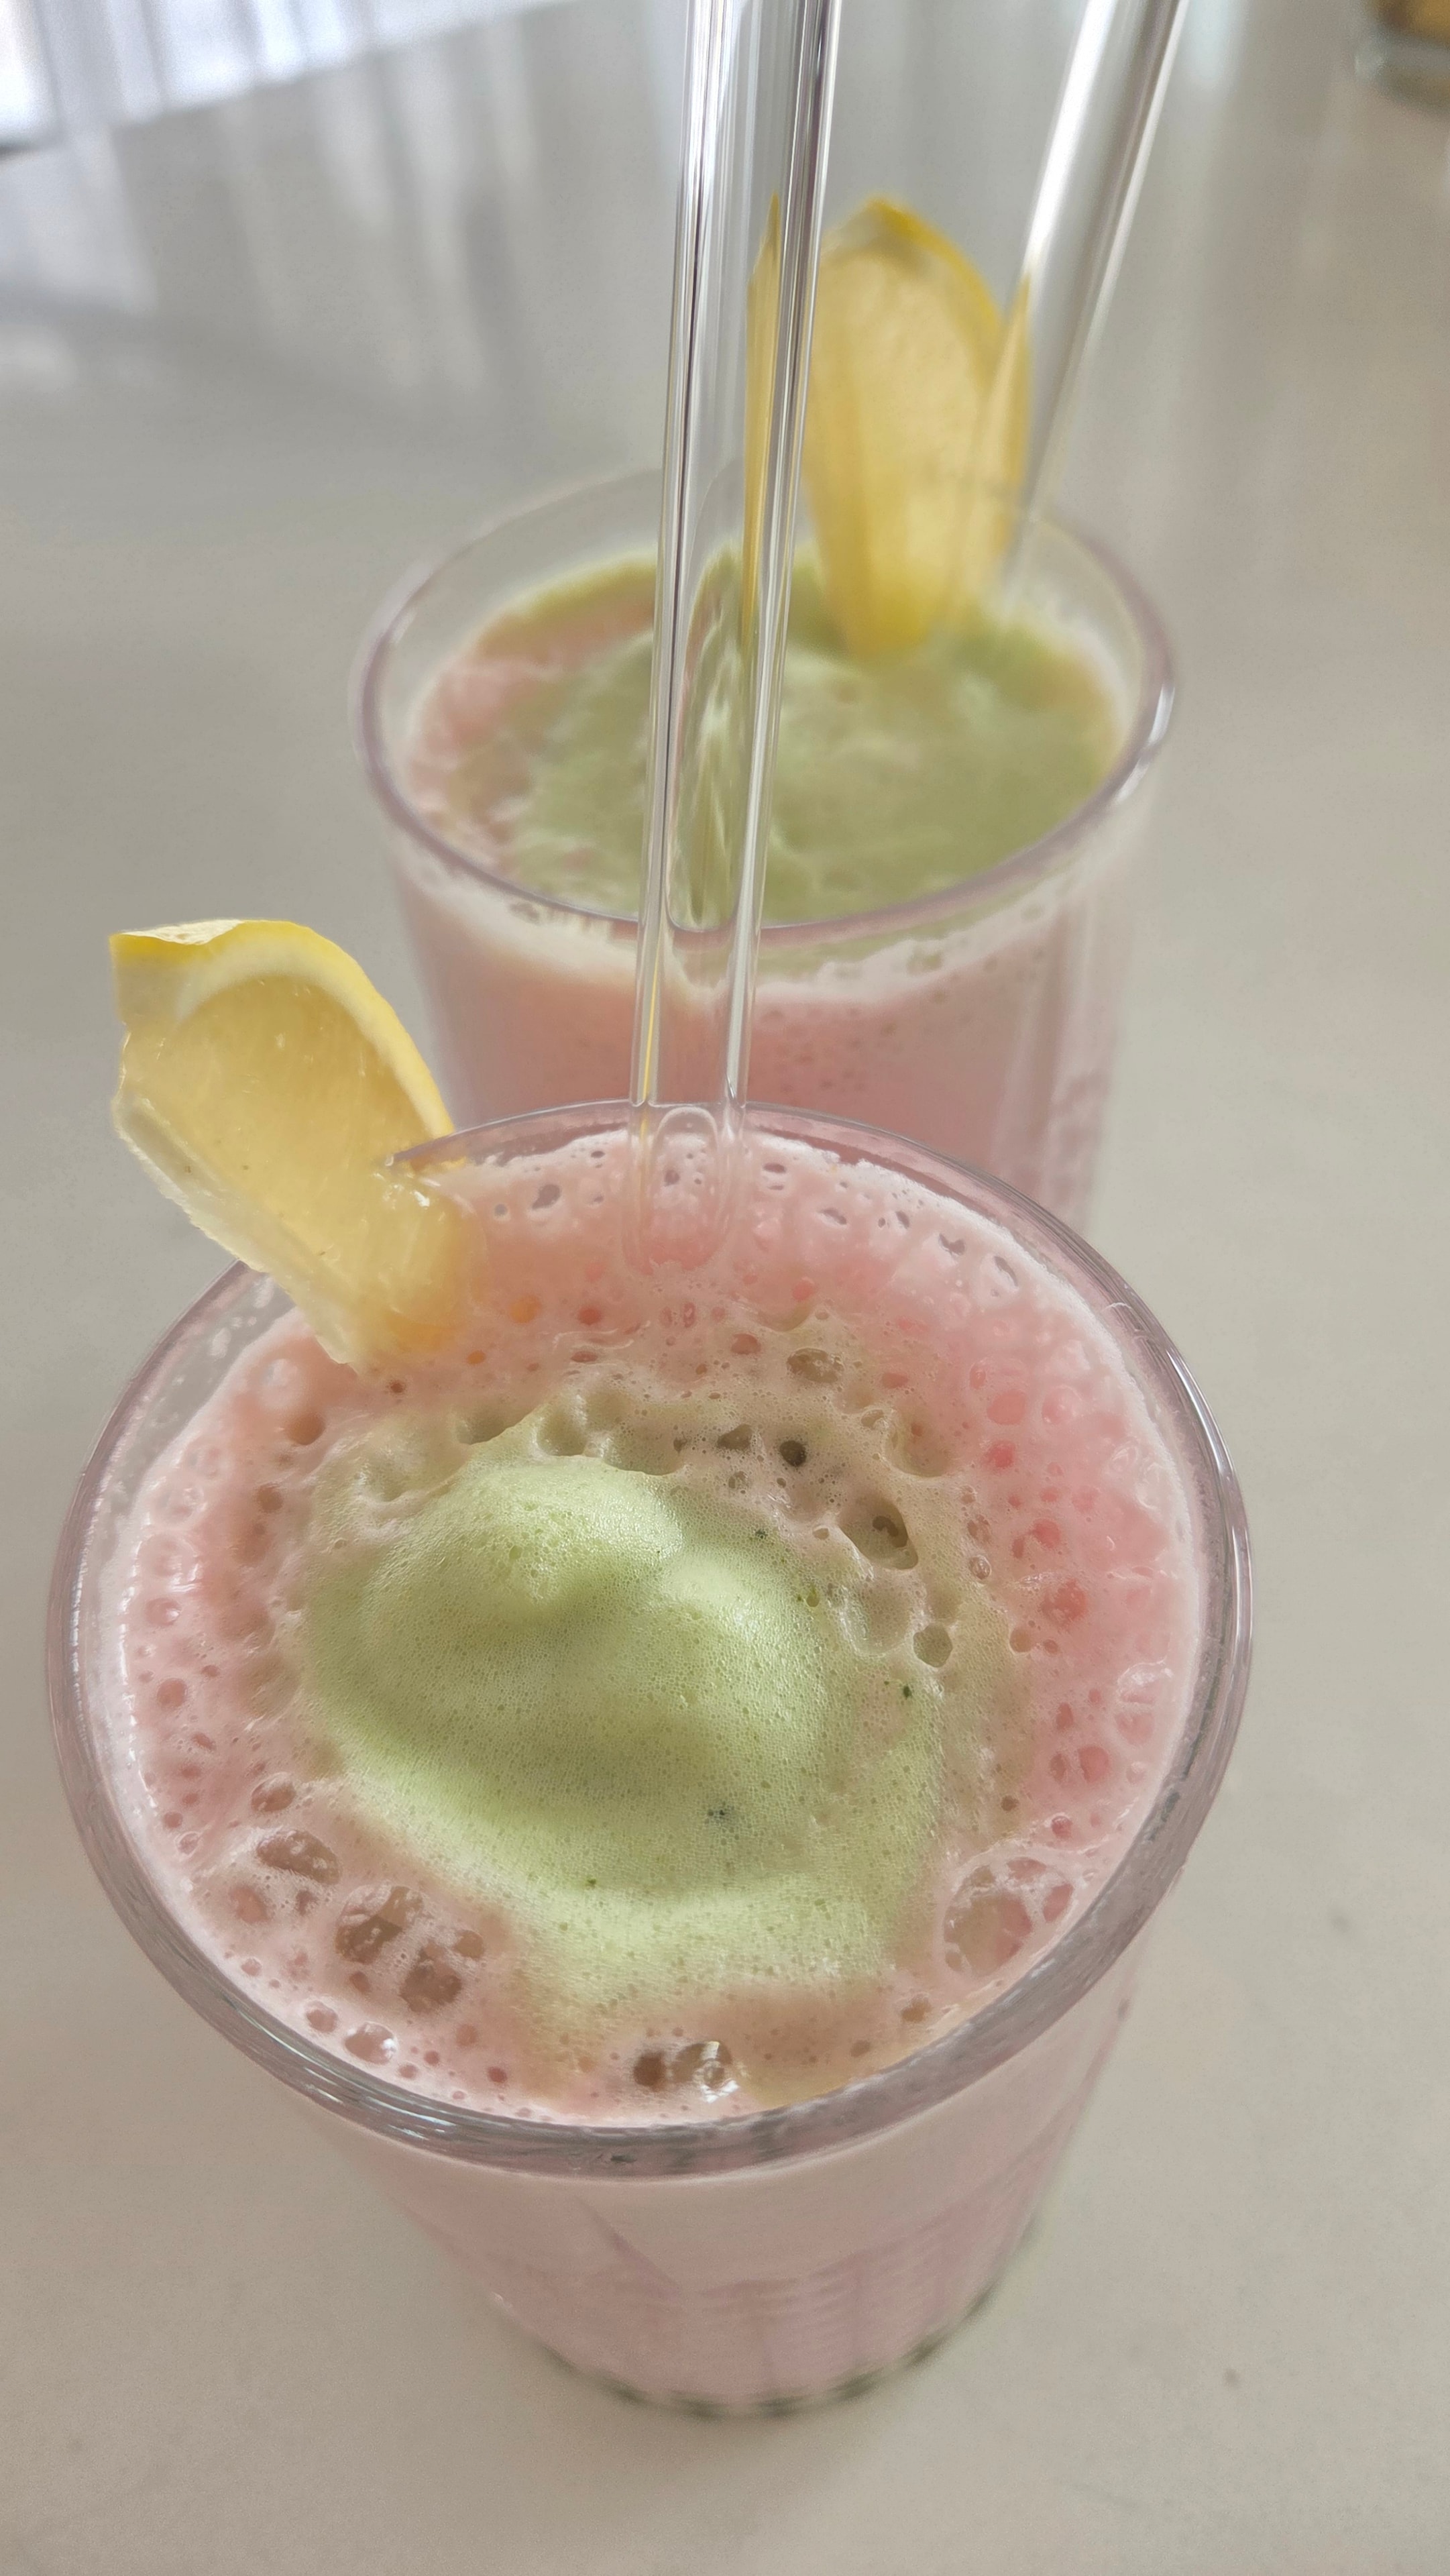
Pink pitaya is one of those ingredients that earns its place on both counts — the colour it gives is extraordinary, and the flavour it adds is genuinely good. Combined with banana for body, orange juice for sweetness and liquid, and a whole seedless lemon and lime for brightness, this smoothie is vivid and layered in a way that feels considered rather than accidental. The crushed pepper is the detail that makes it — a small pinch lifts the citrus and the pitaya without adding heat you can identify.
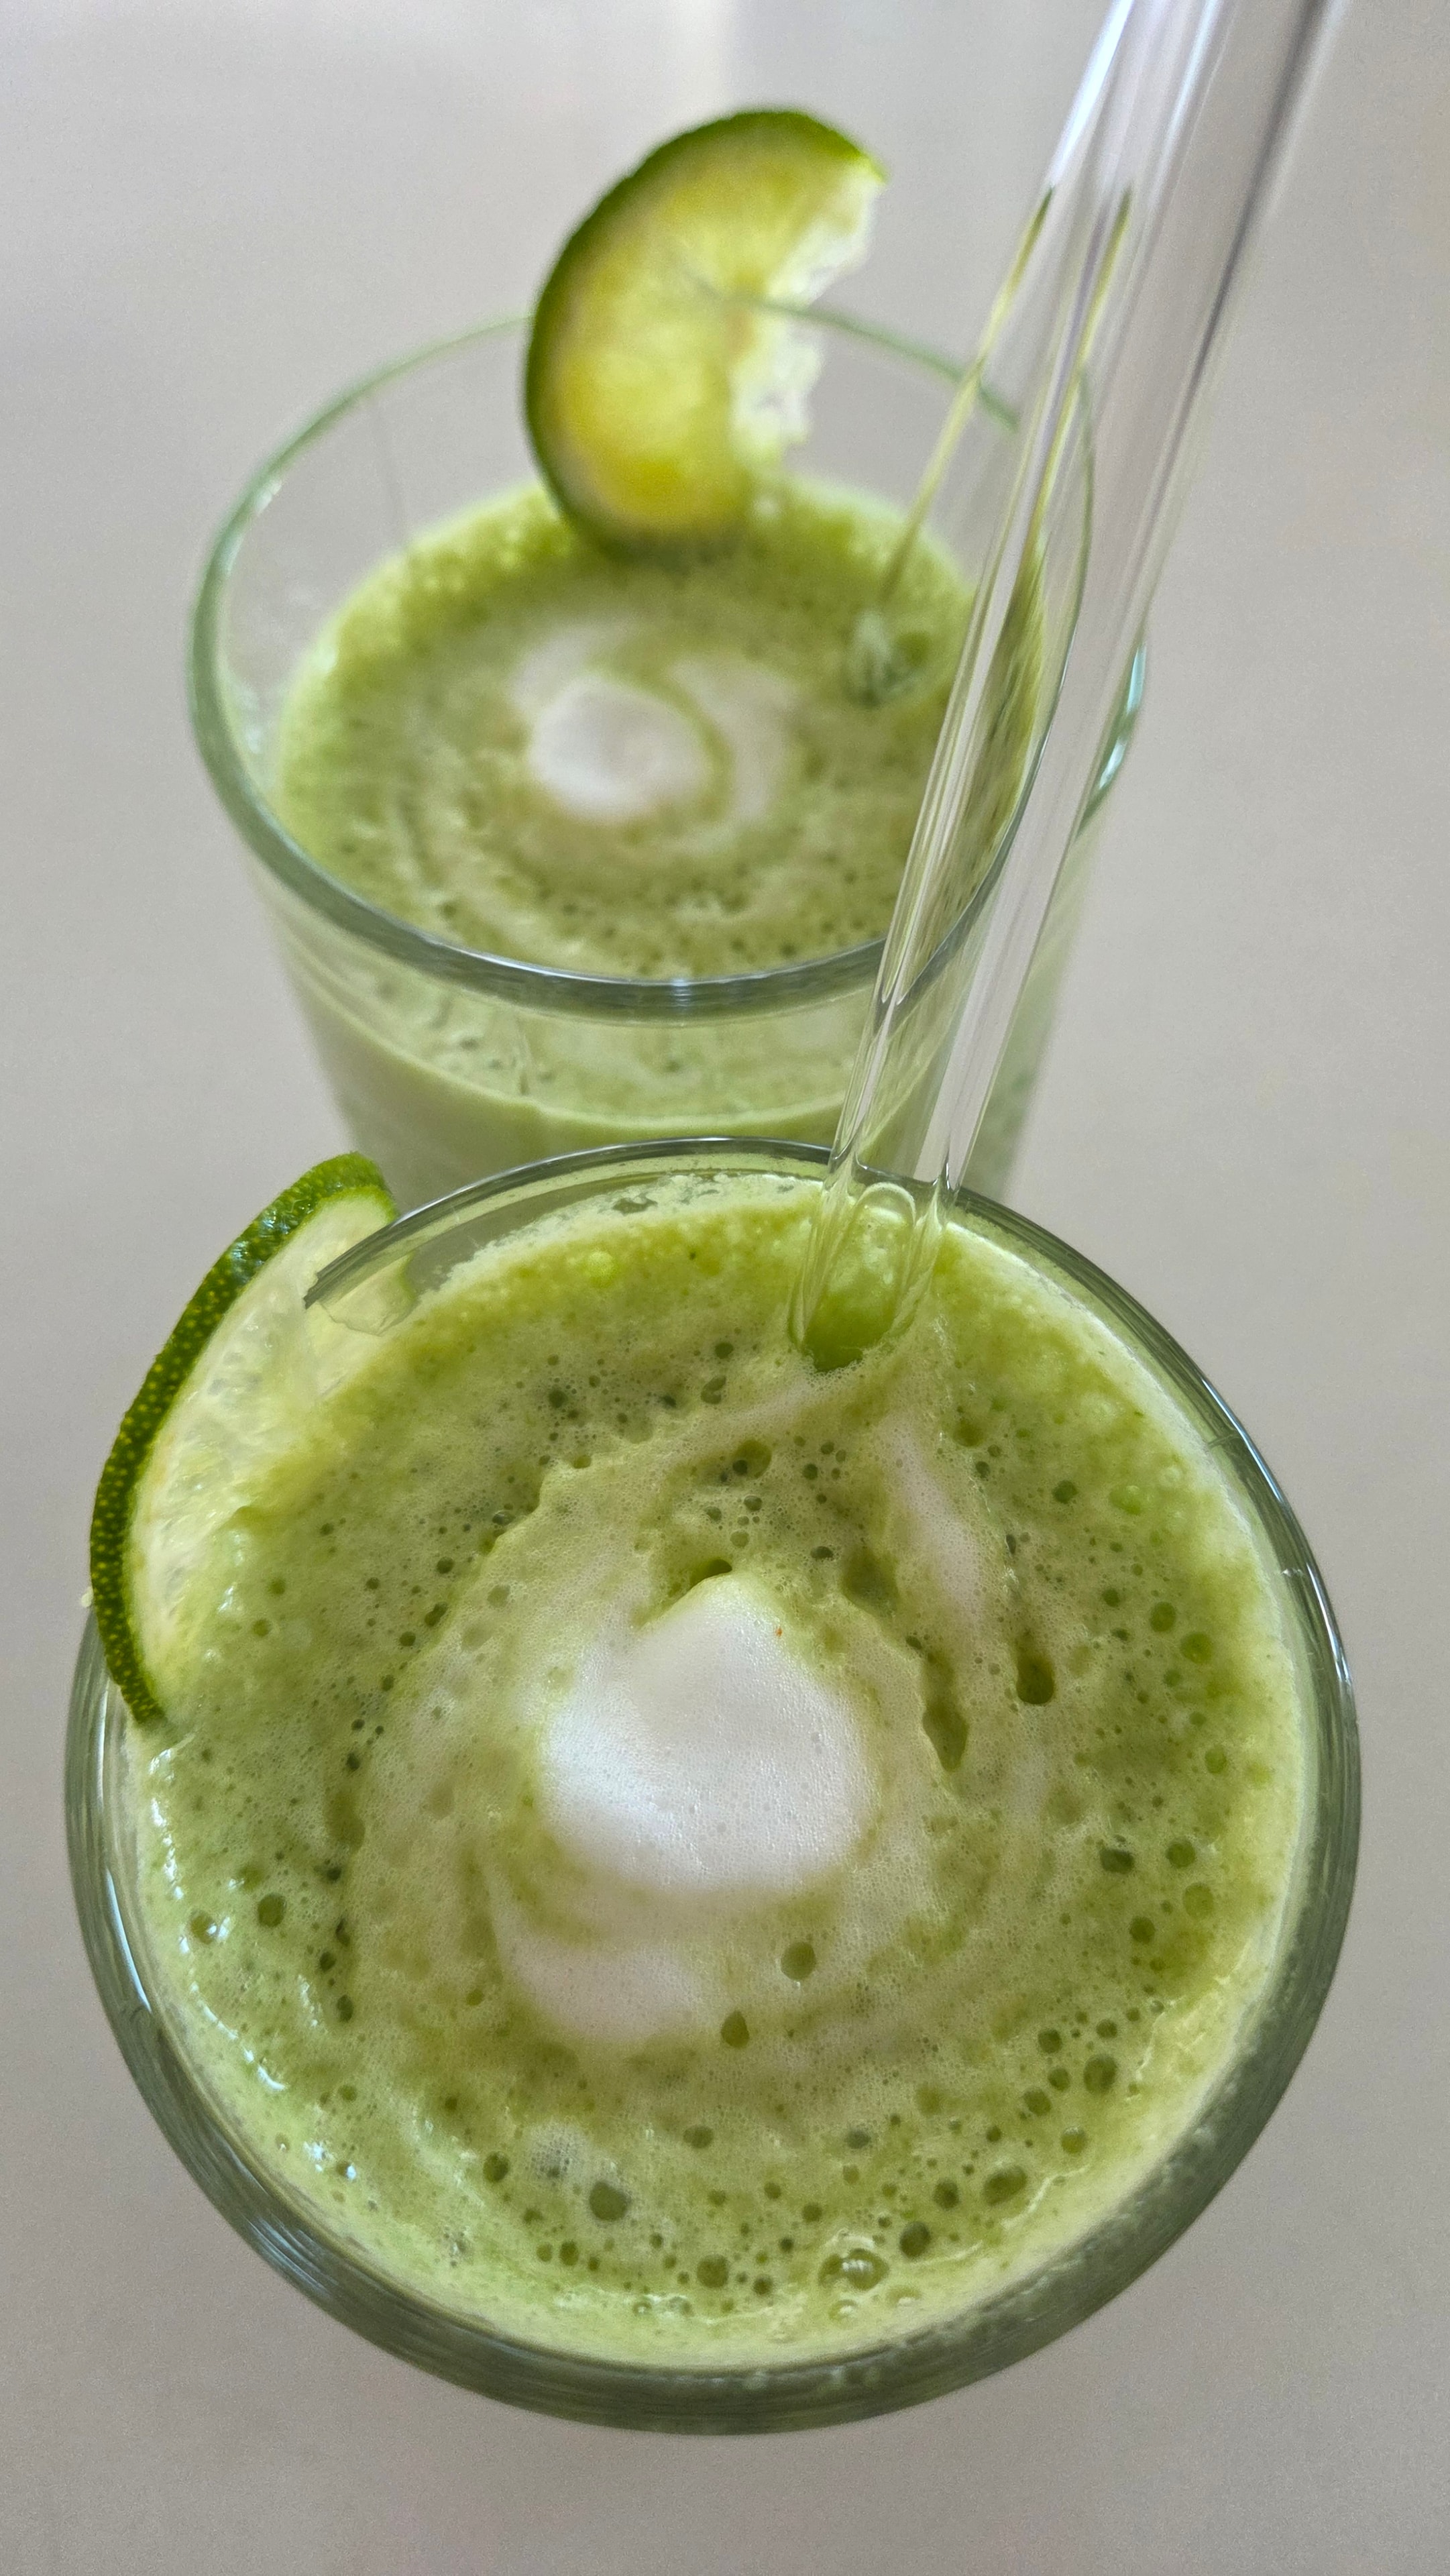
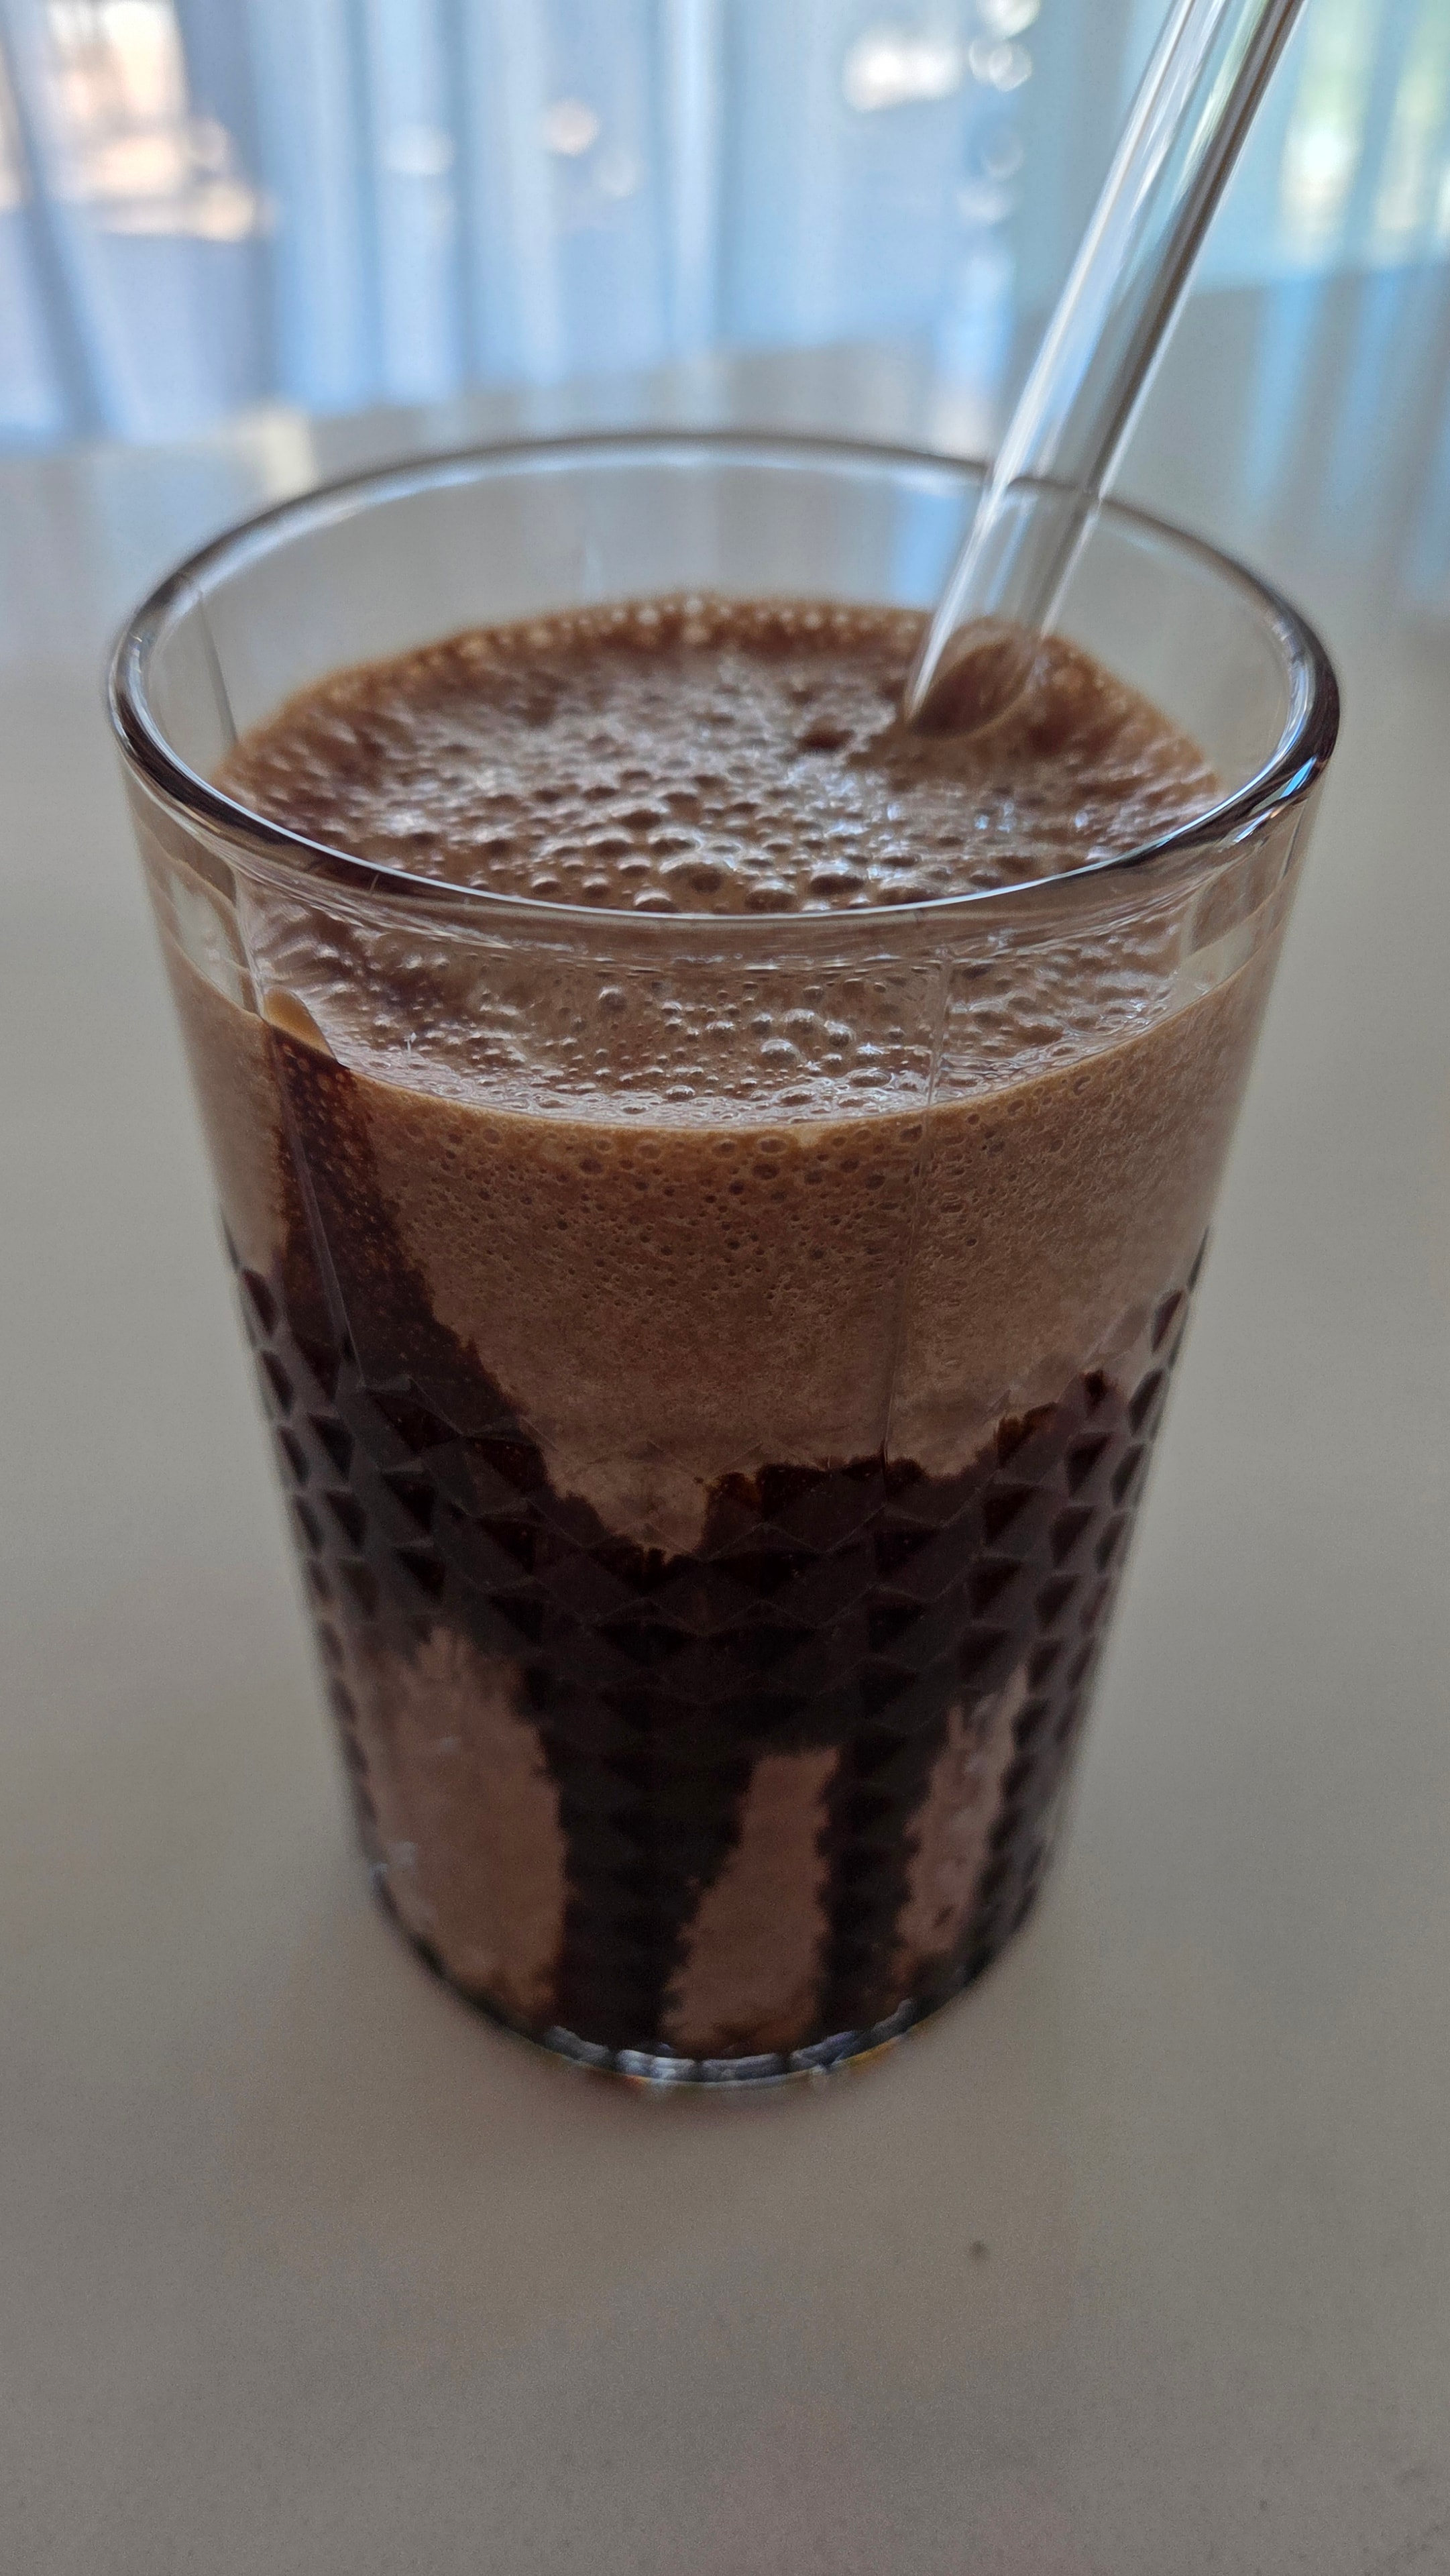
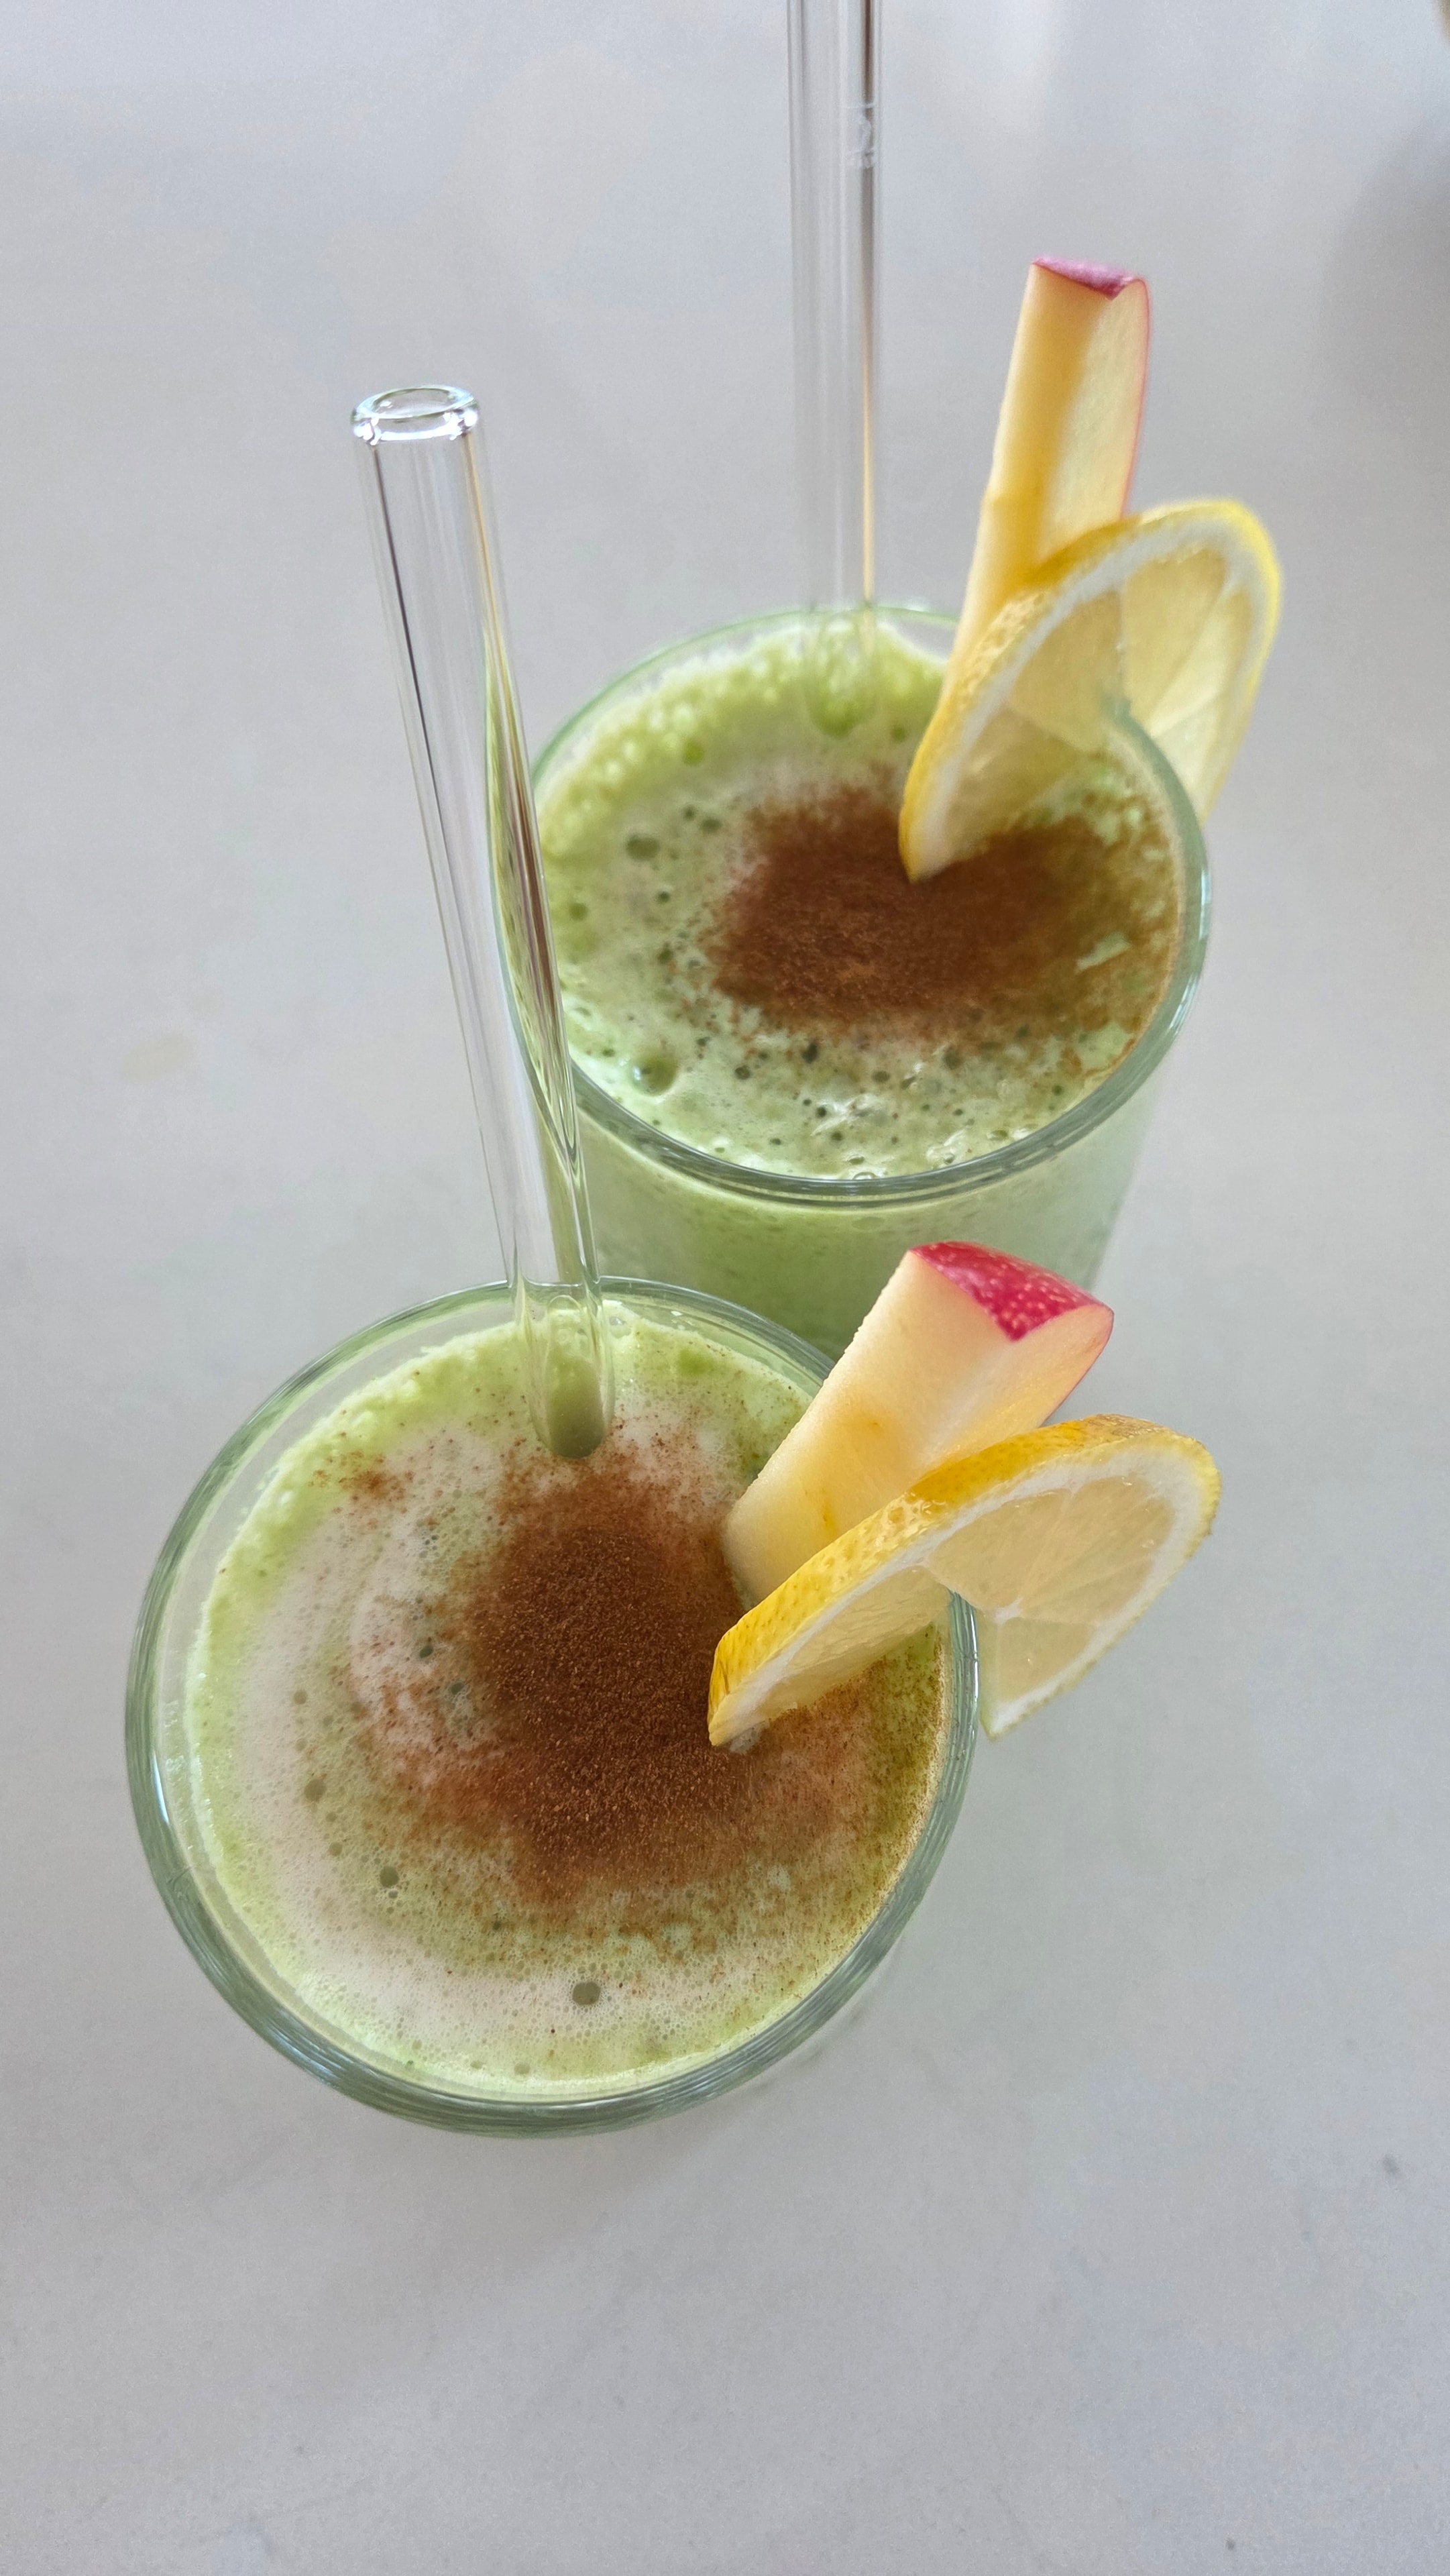
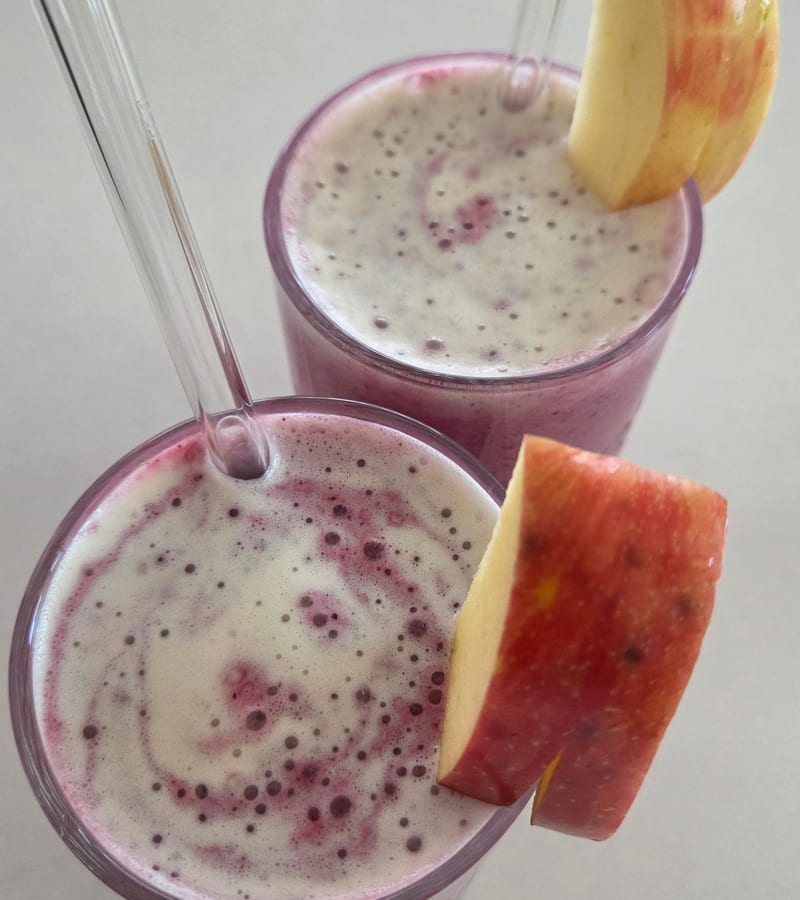
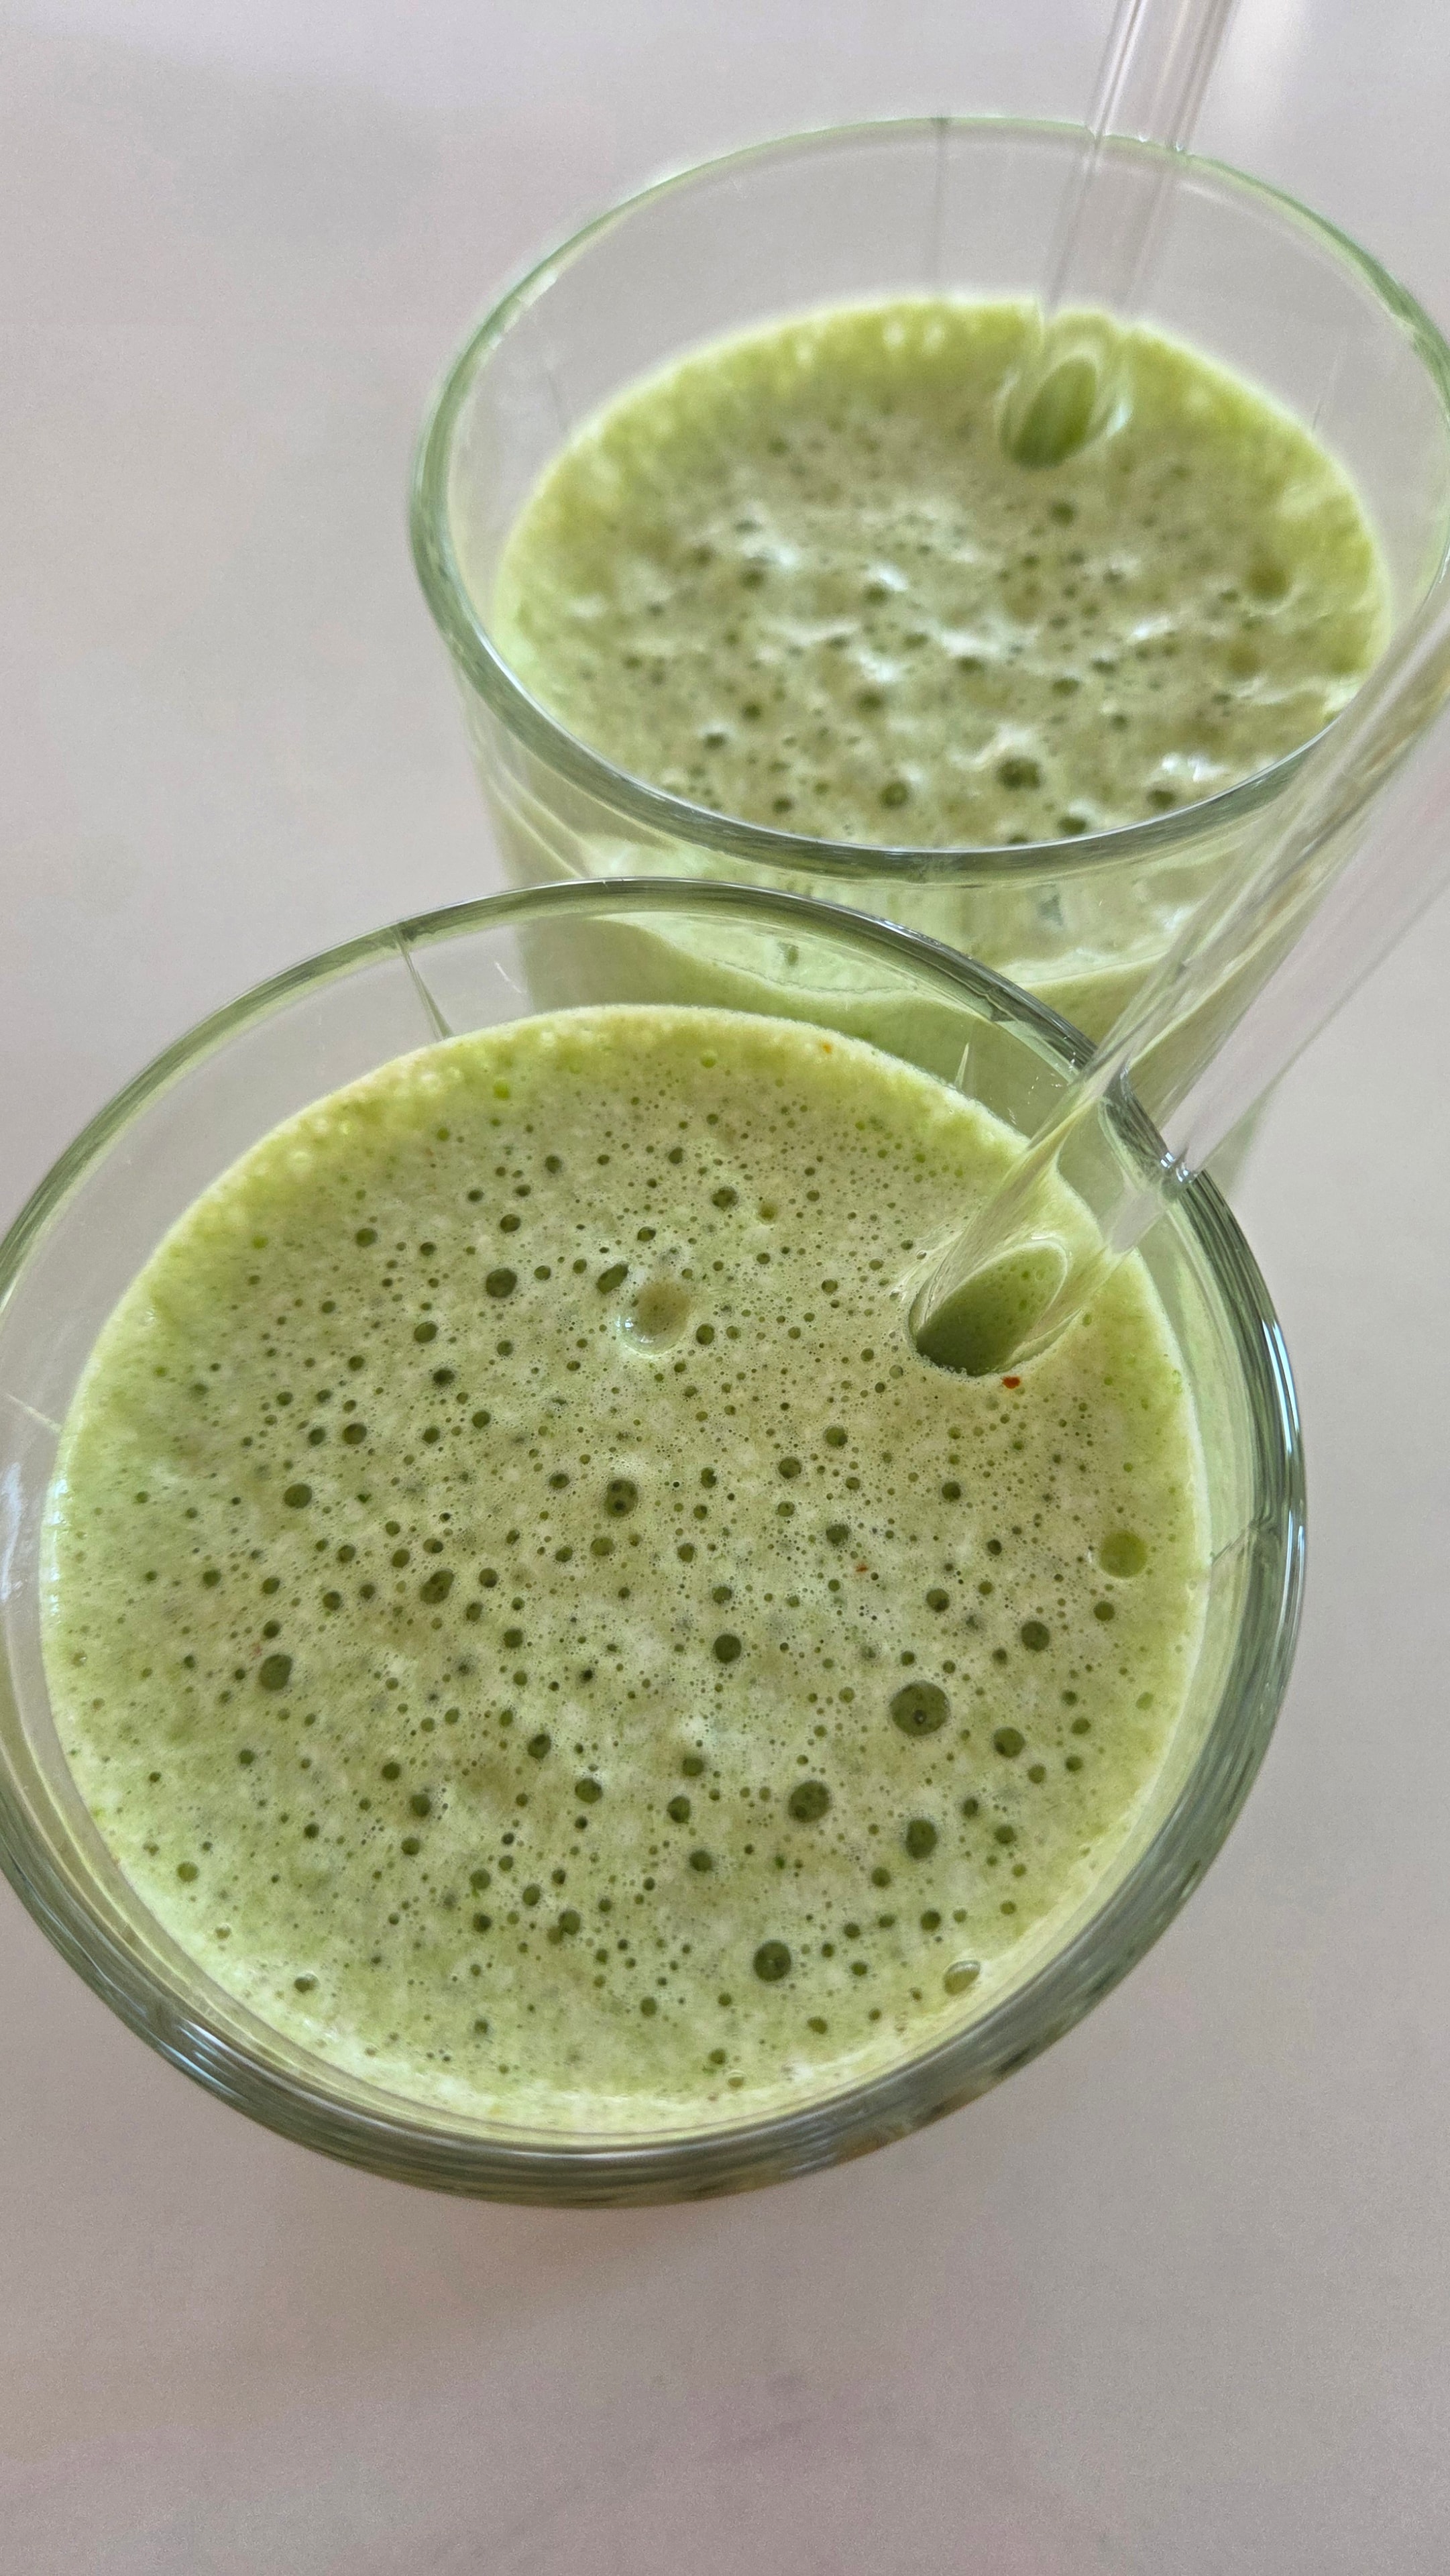
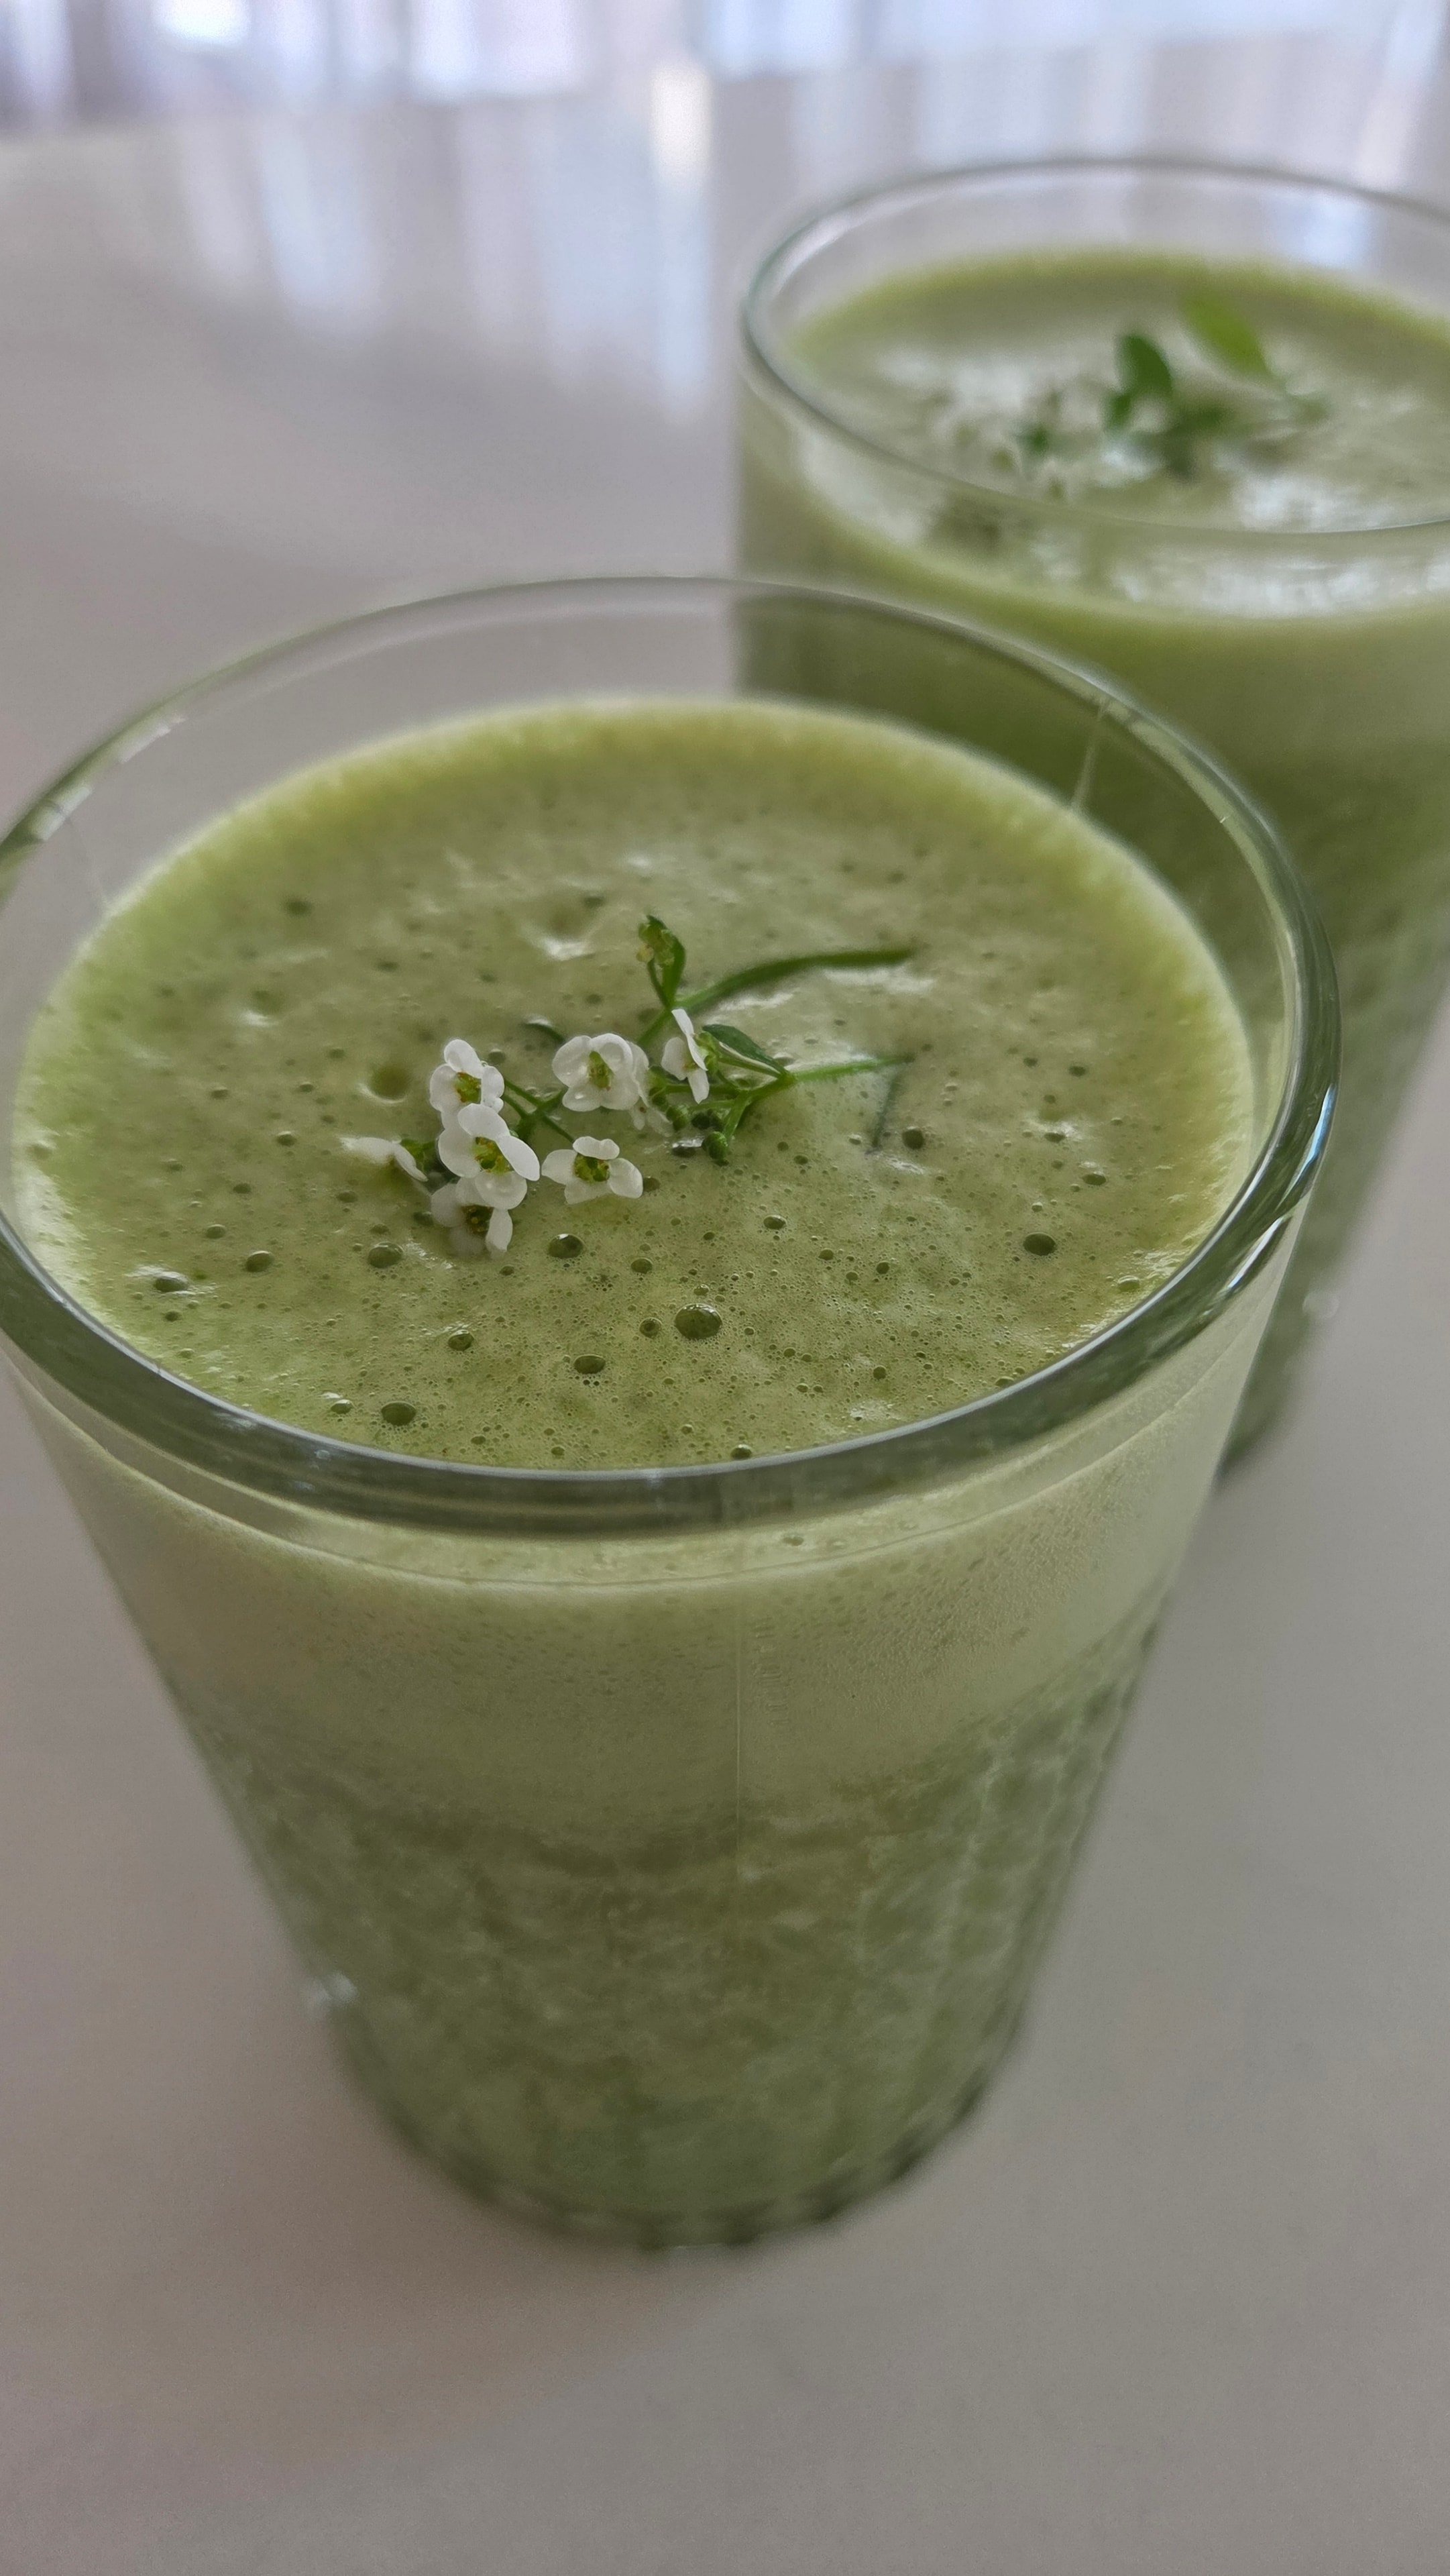
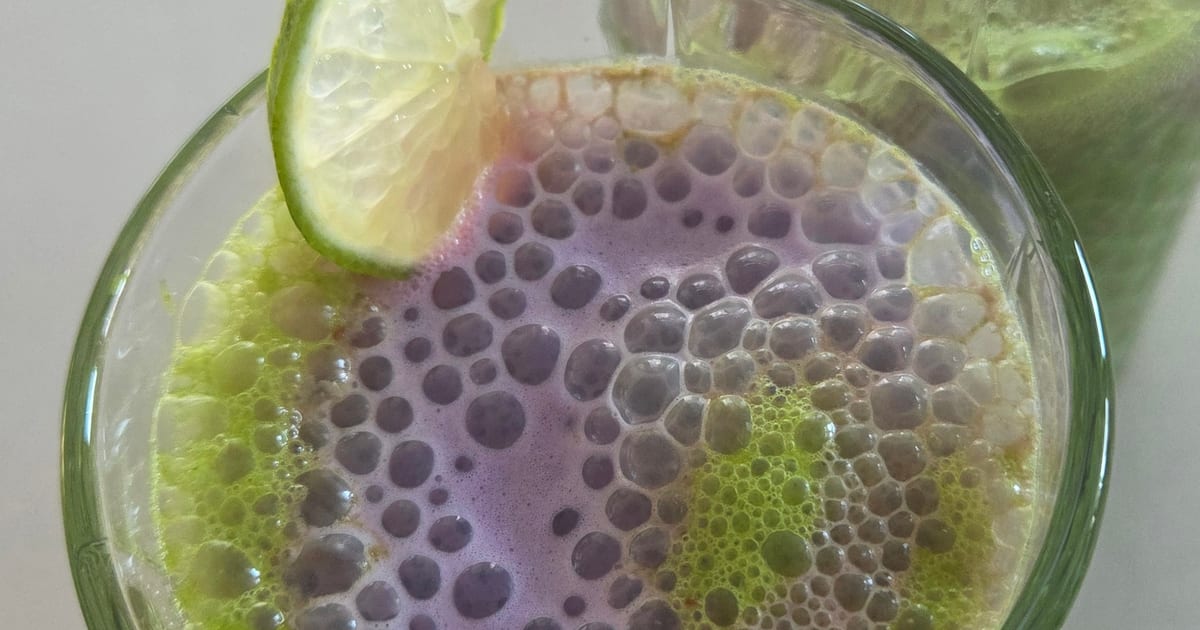
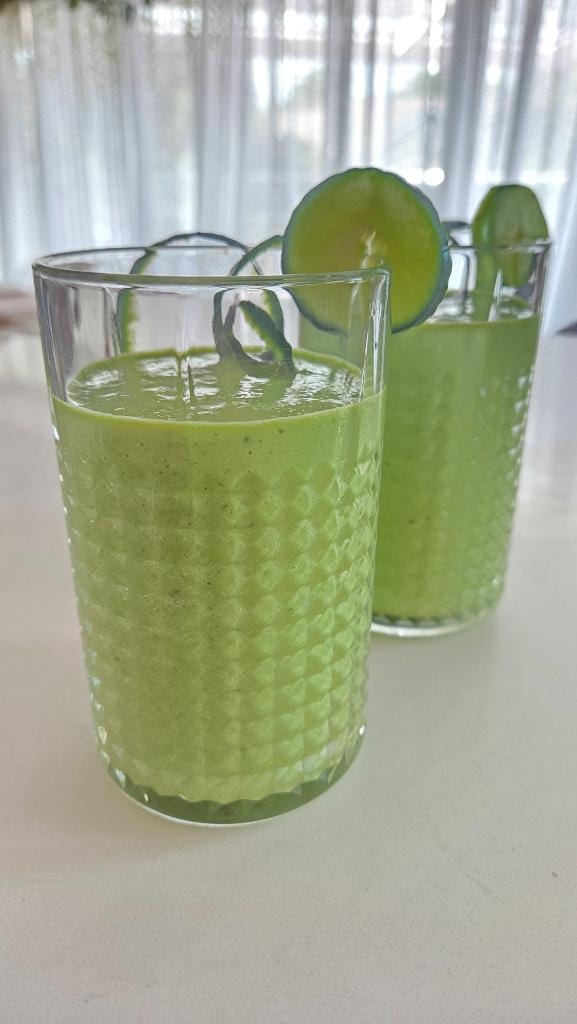
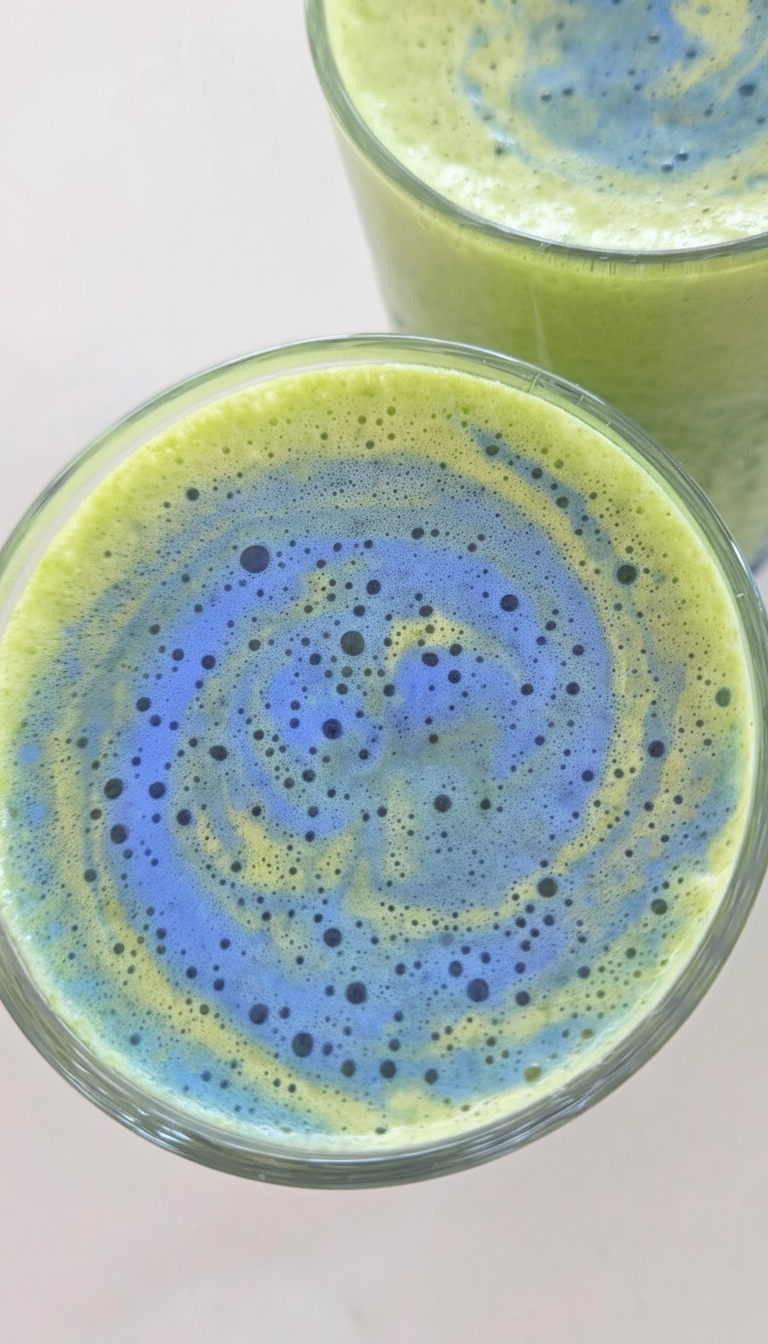
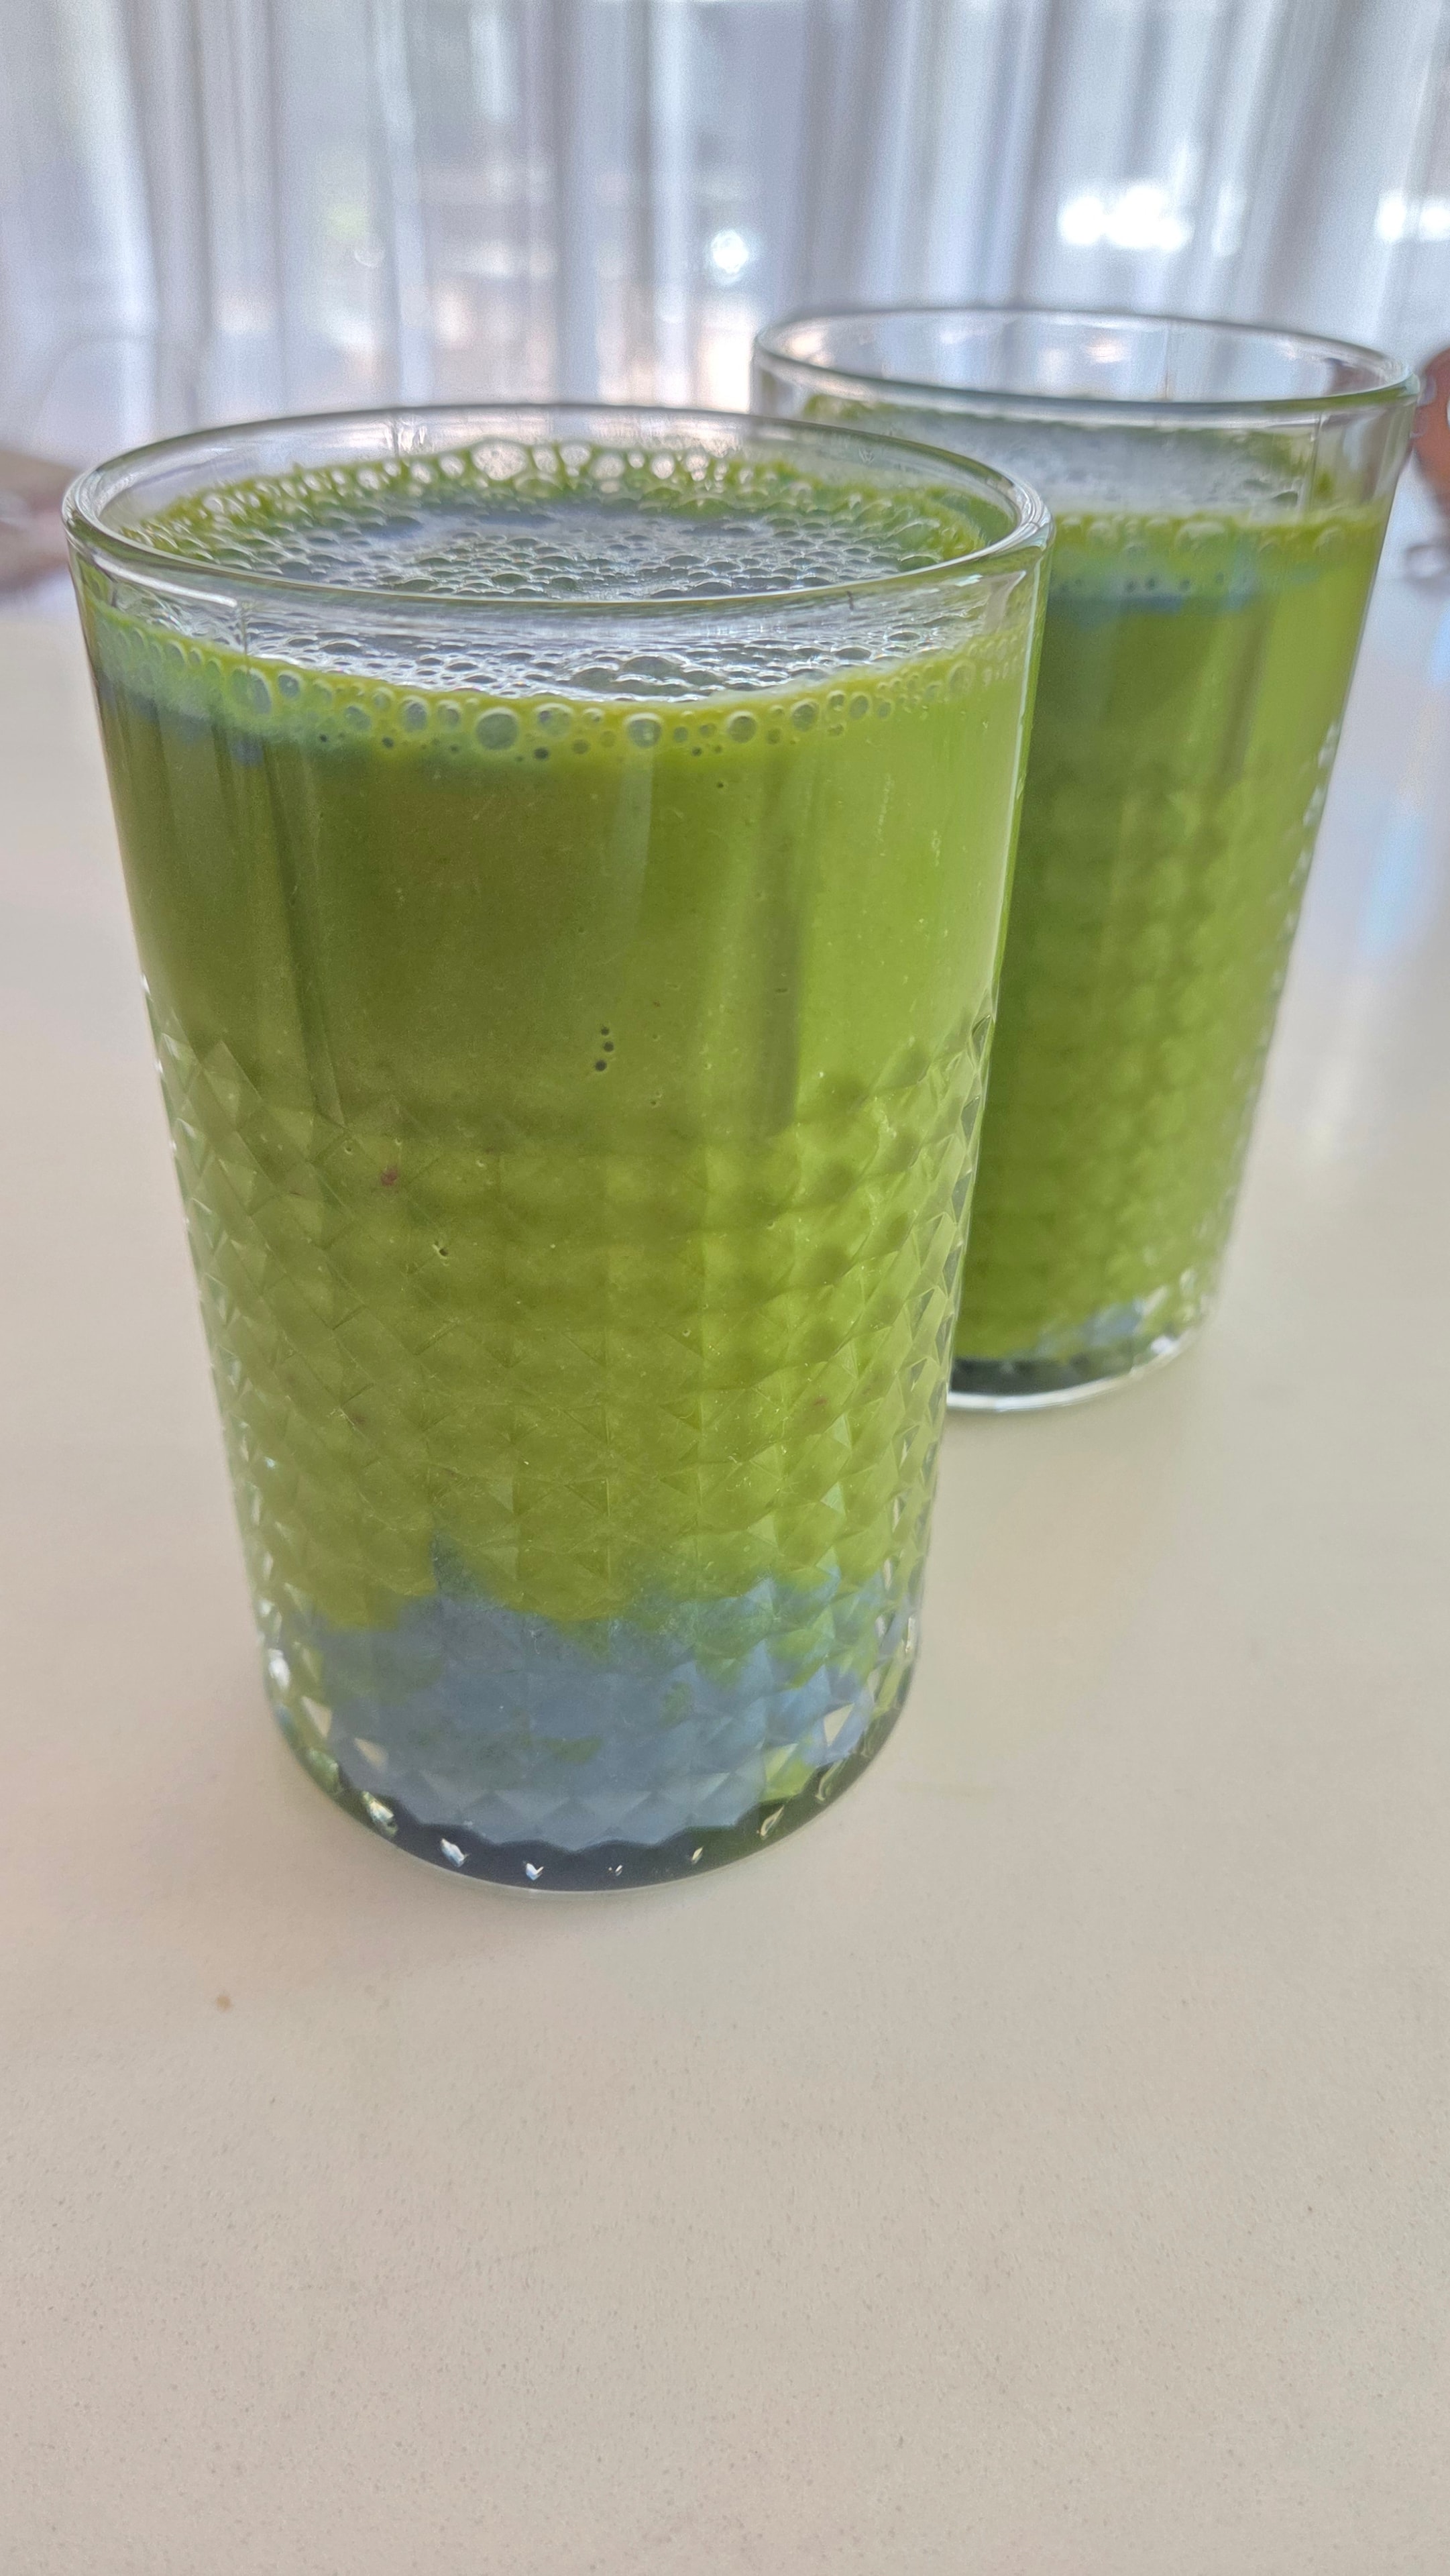
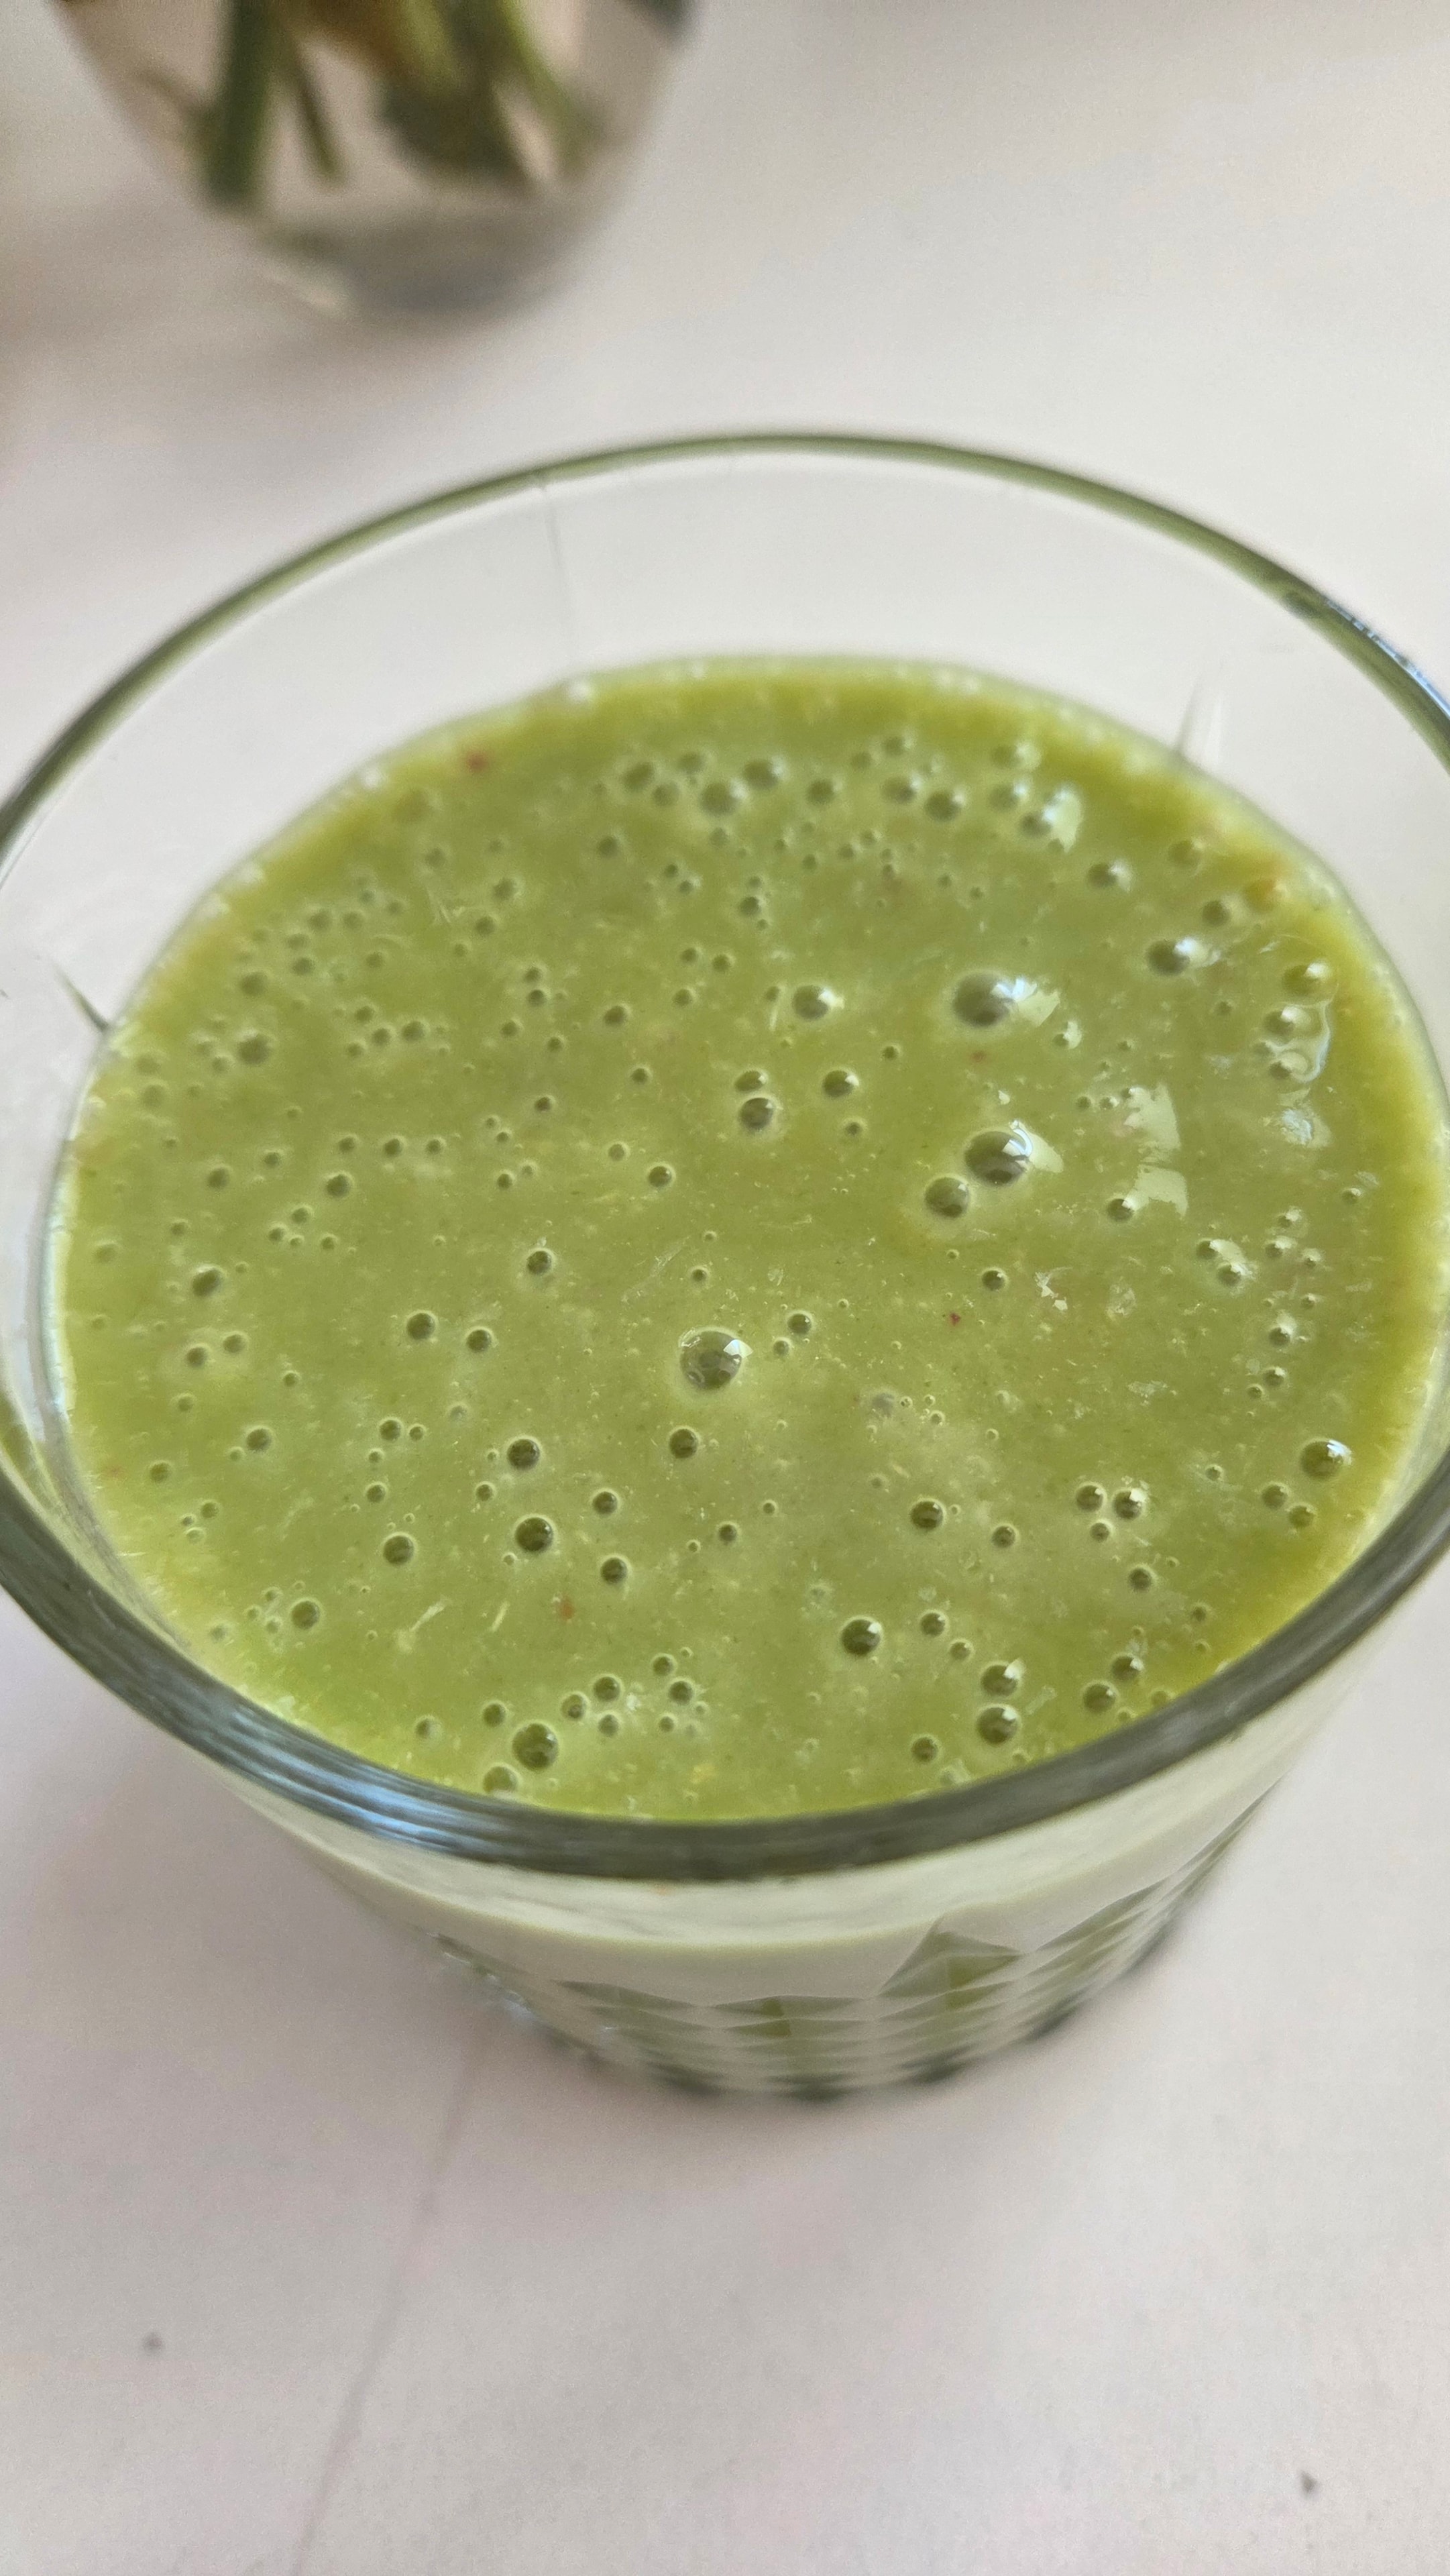
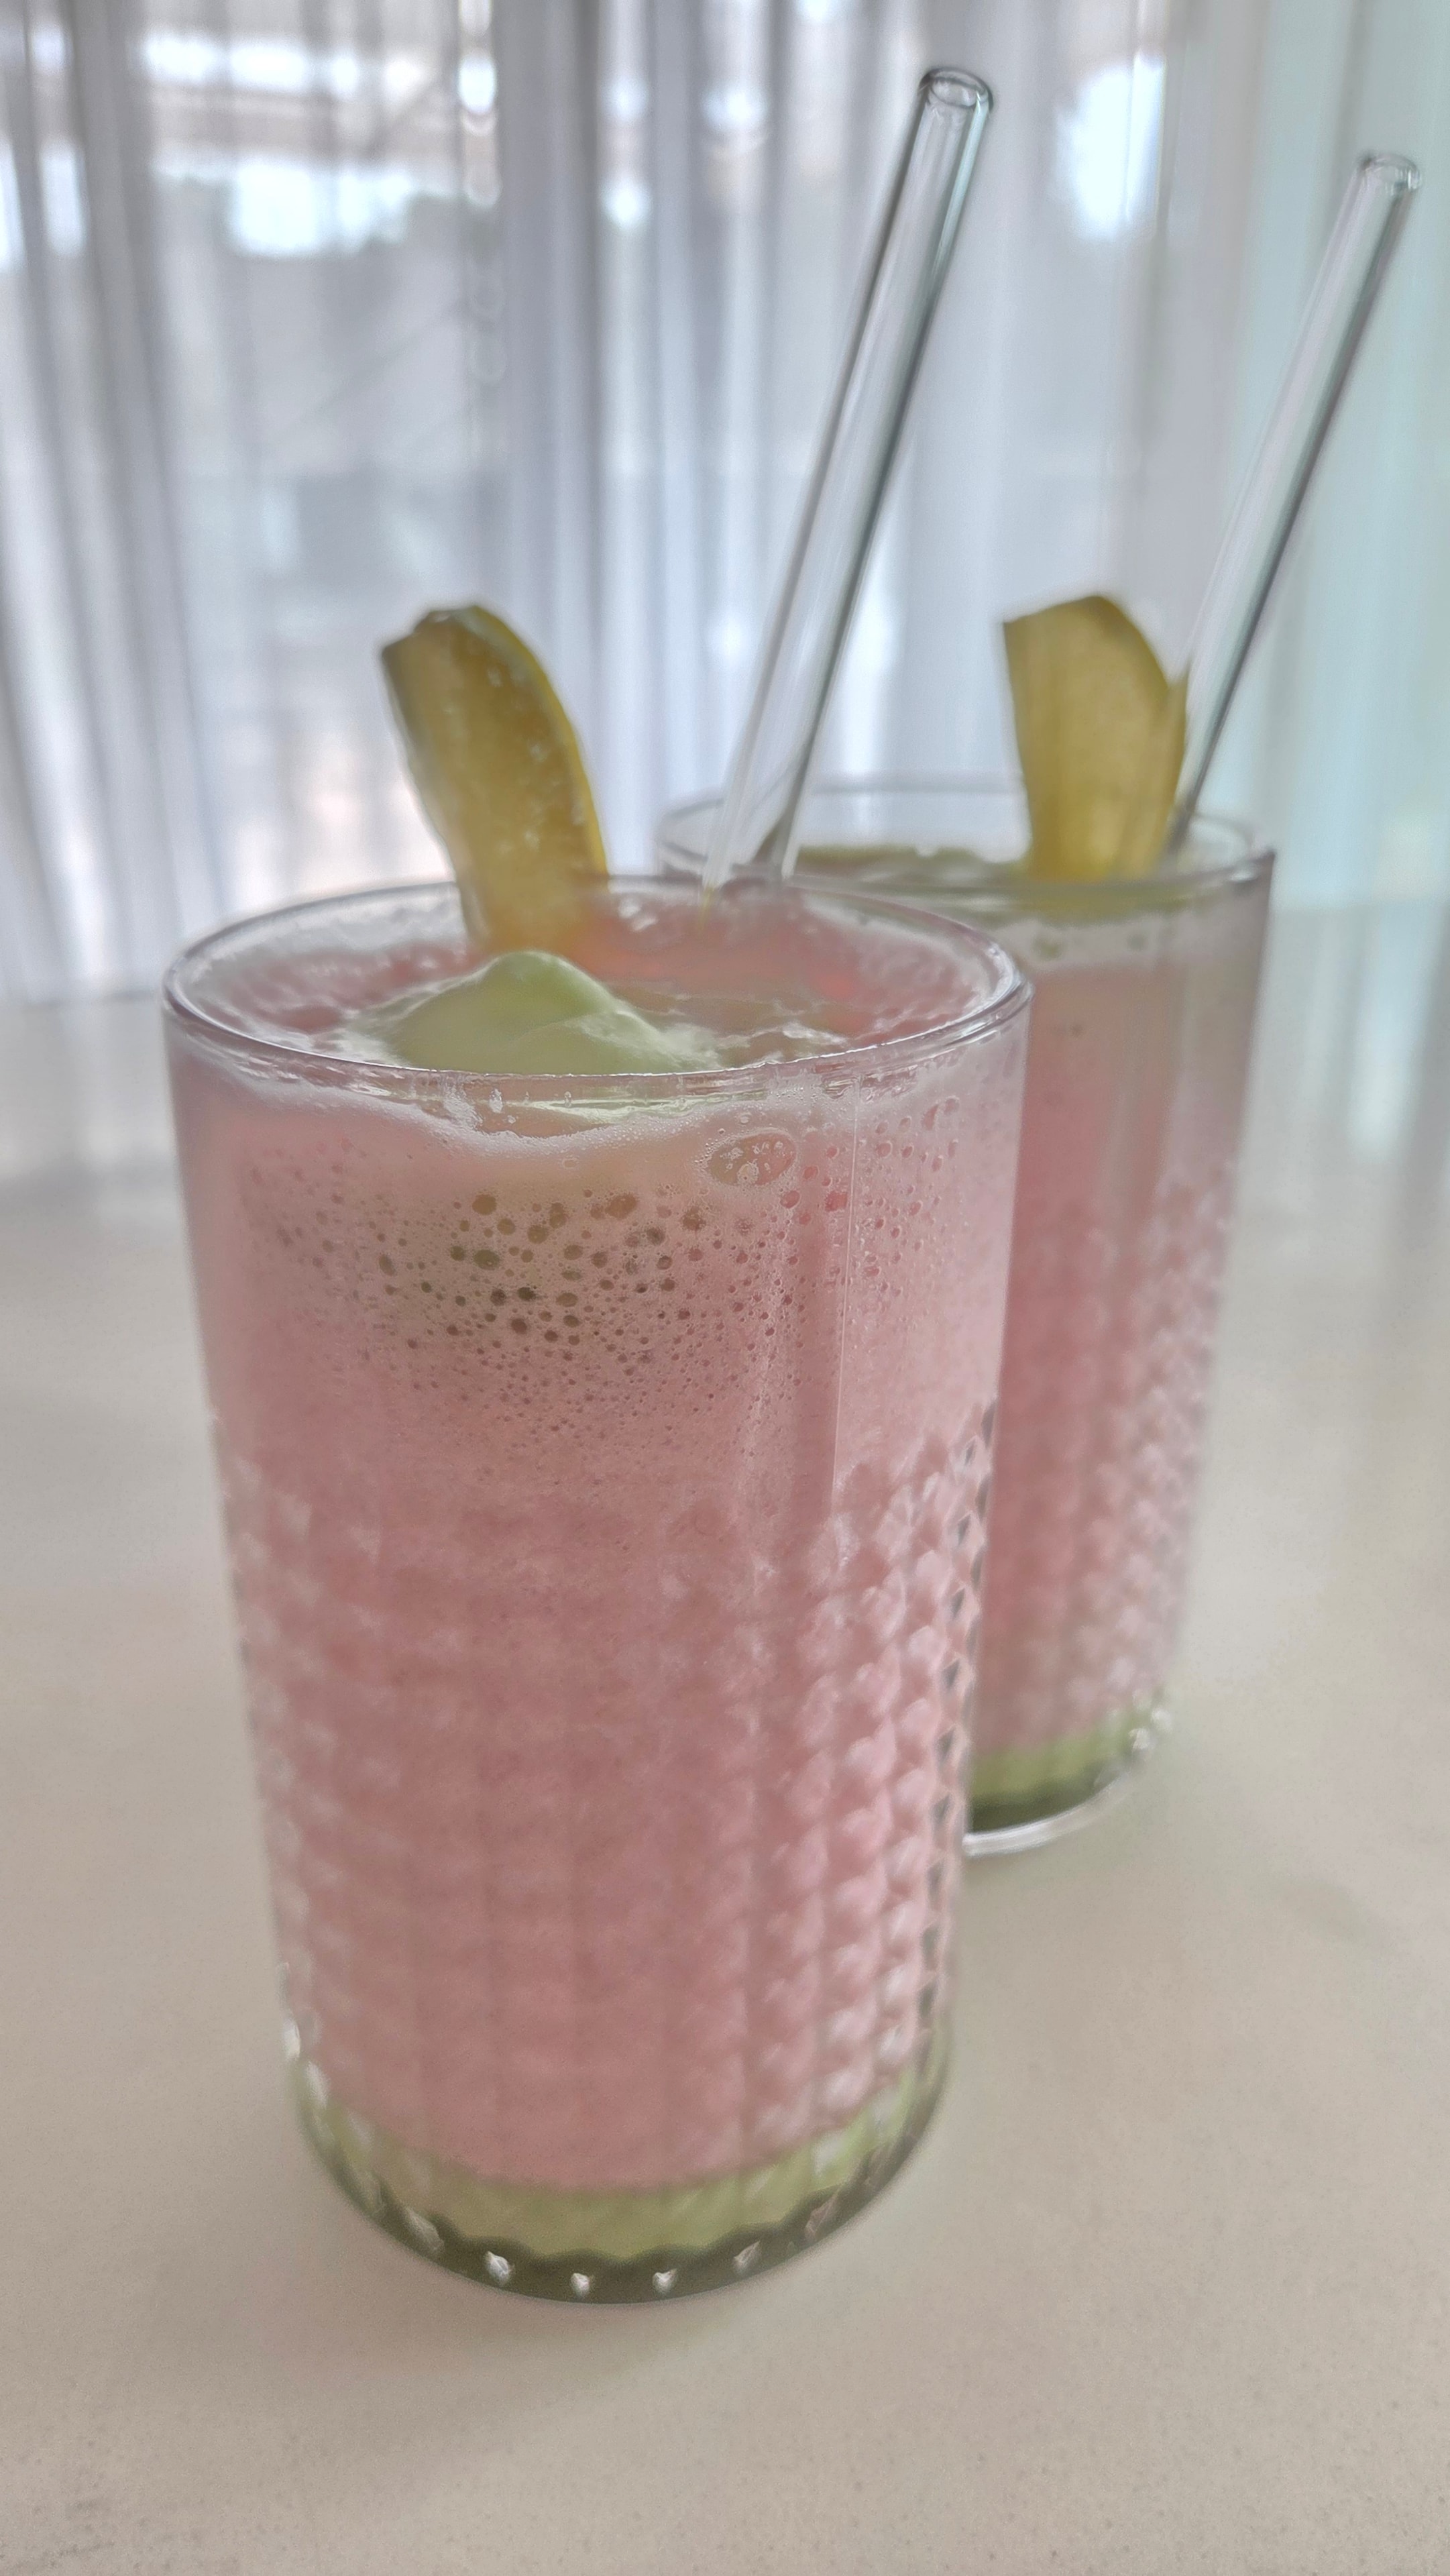
The blending sequence matters here. Start on the ice setting to break everything down, then switch to the smoothie setting with the fruit, and finish with two passes on the smoothie symbol to get the right fluffiness and body. Each pass incorporates more air and refines the texture. The matcha cold foam is made in two batches if your frother cannot take a full cup of milk — half a cup per batch, 1½ teaspoons of matcha total, frothed cold and spooned over just before serving. The green foam sitting on the pink smoothie is the whole point.
The recipe, step by step
What you'll need
- 1½ cups (360 ml) organic orange juice
- 1 ripe banana
- 1 seedless lemon — save a few thin slices for decoration
- 1 lime
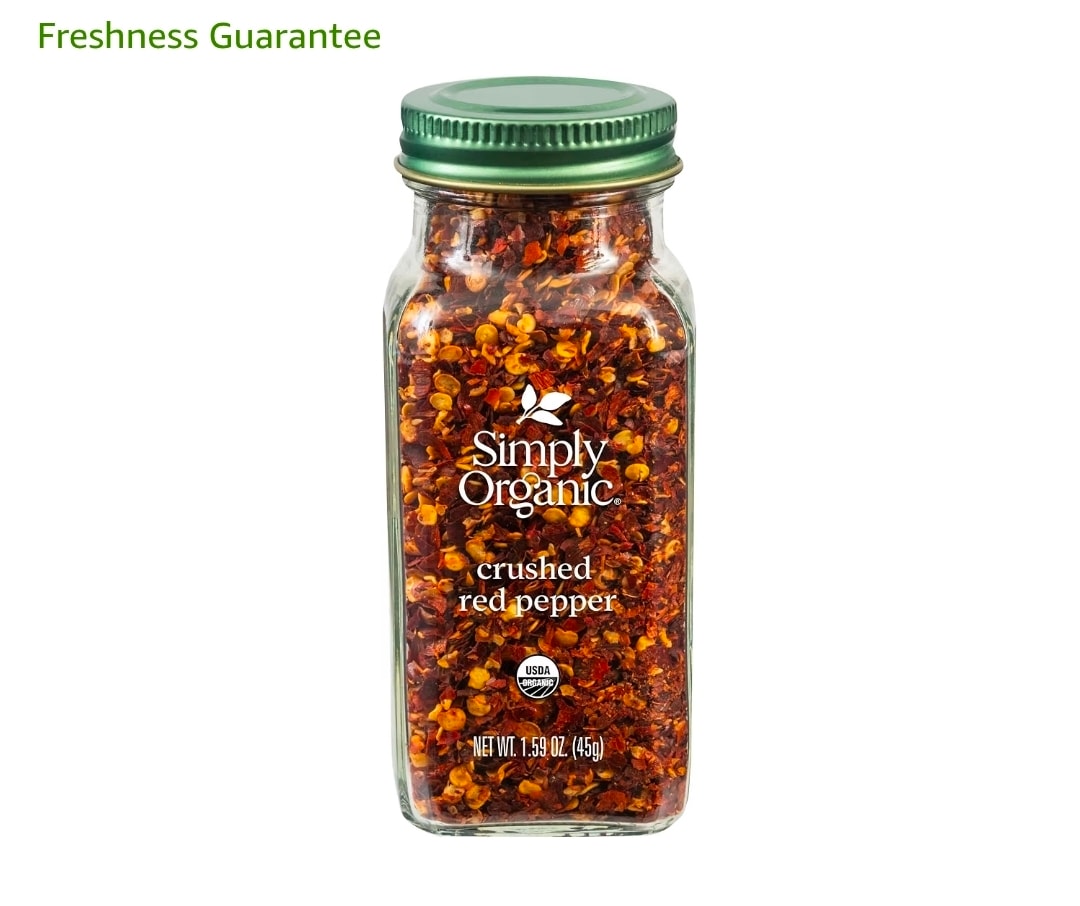
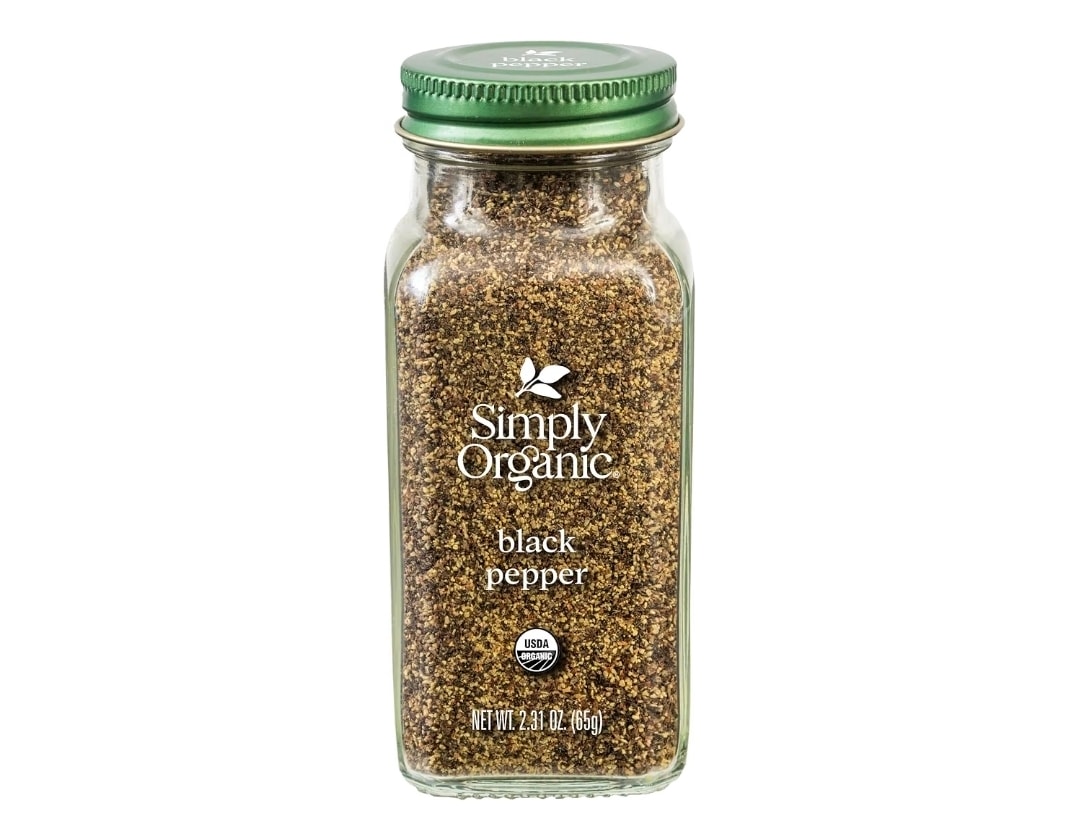
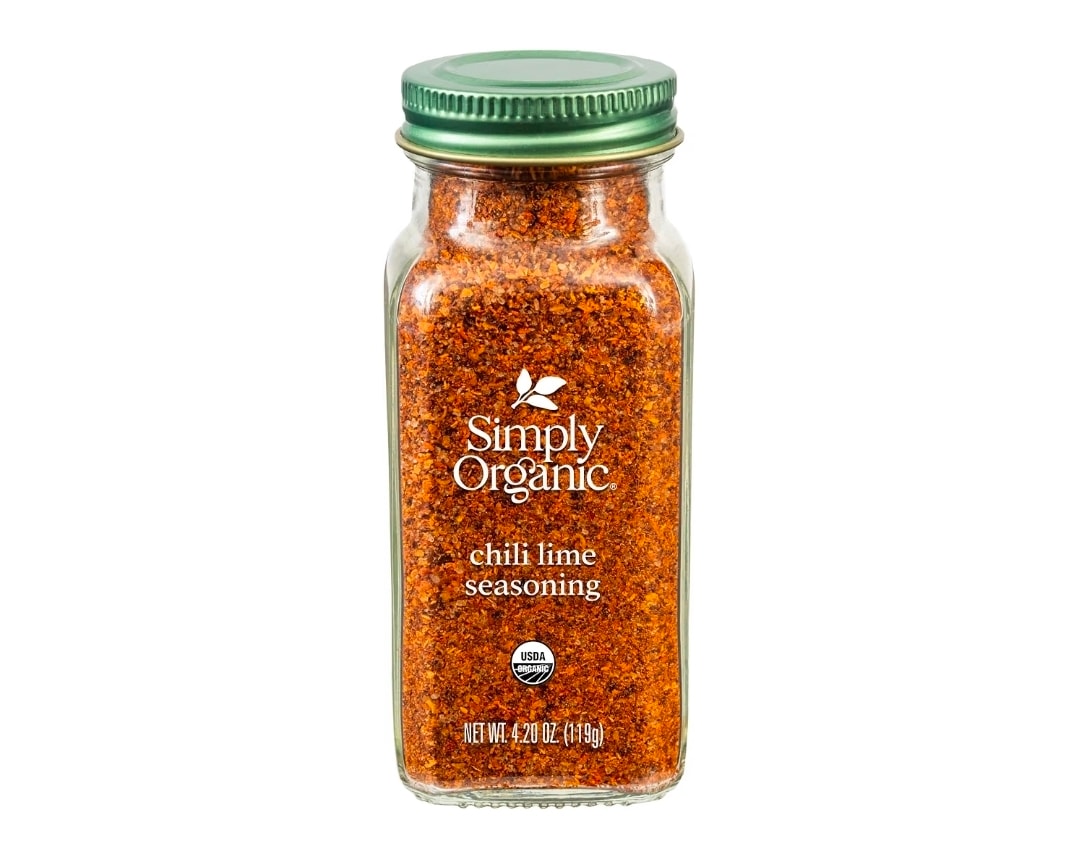
- A pinch of crushed pepper
- 4 tablespoons pink pitaya powder
- 2 tablespoons cold-pressed rapeseed oil
- 2 scoops whey protein powder
- 2 scoops creatine powder
- Ice — a generous handful
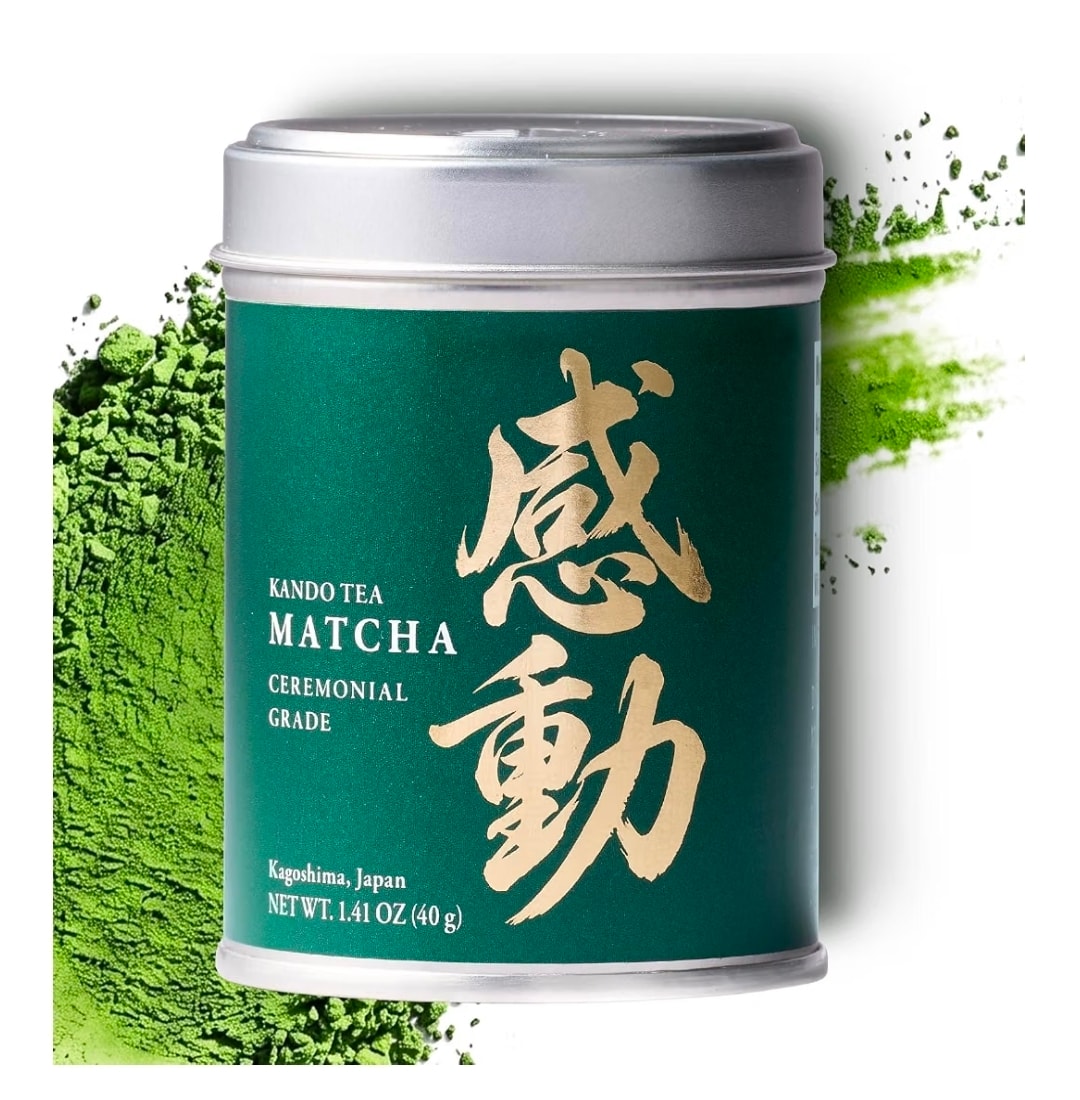
- Cold foam: ½ cup (120 ml) organic whole milk + 1½ teaspoons ceremonial grade matcha, frothed cold (do two batches if your frother cannot take a full cup)
How to make it
- 1
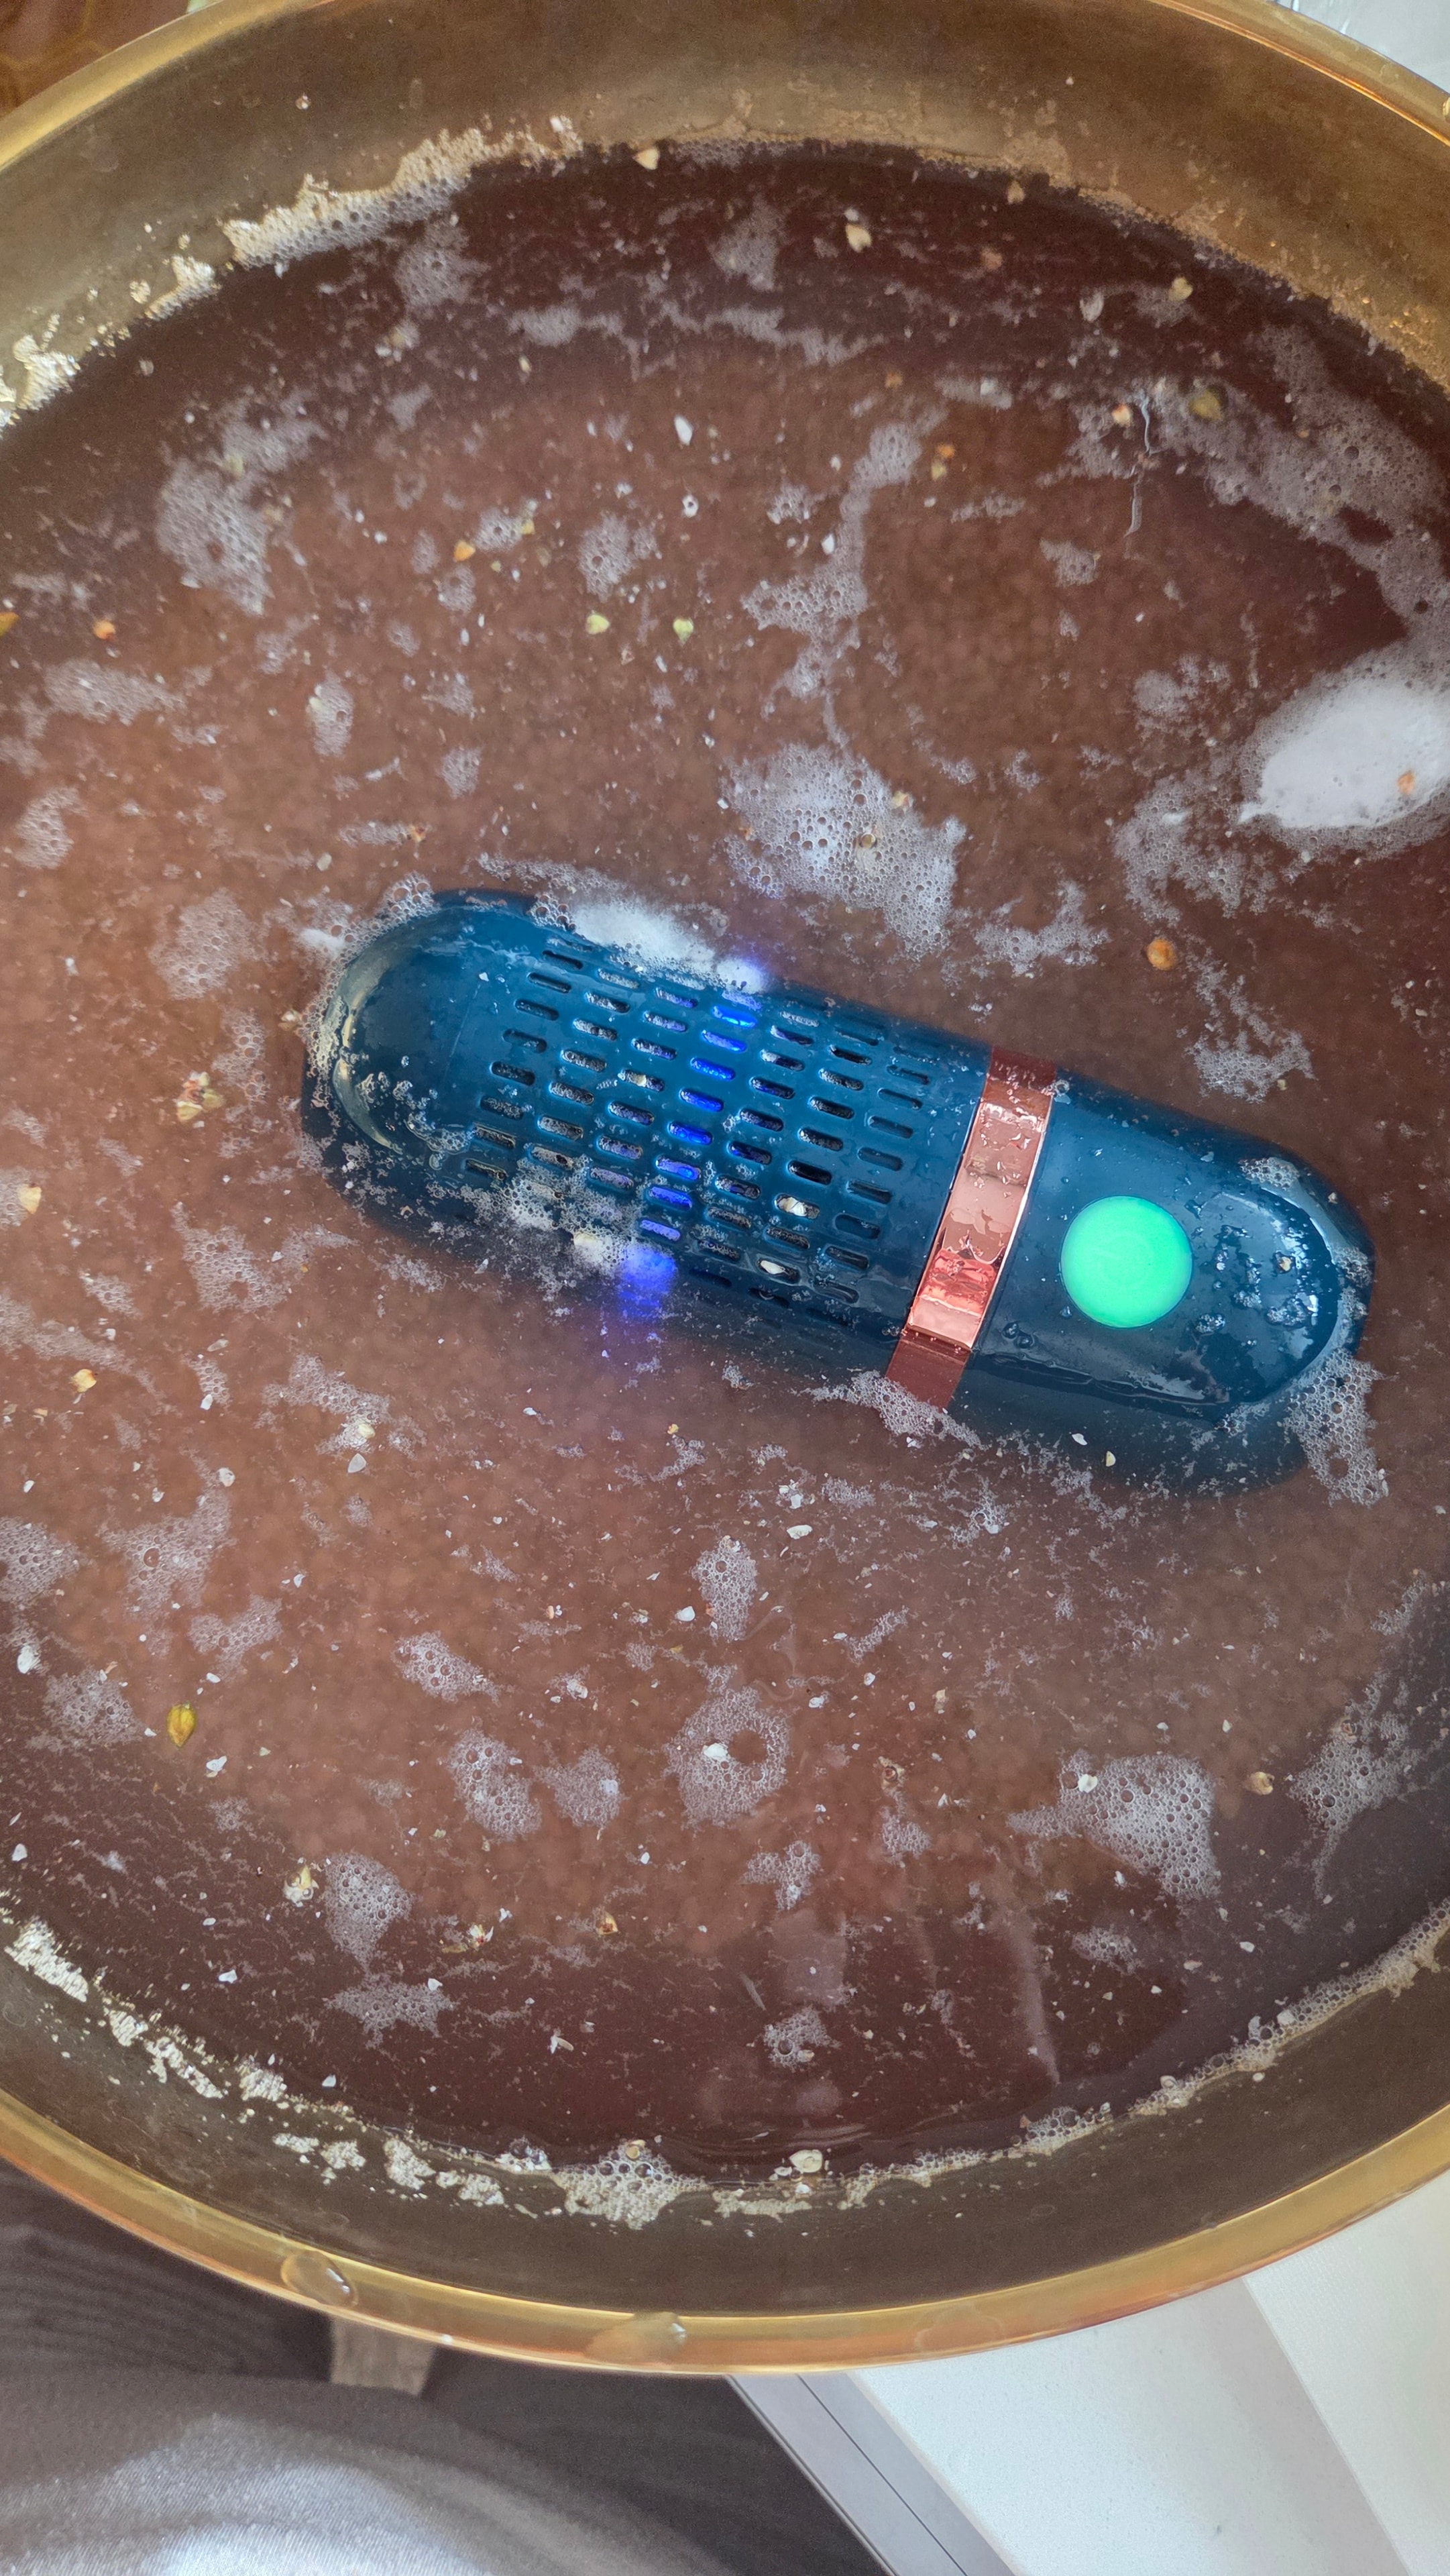
Wash all your produce before you start — the lemon, lime, and banana. The PurePod produce cleaner is what I use — it removes pesticide residue, wax, and surface bacteria that water alone does not shift.
- 2
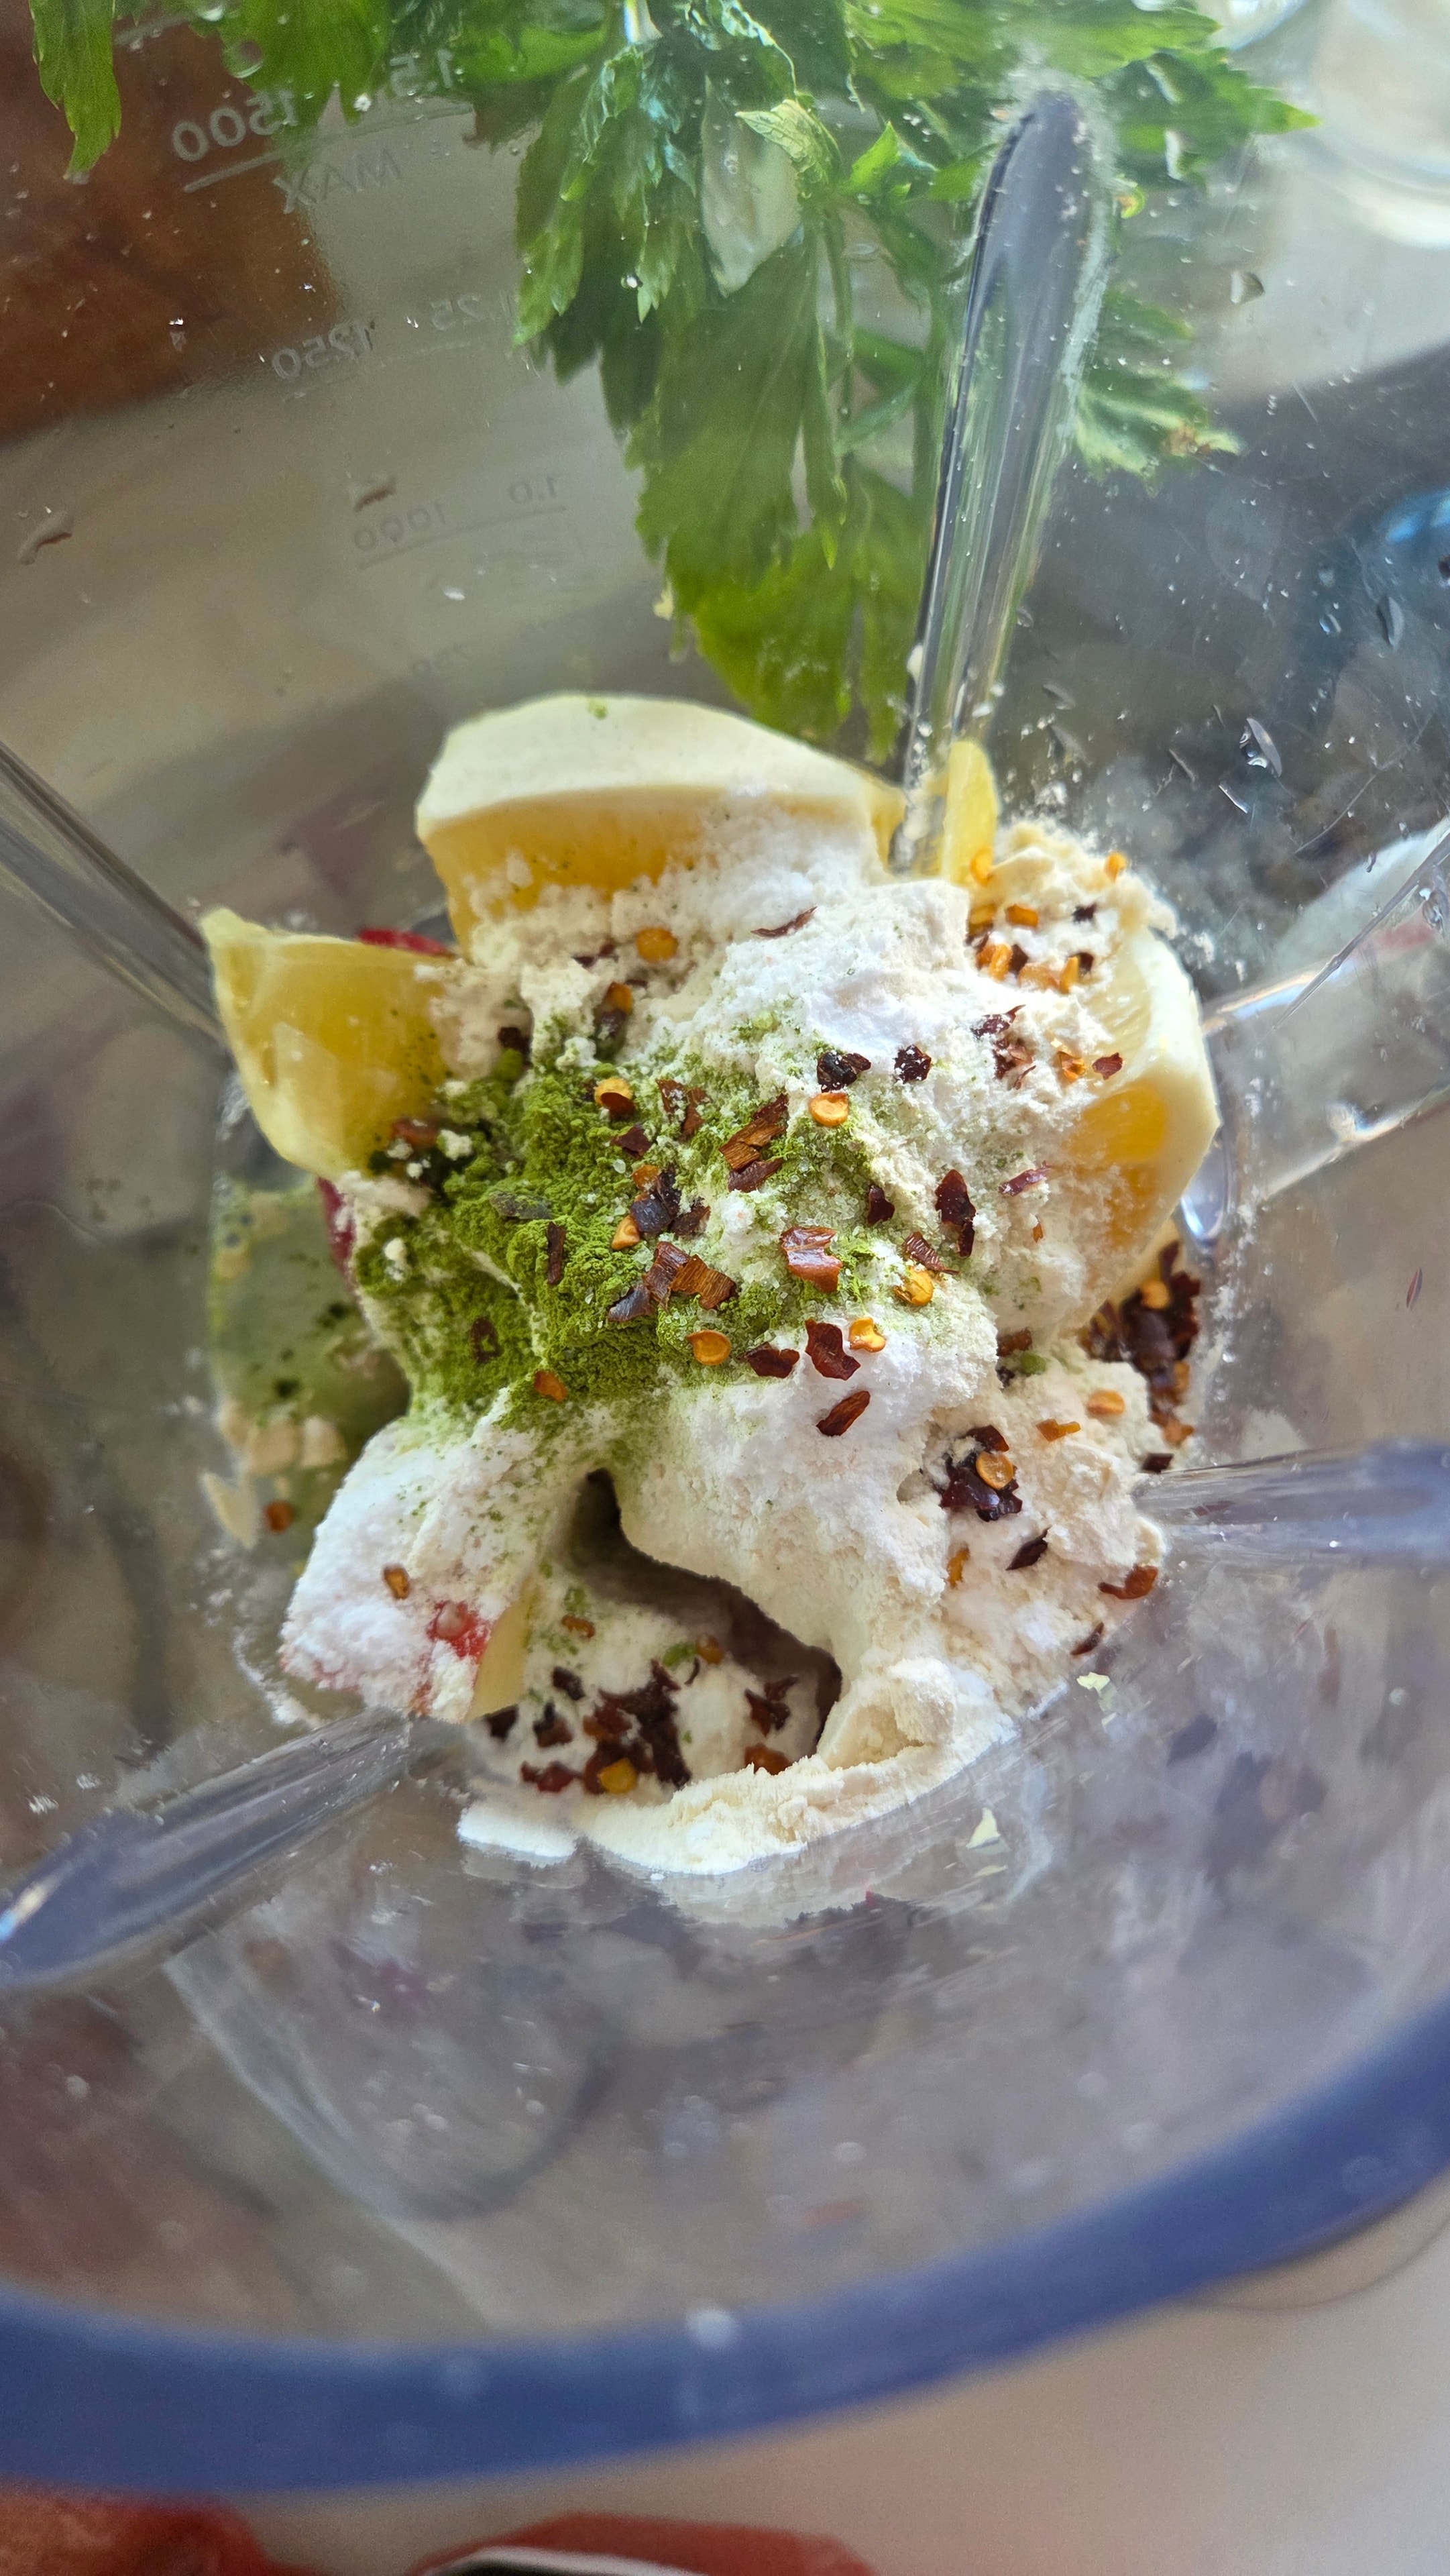
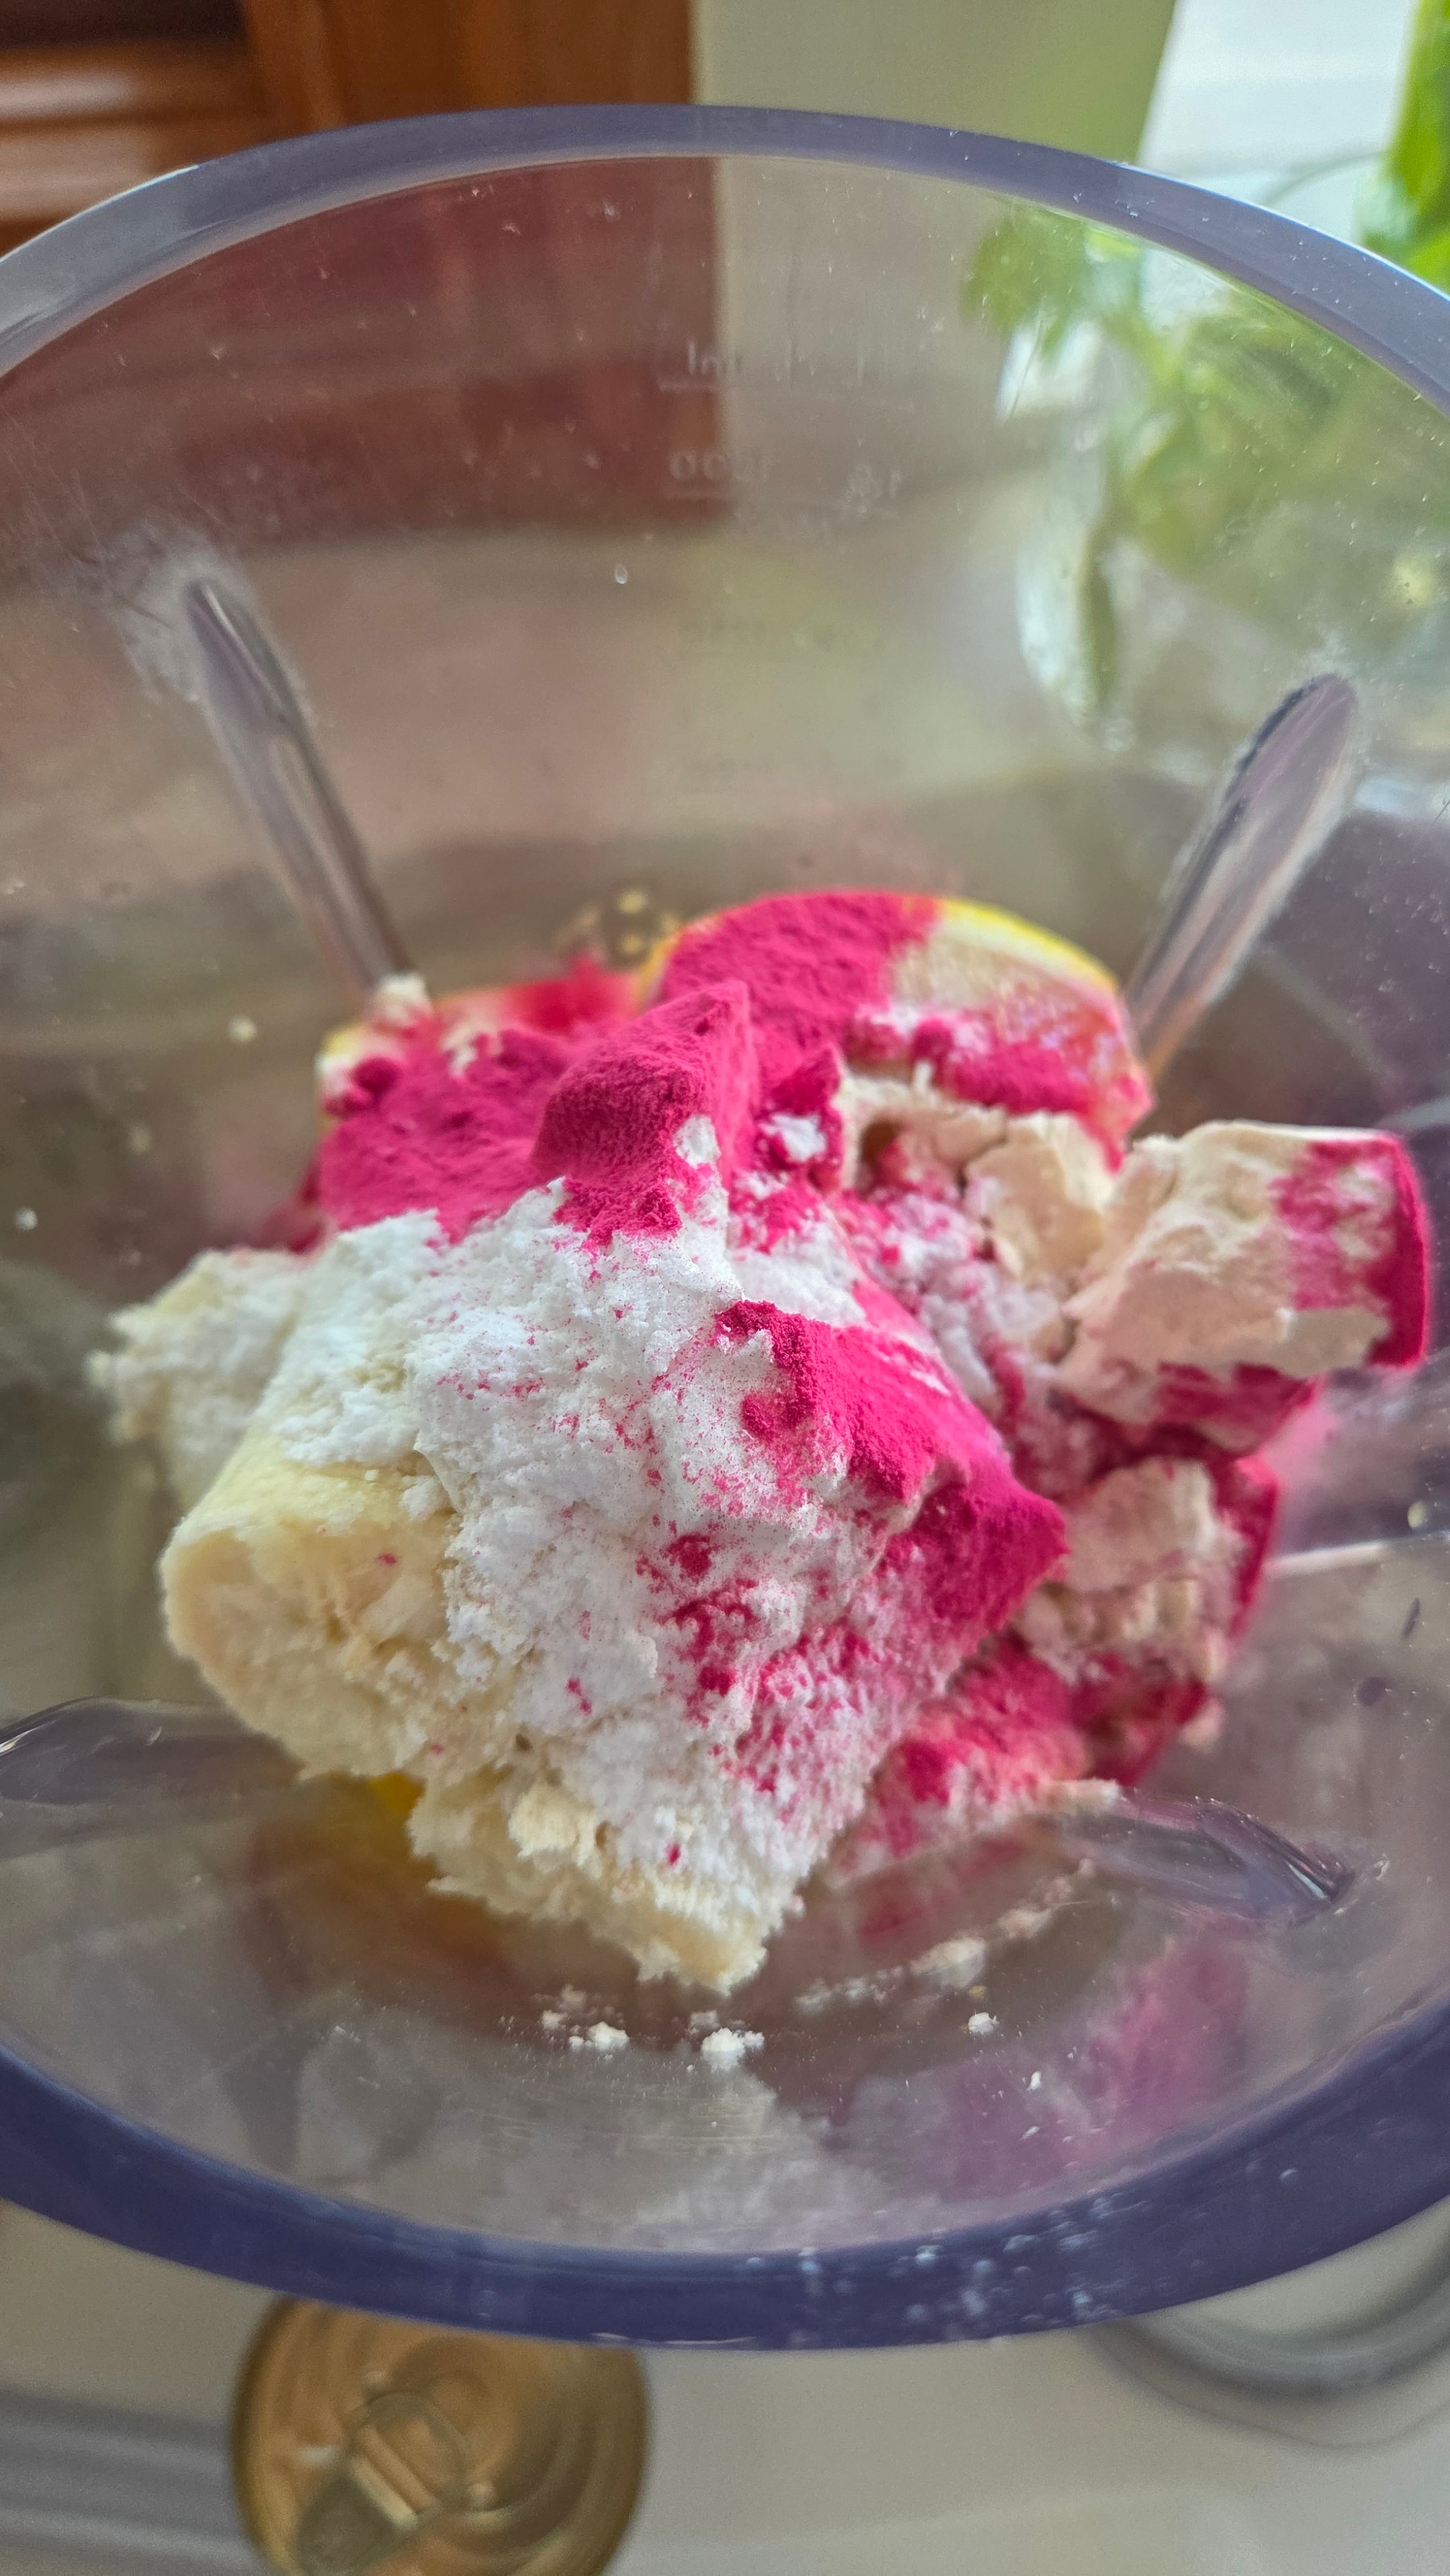
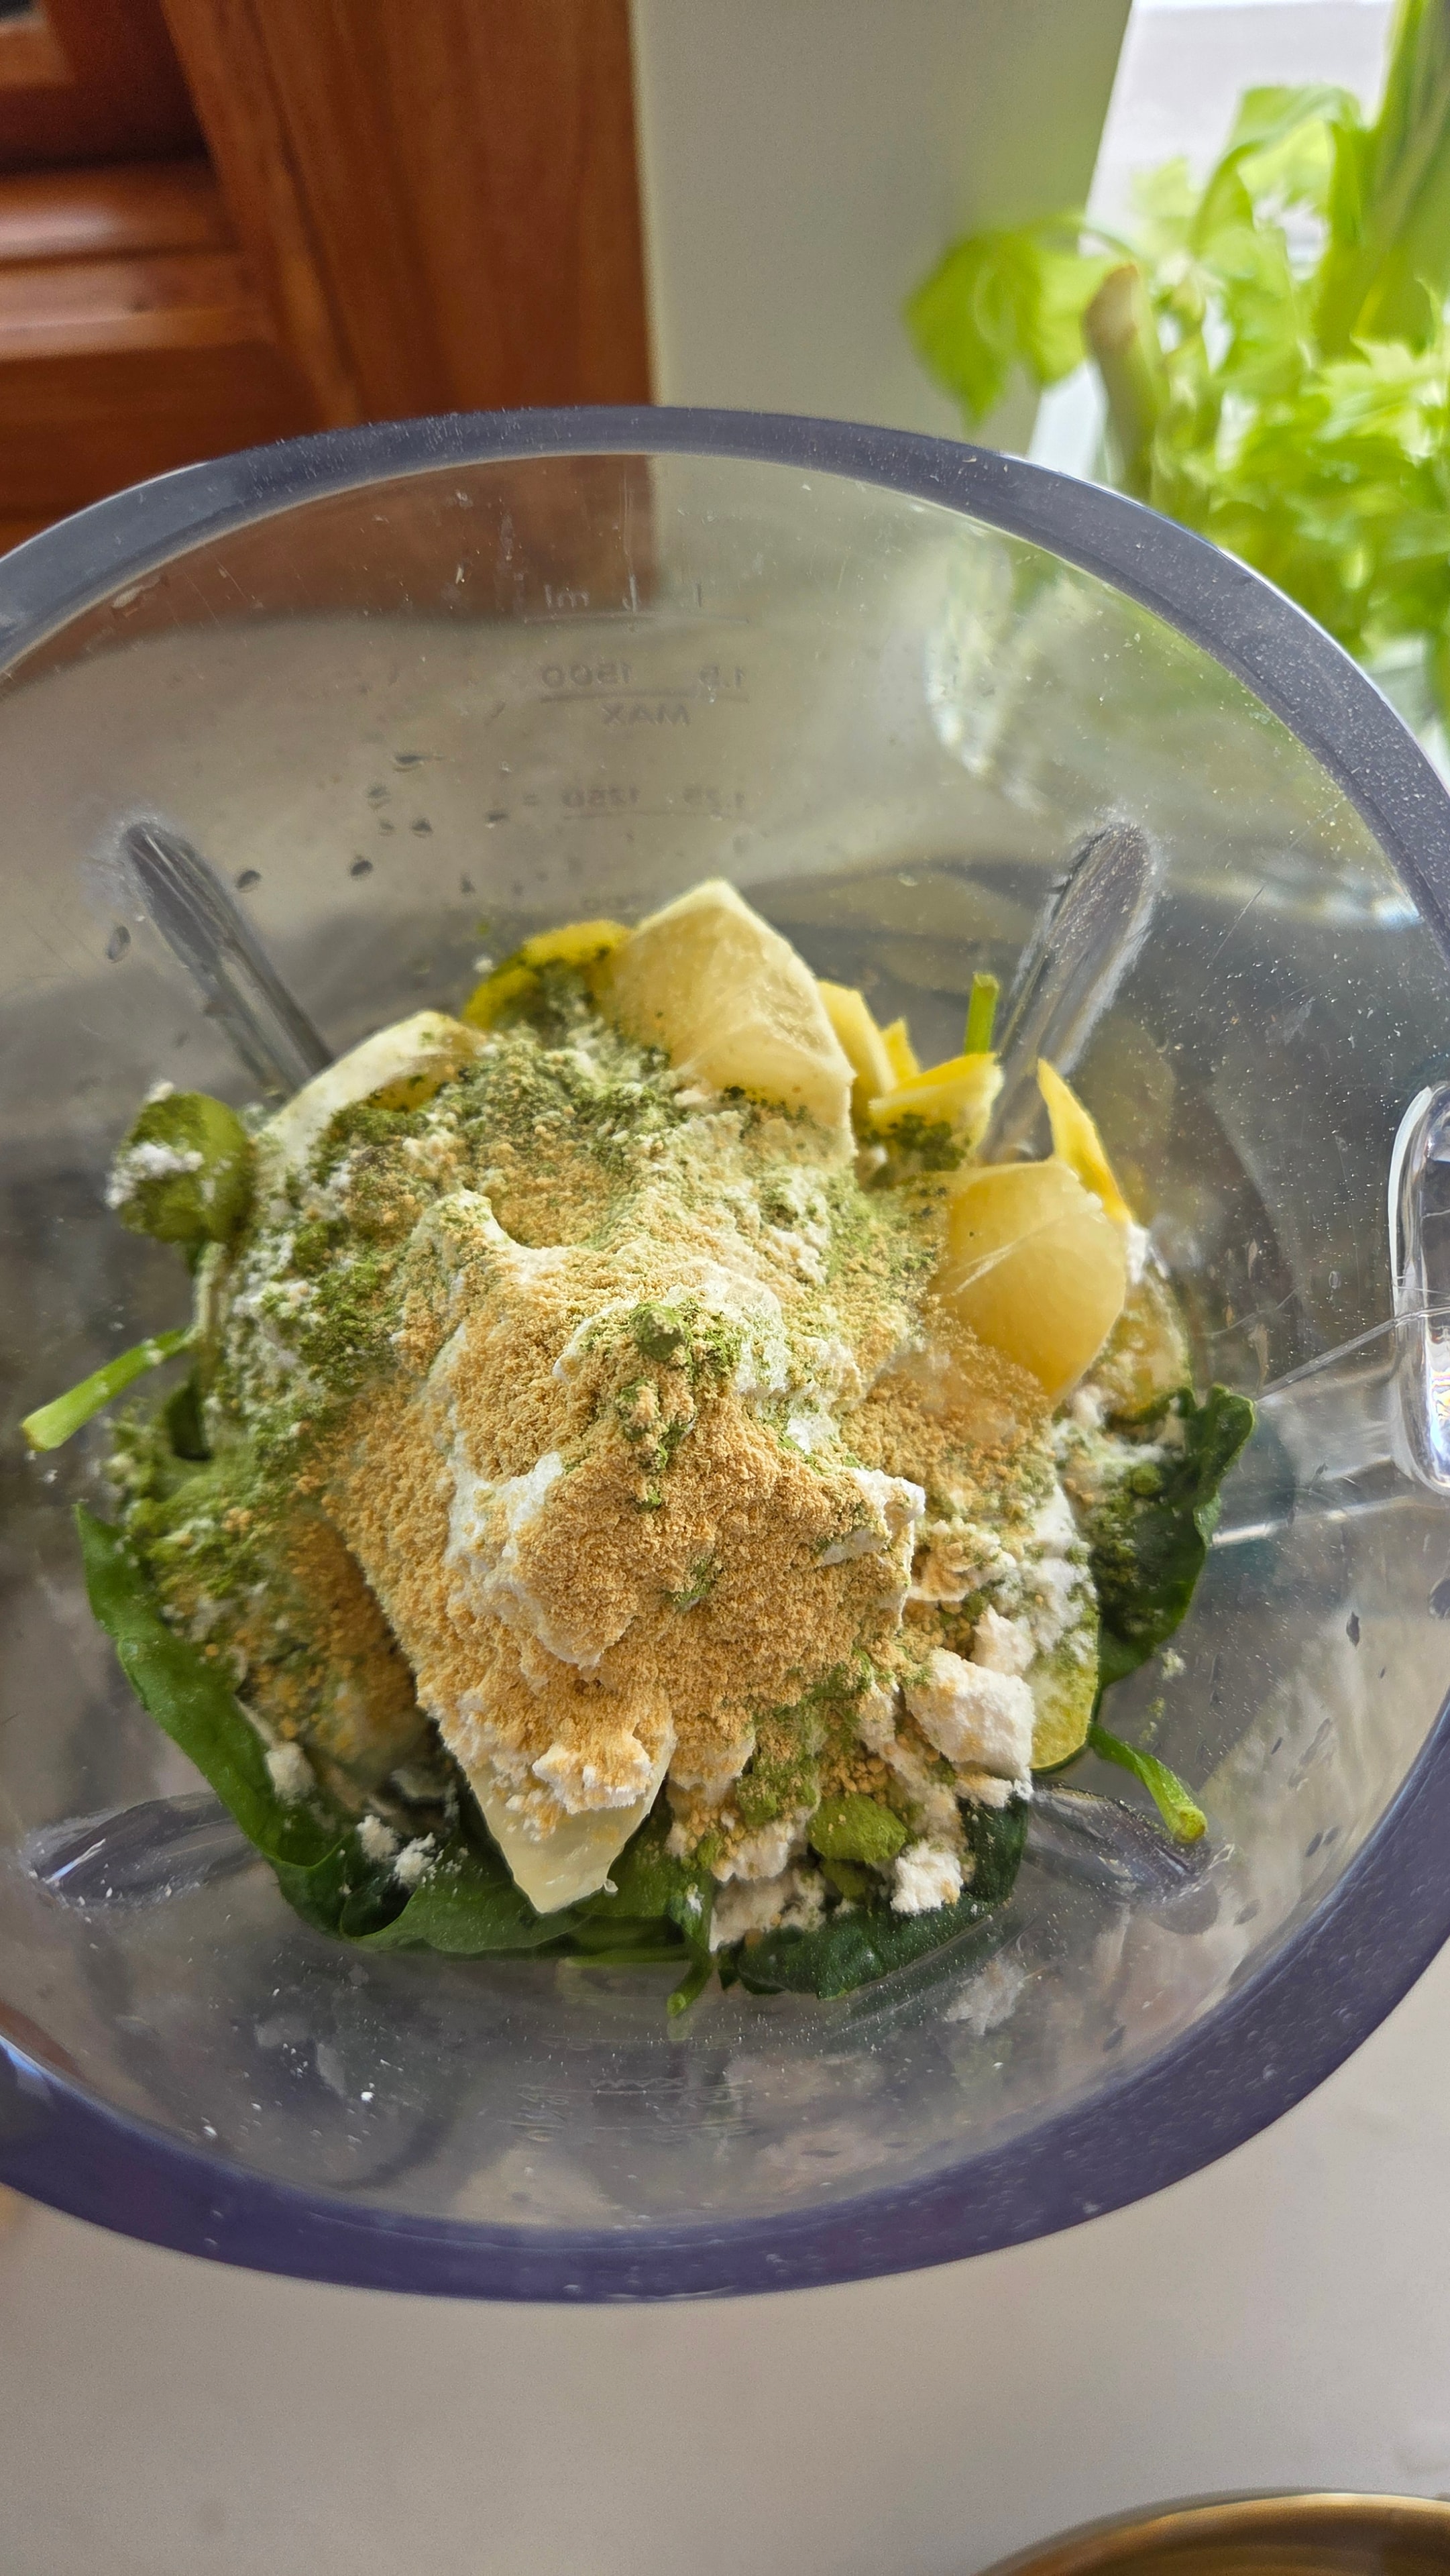
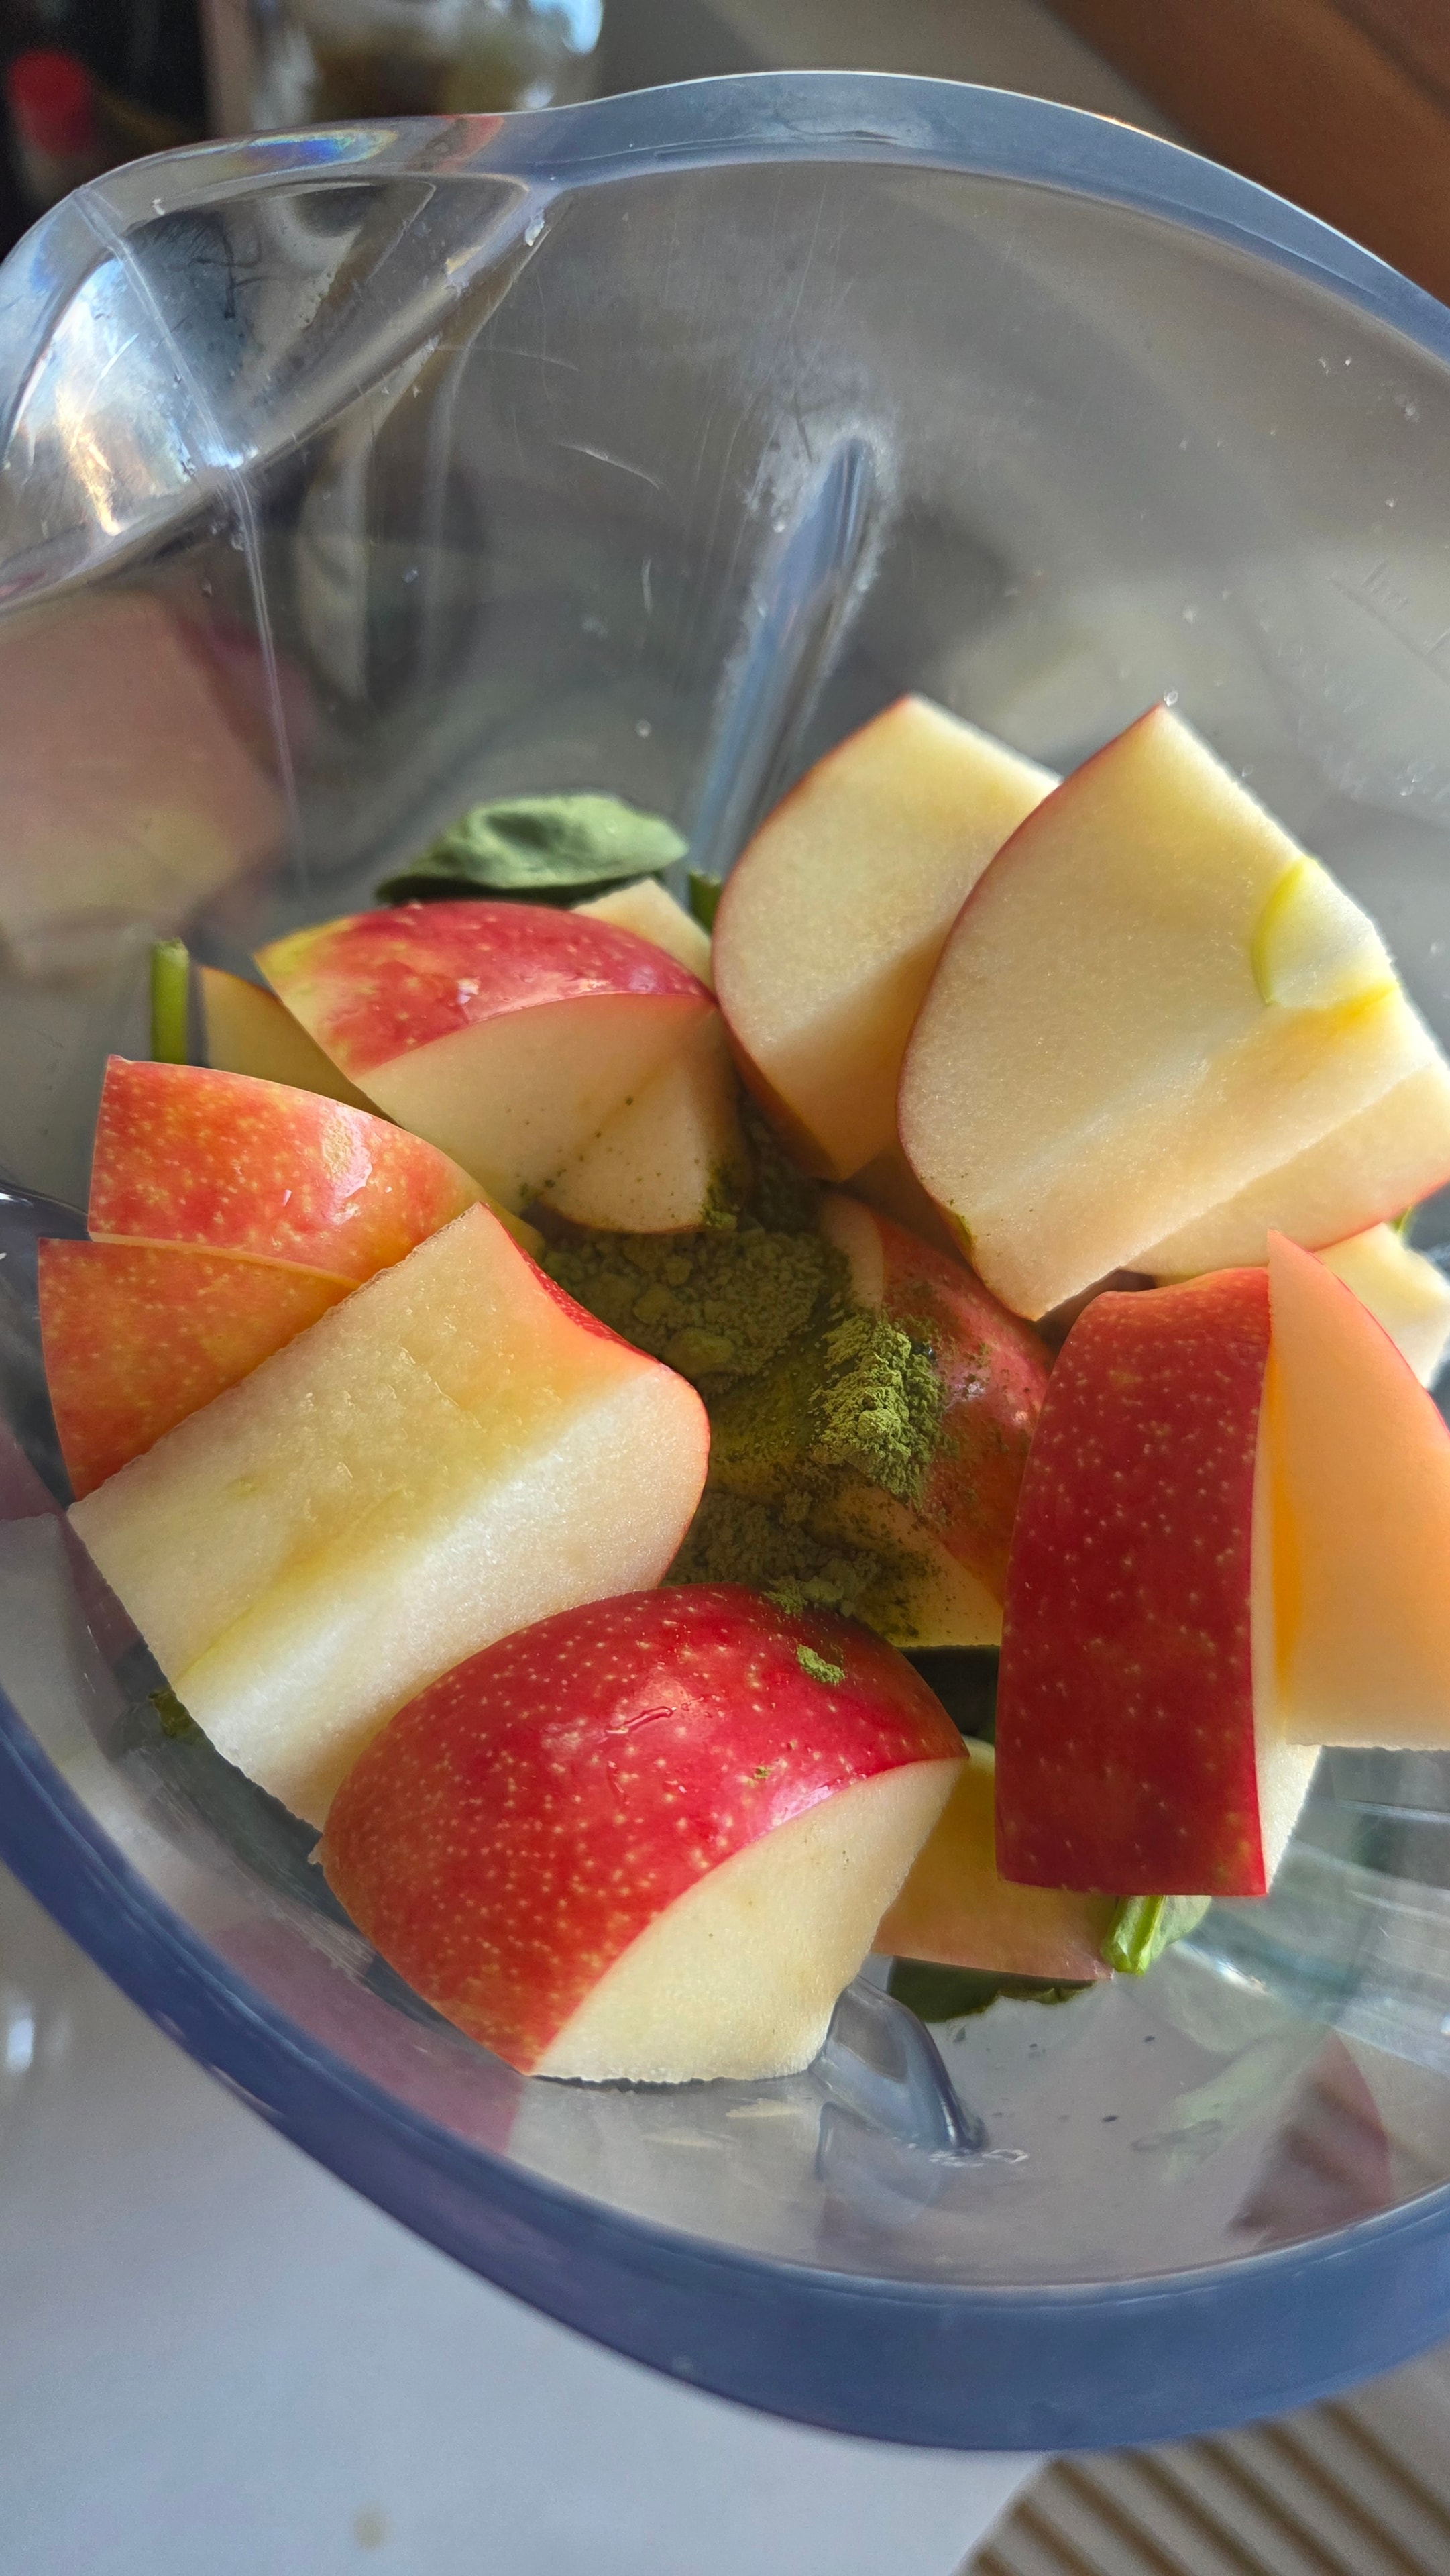
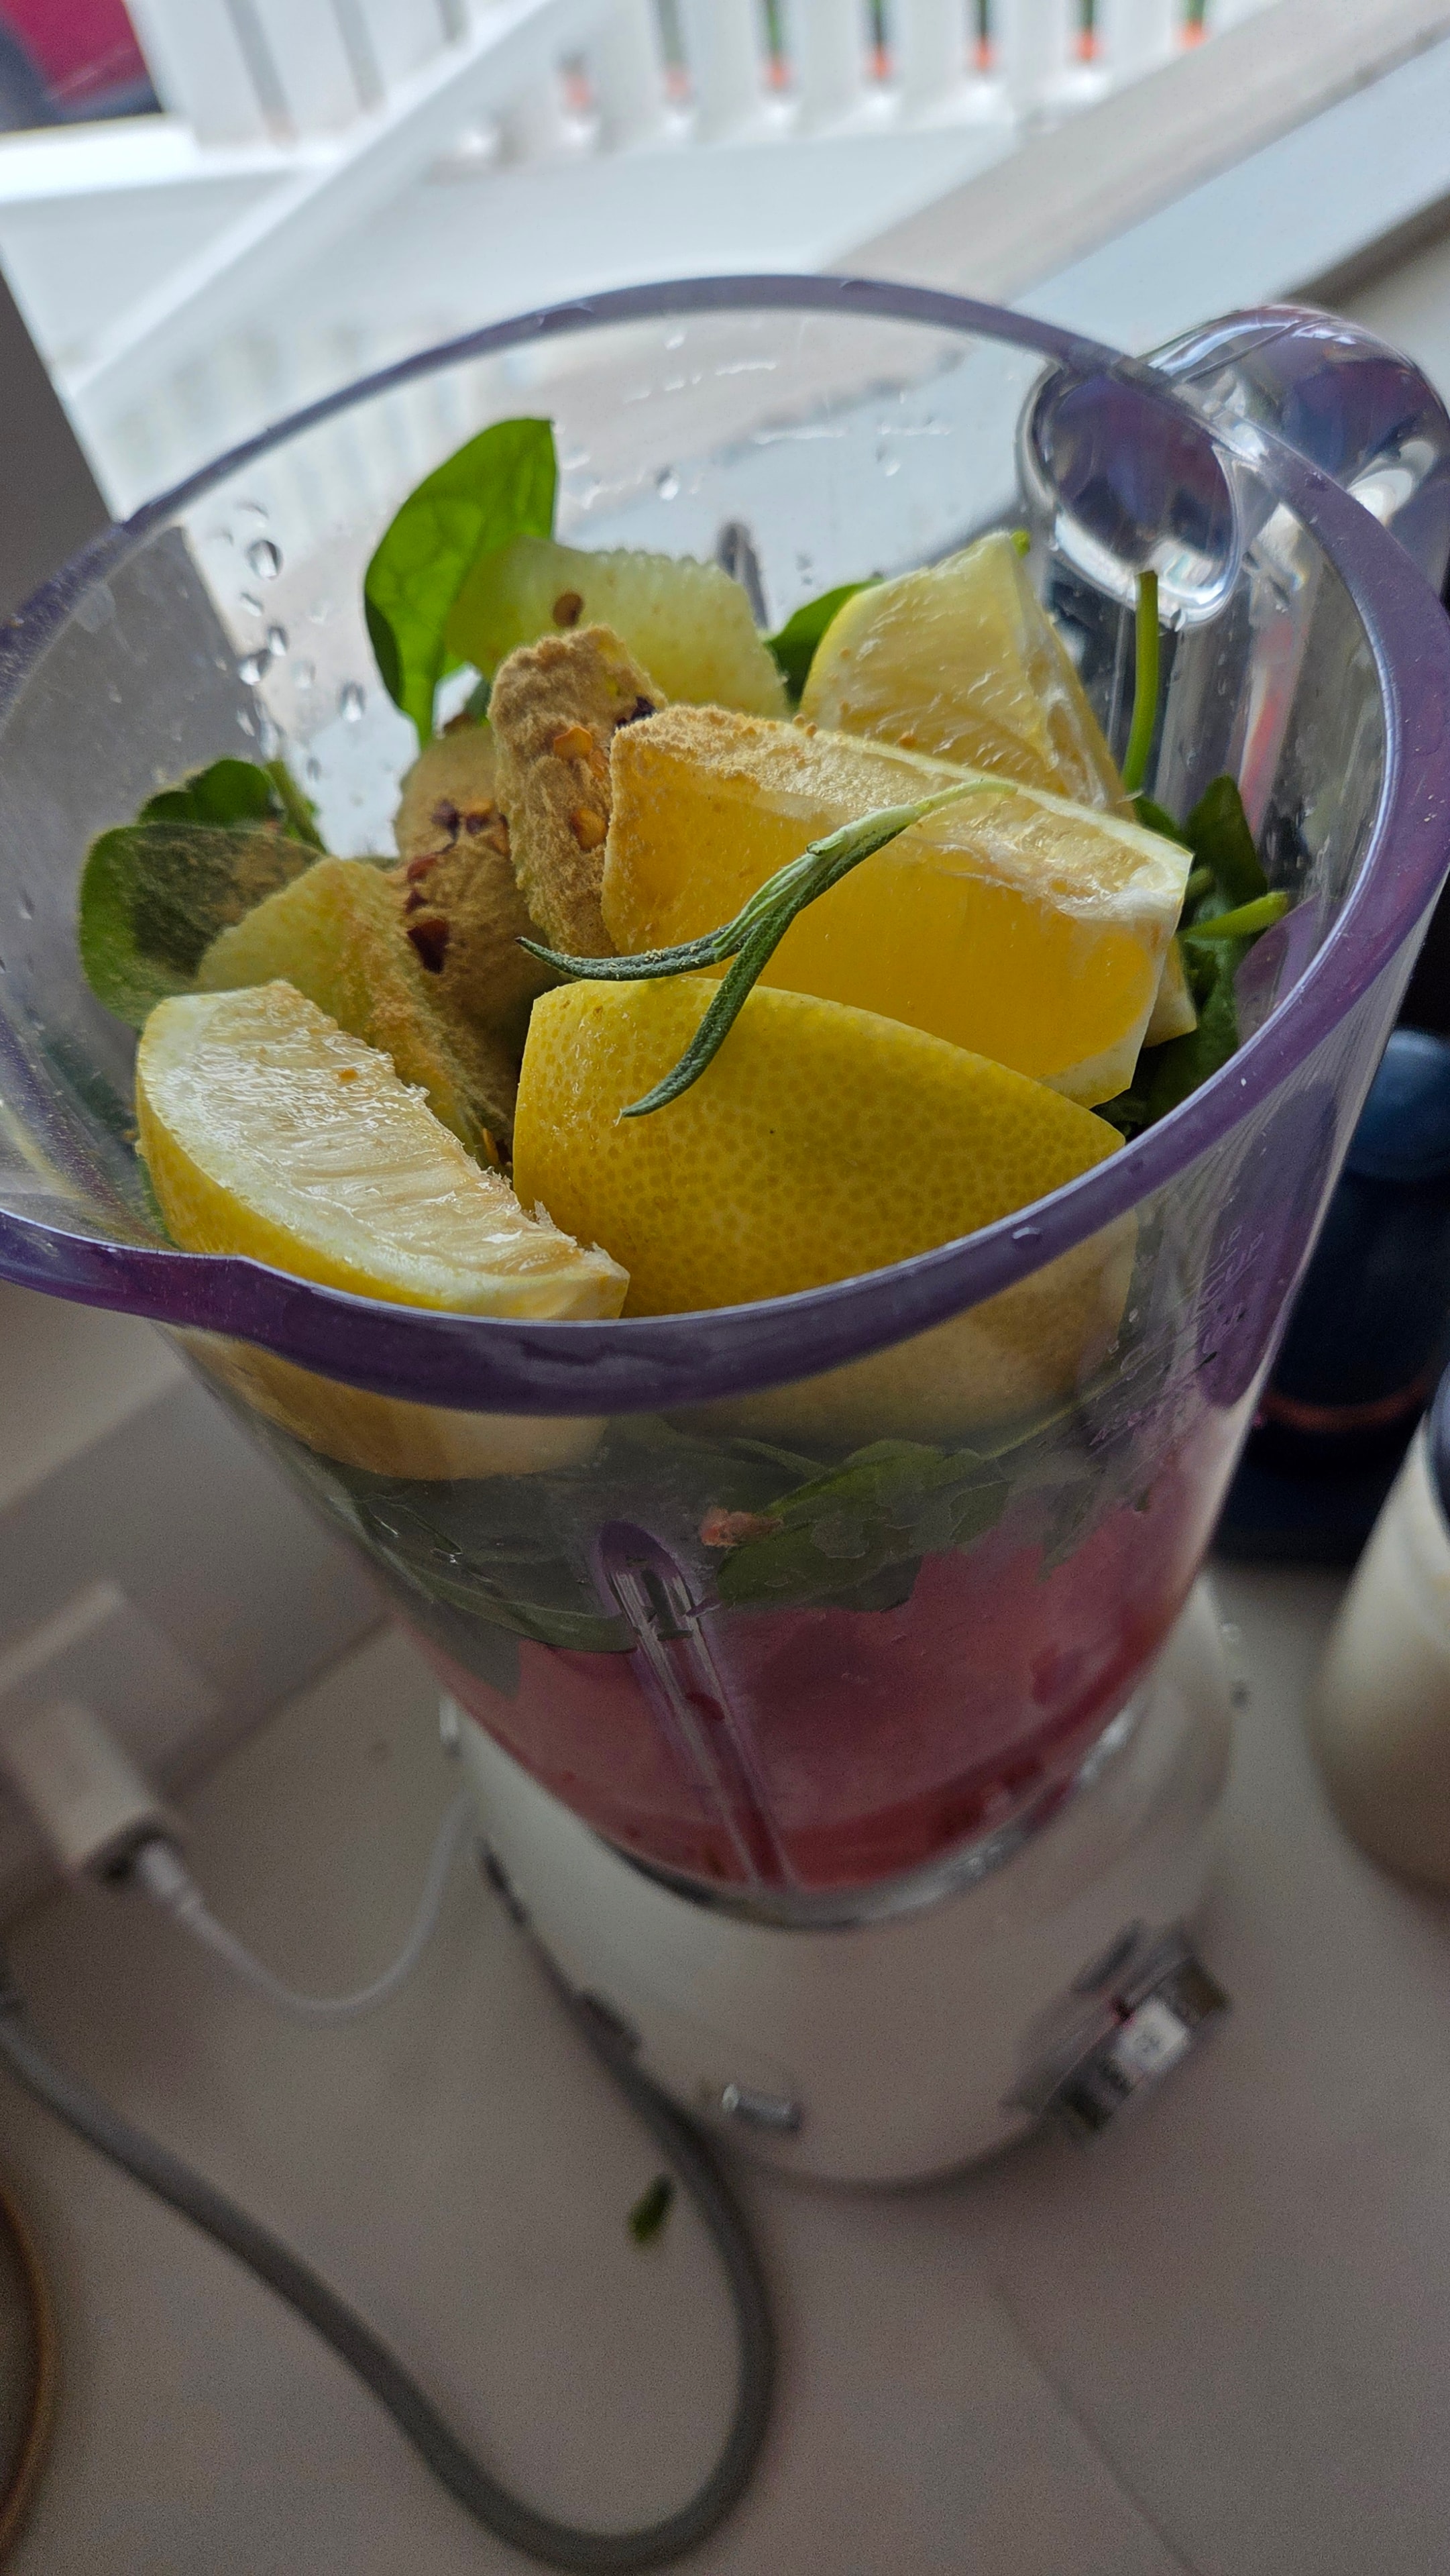
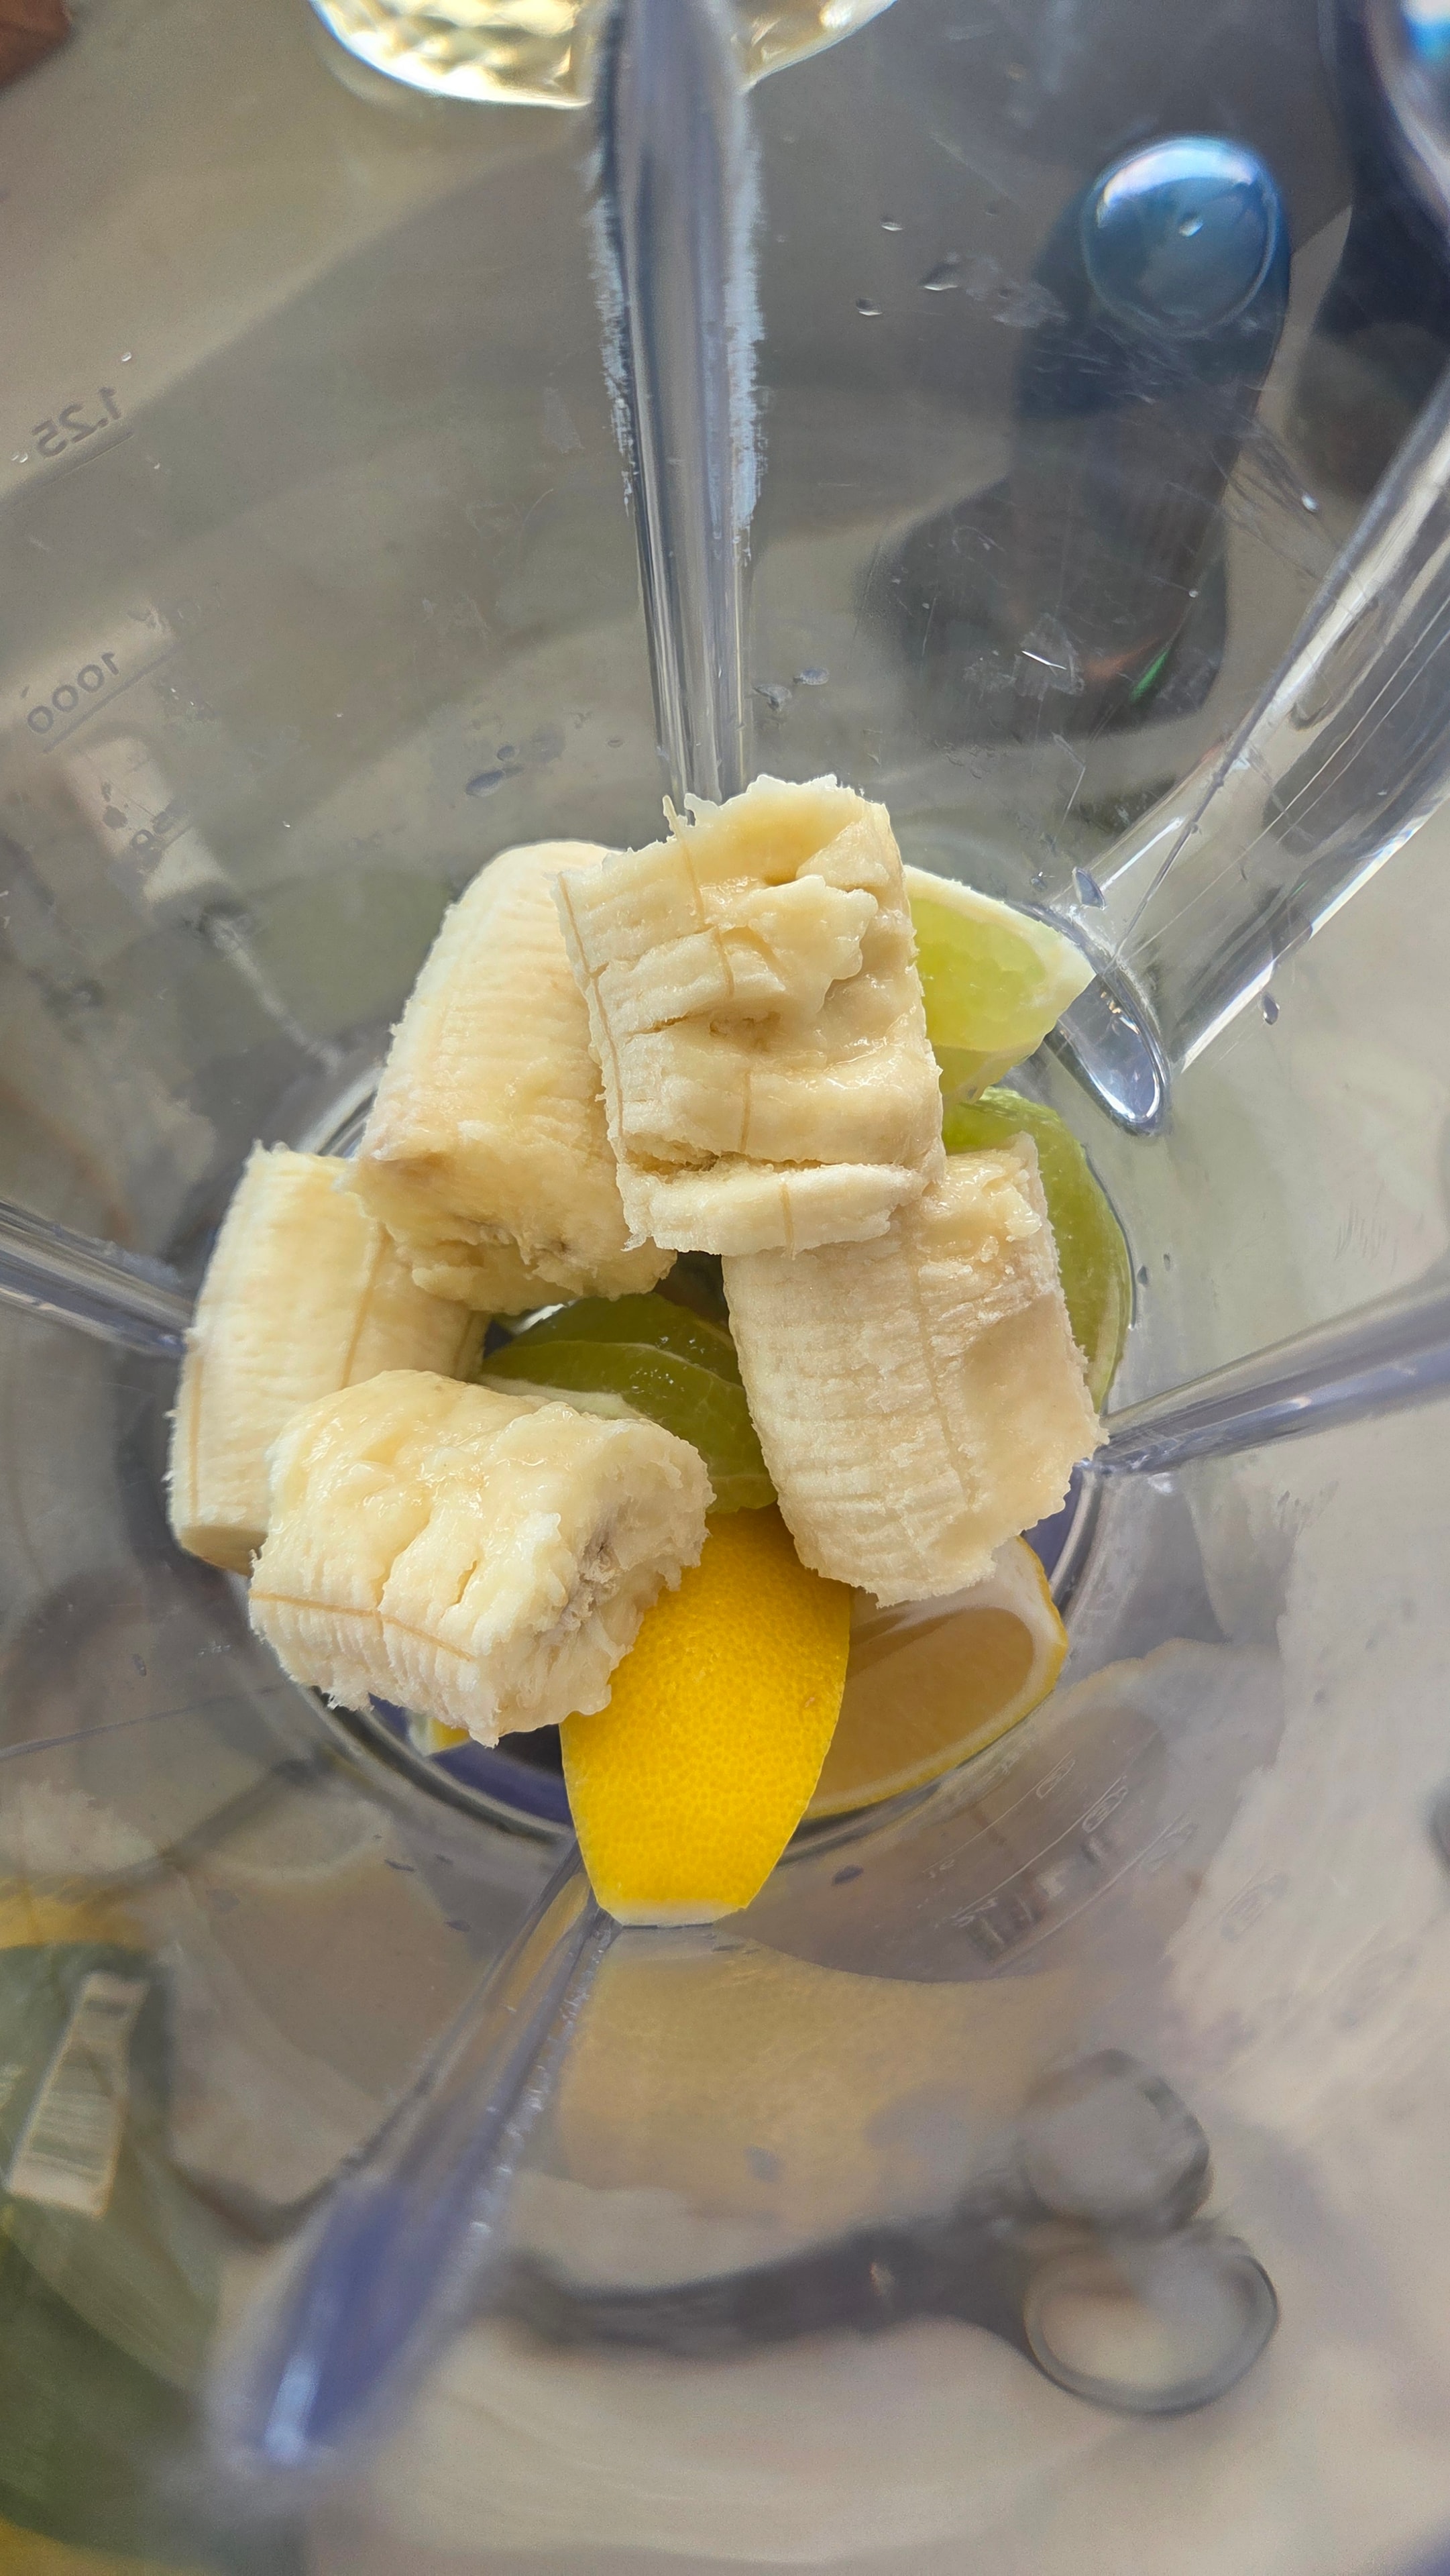
Add the orange juice, banana, lemon, and lime to the blender. Peel the lemon and lime first — or leave the lemon peel on if it is seedless and you want the extra limonene. Add the ice. Start on the ice setting and blend until the ice is fully broken down.
- 3
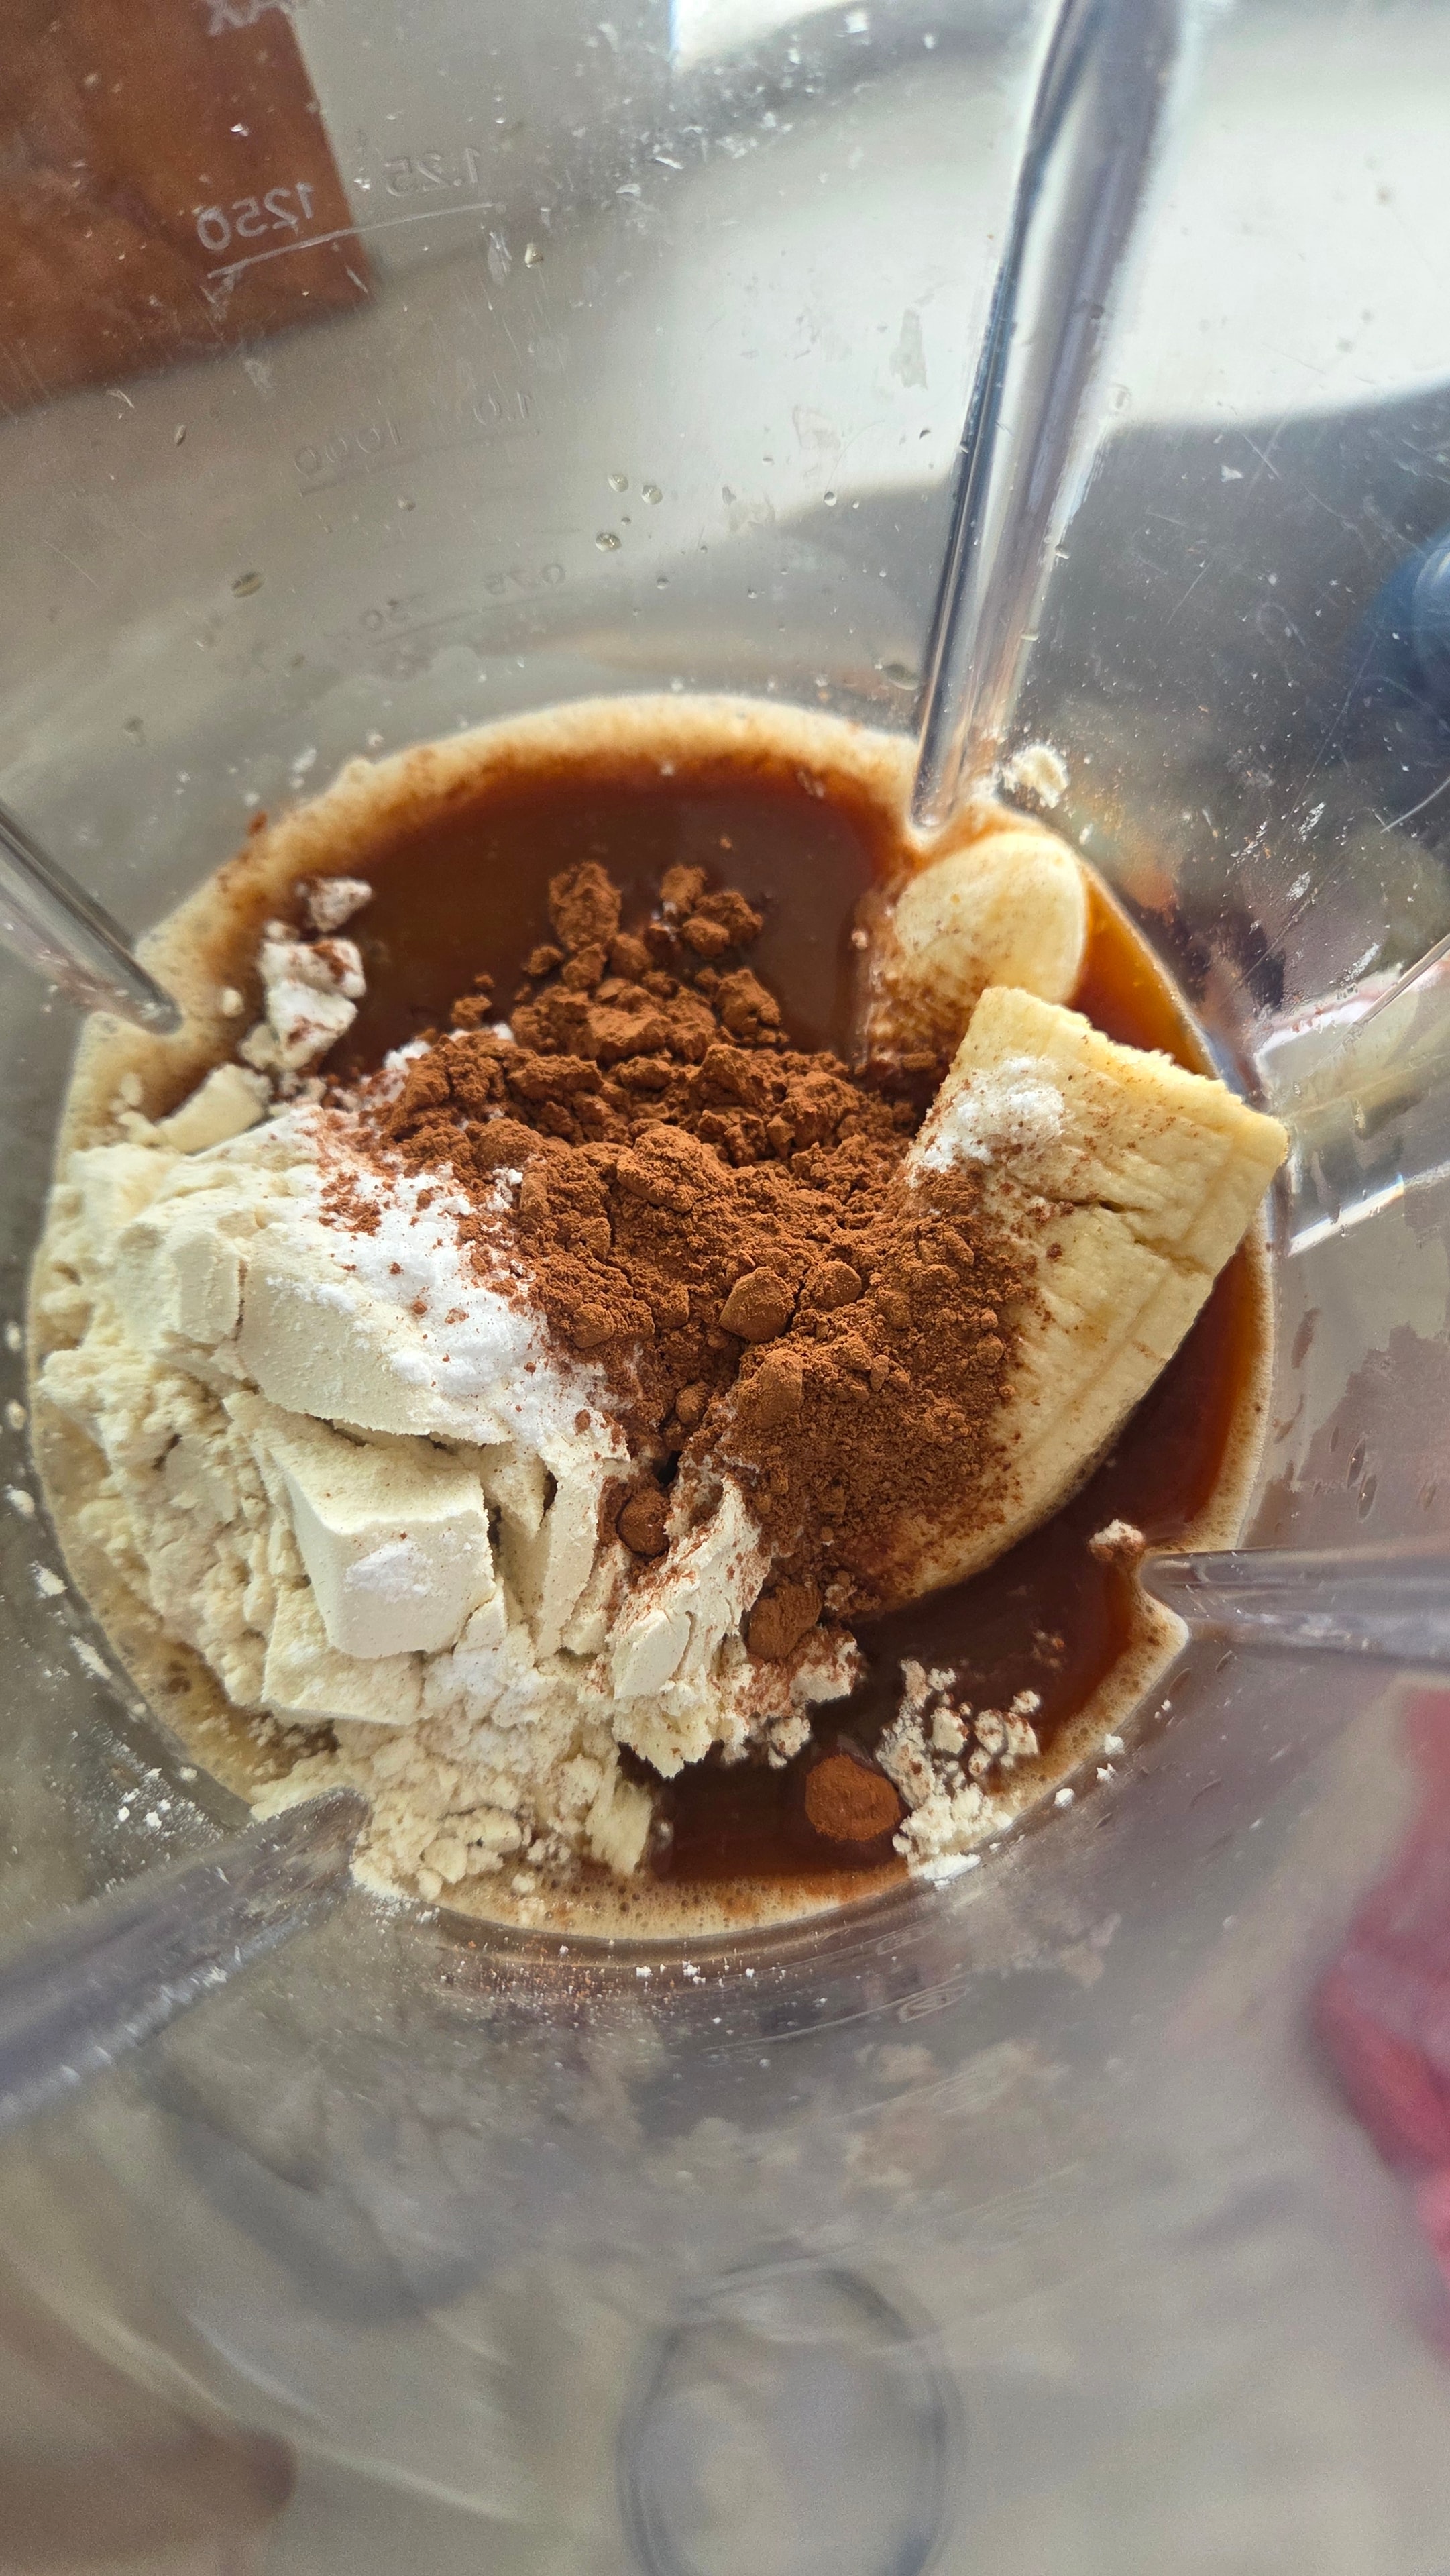
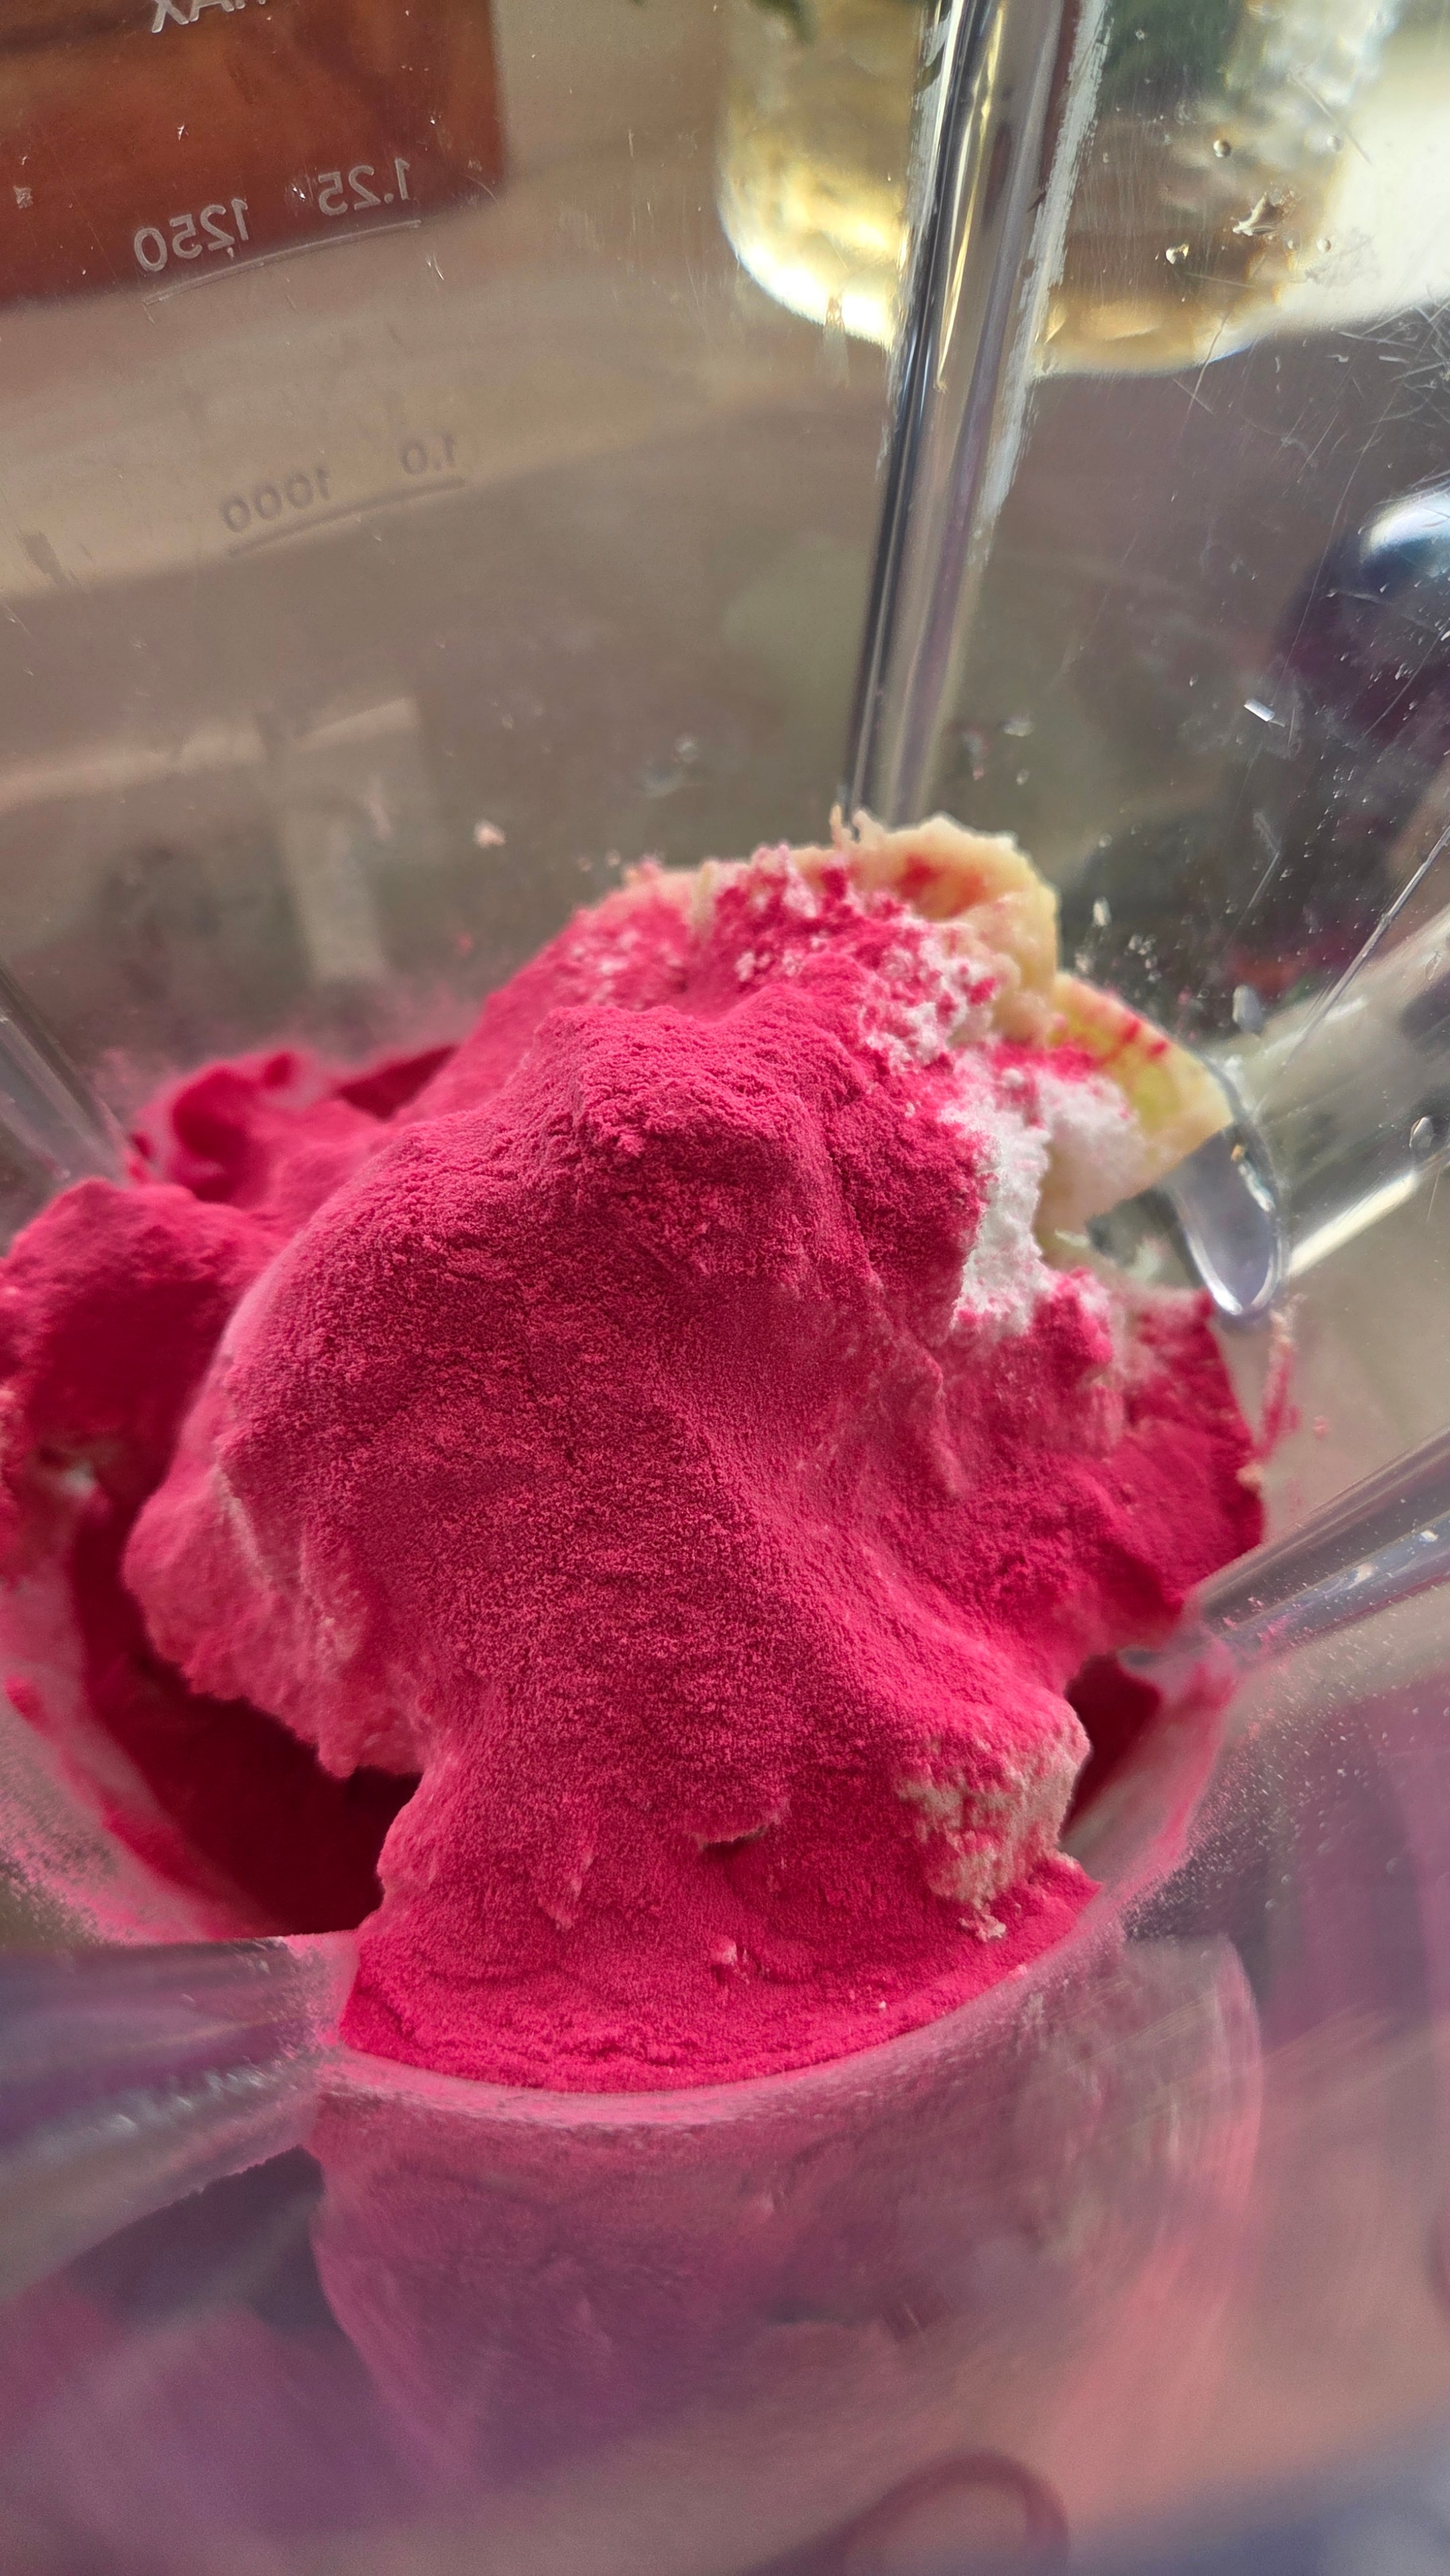
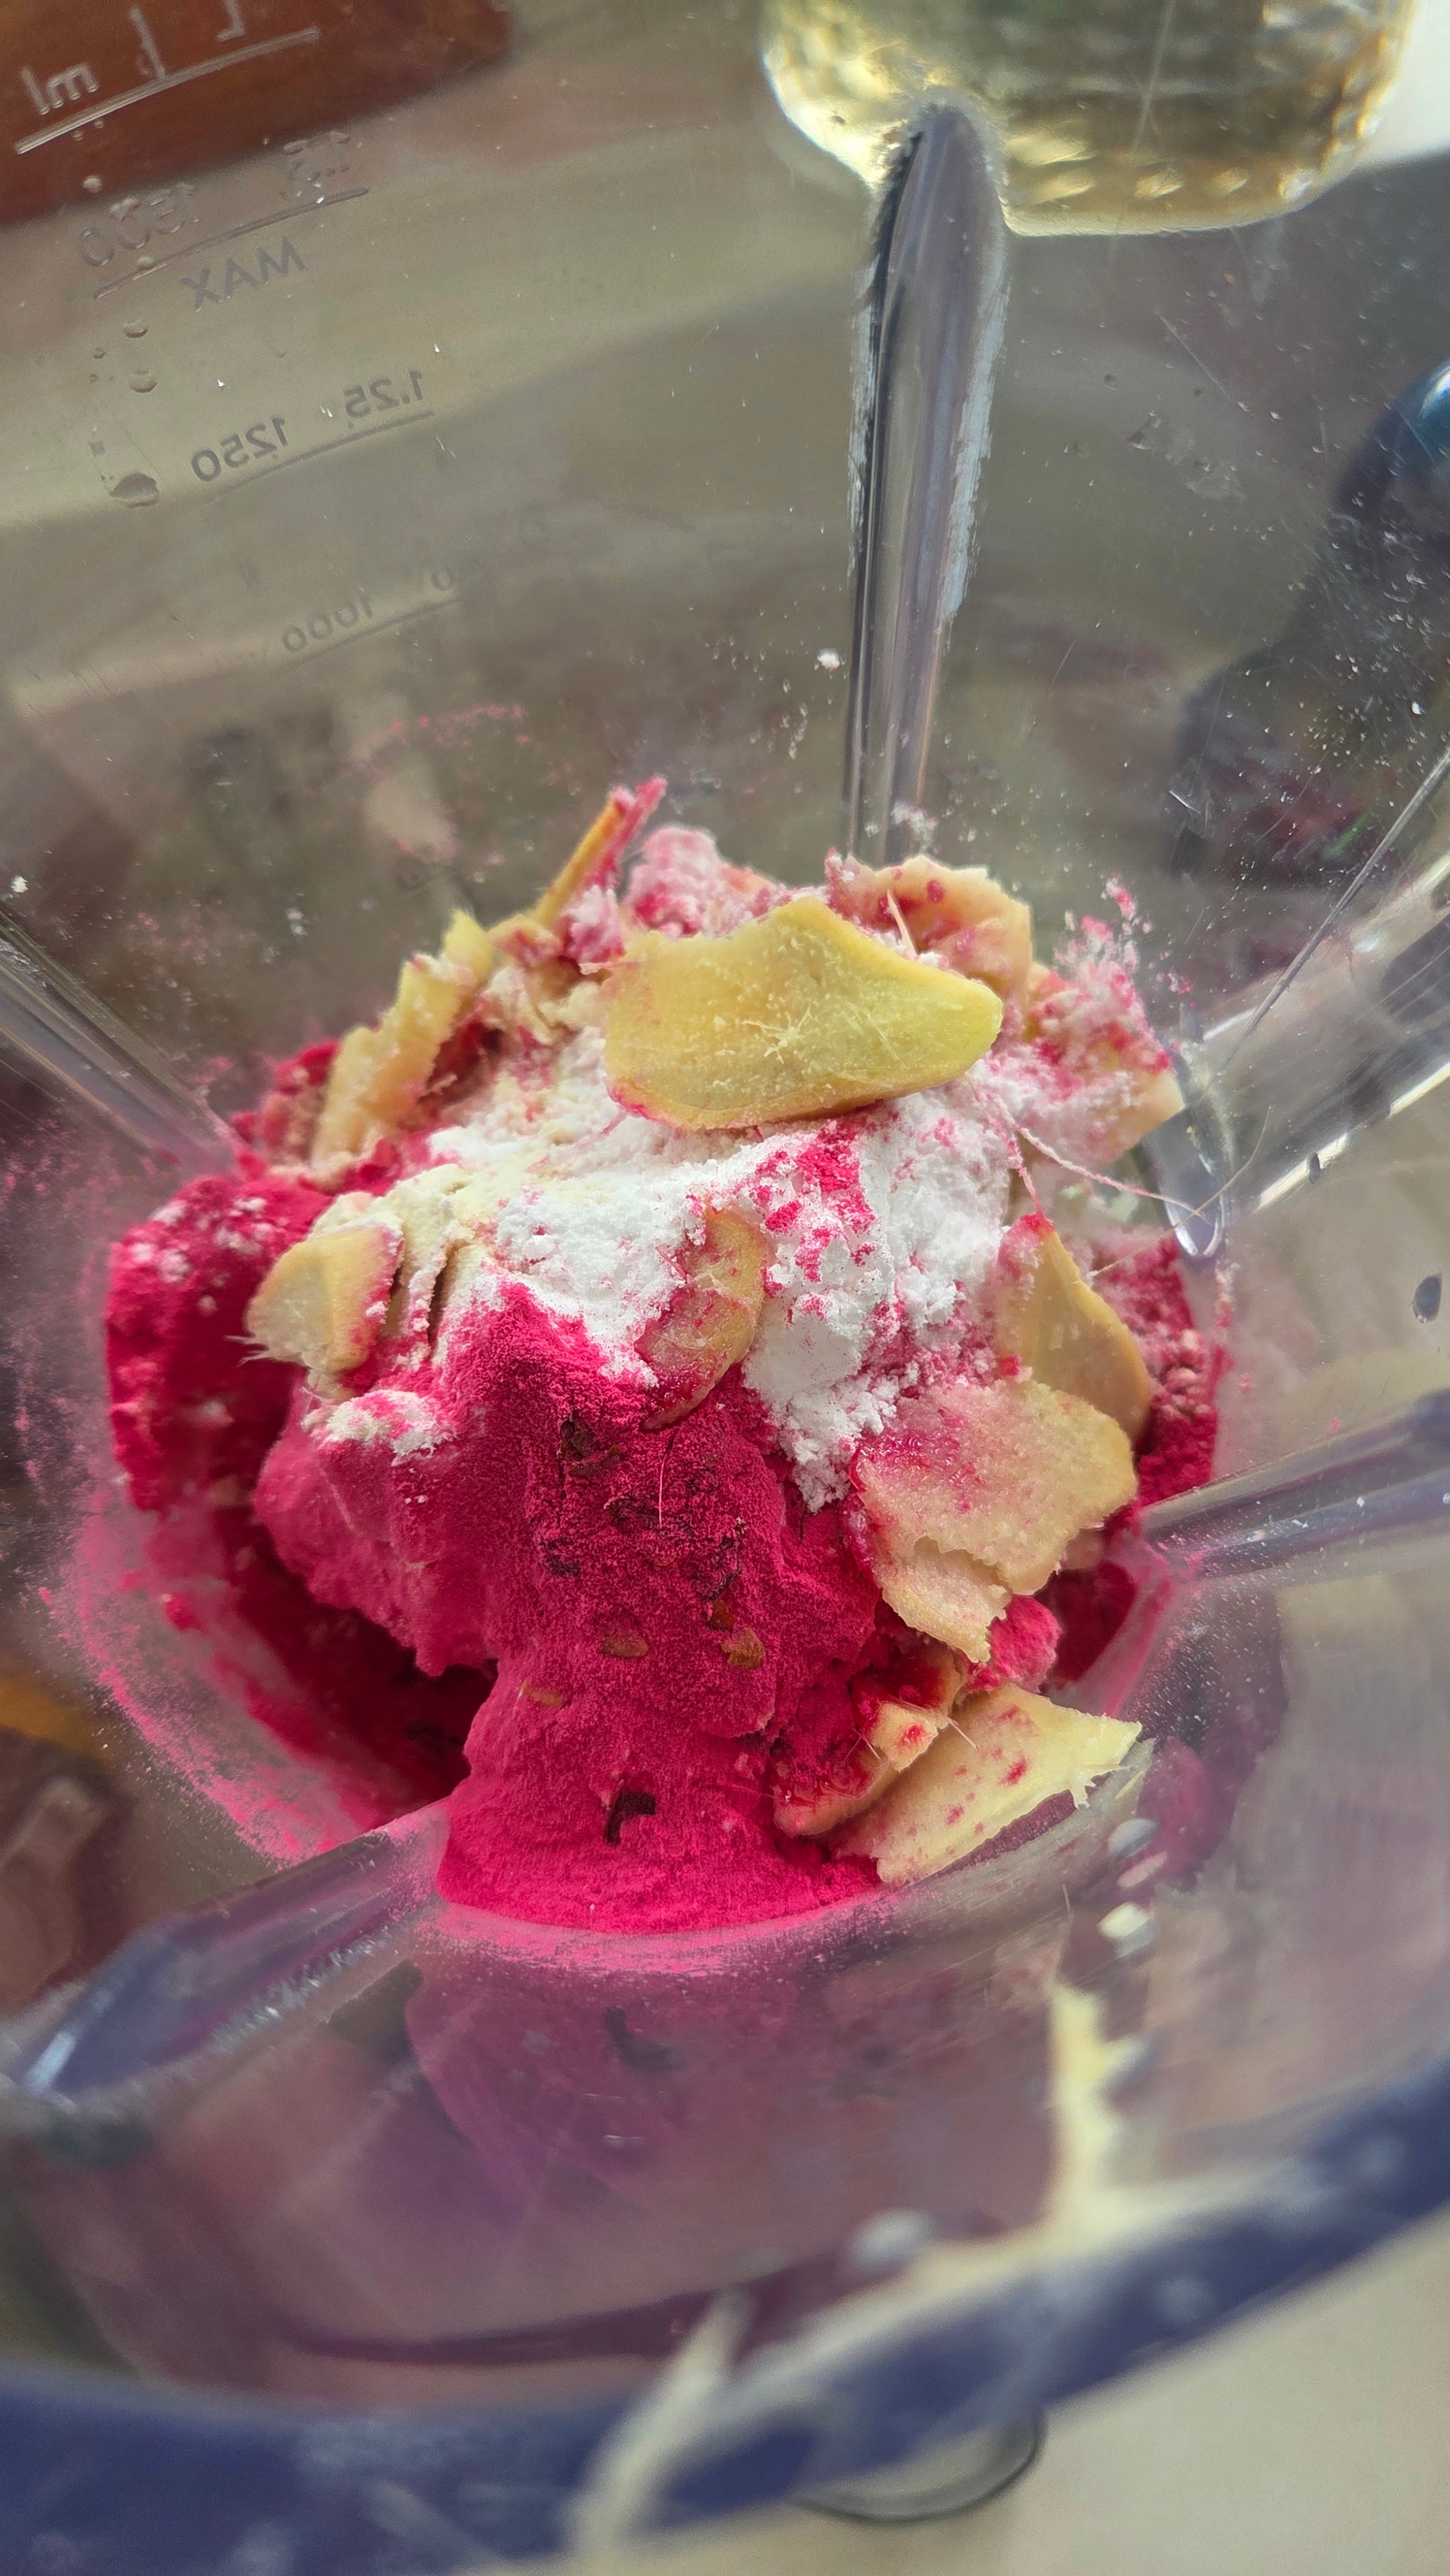
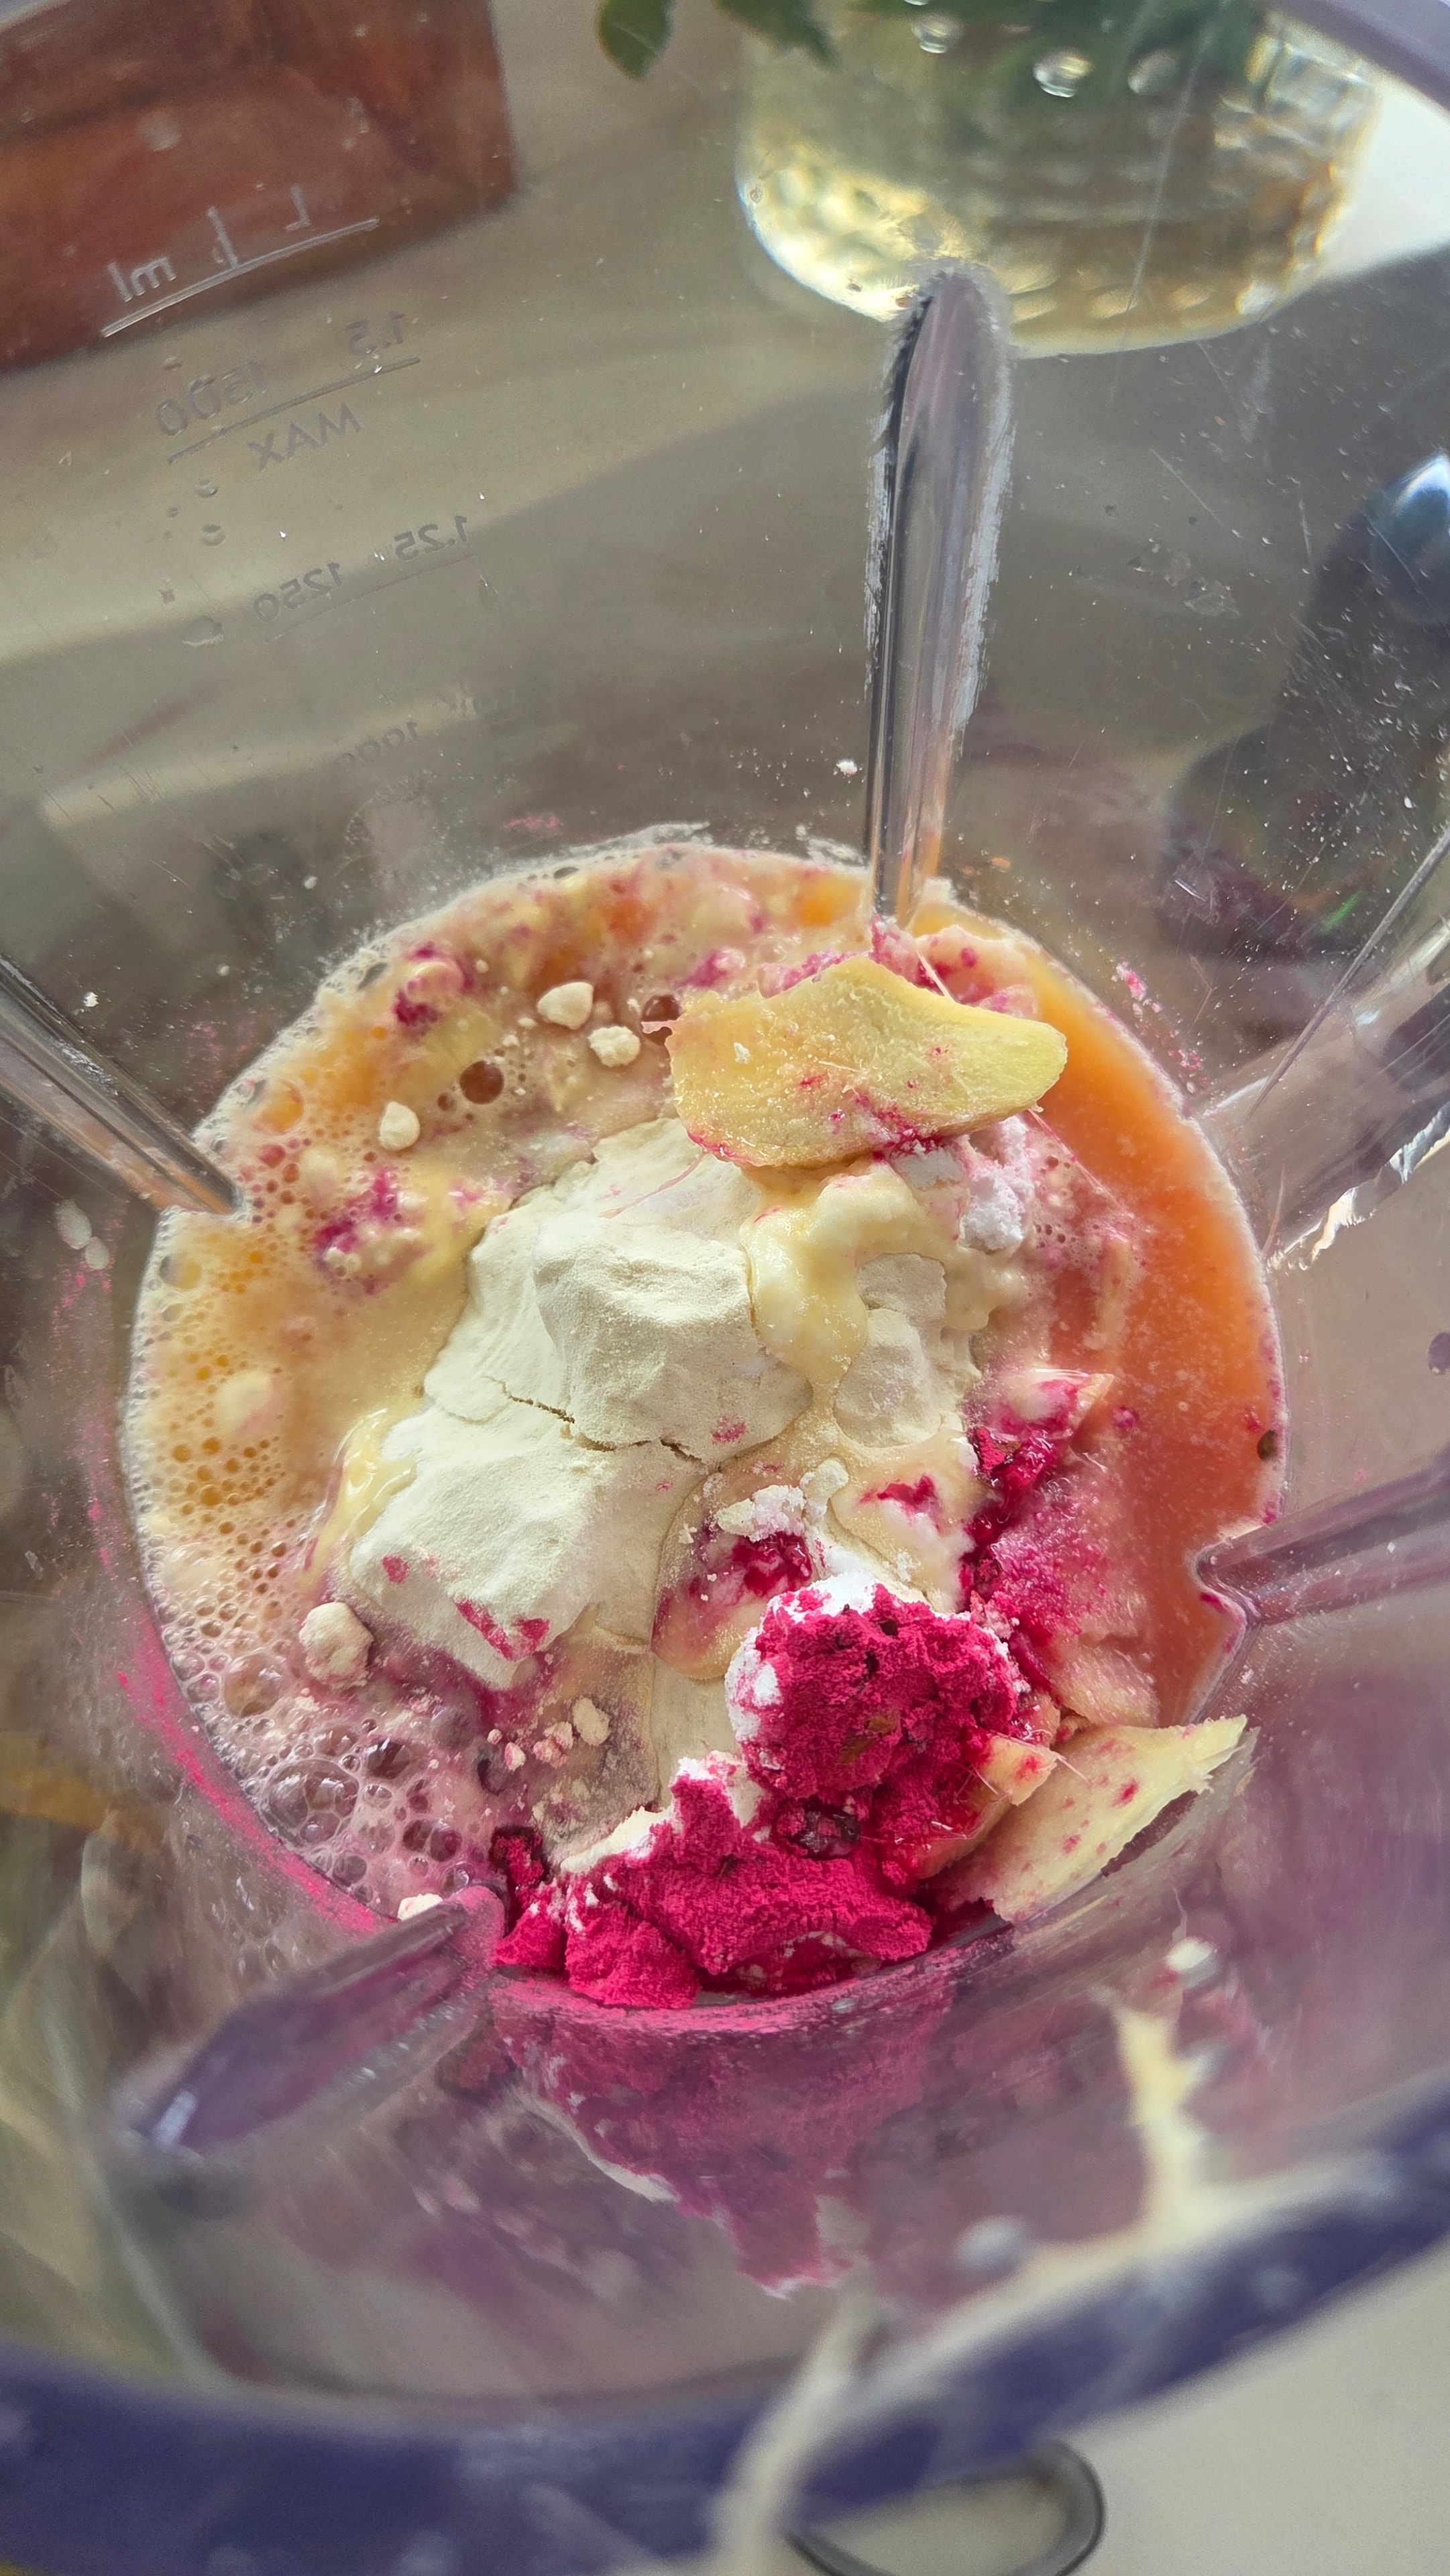
Add the pink pitaya powder, rapeseed oil, crushed pepper, whey protein, and creatine. Switch to the smoothie setting and blend with the fruit. The colour will turn vivid pink immediately.
- 4
Blend two more times on the smoothie symbol, stopping to scrape down the sides between each pass. This is what gives you the fluffy, creamy body rather than something that just tastes blended — each pass incorporates more air.
- 5
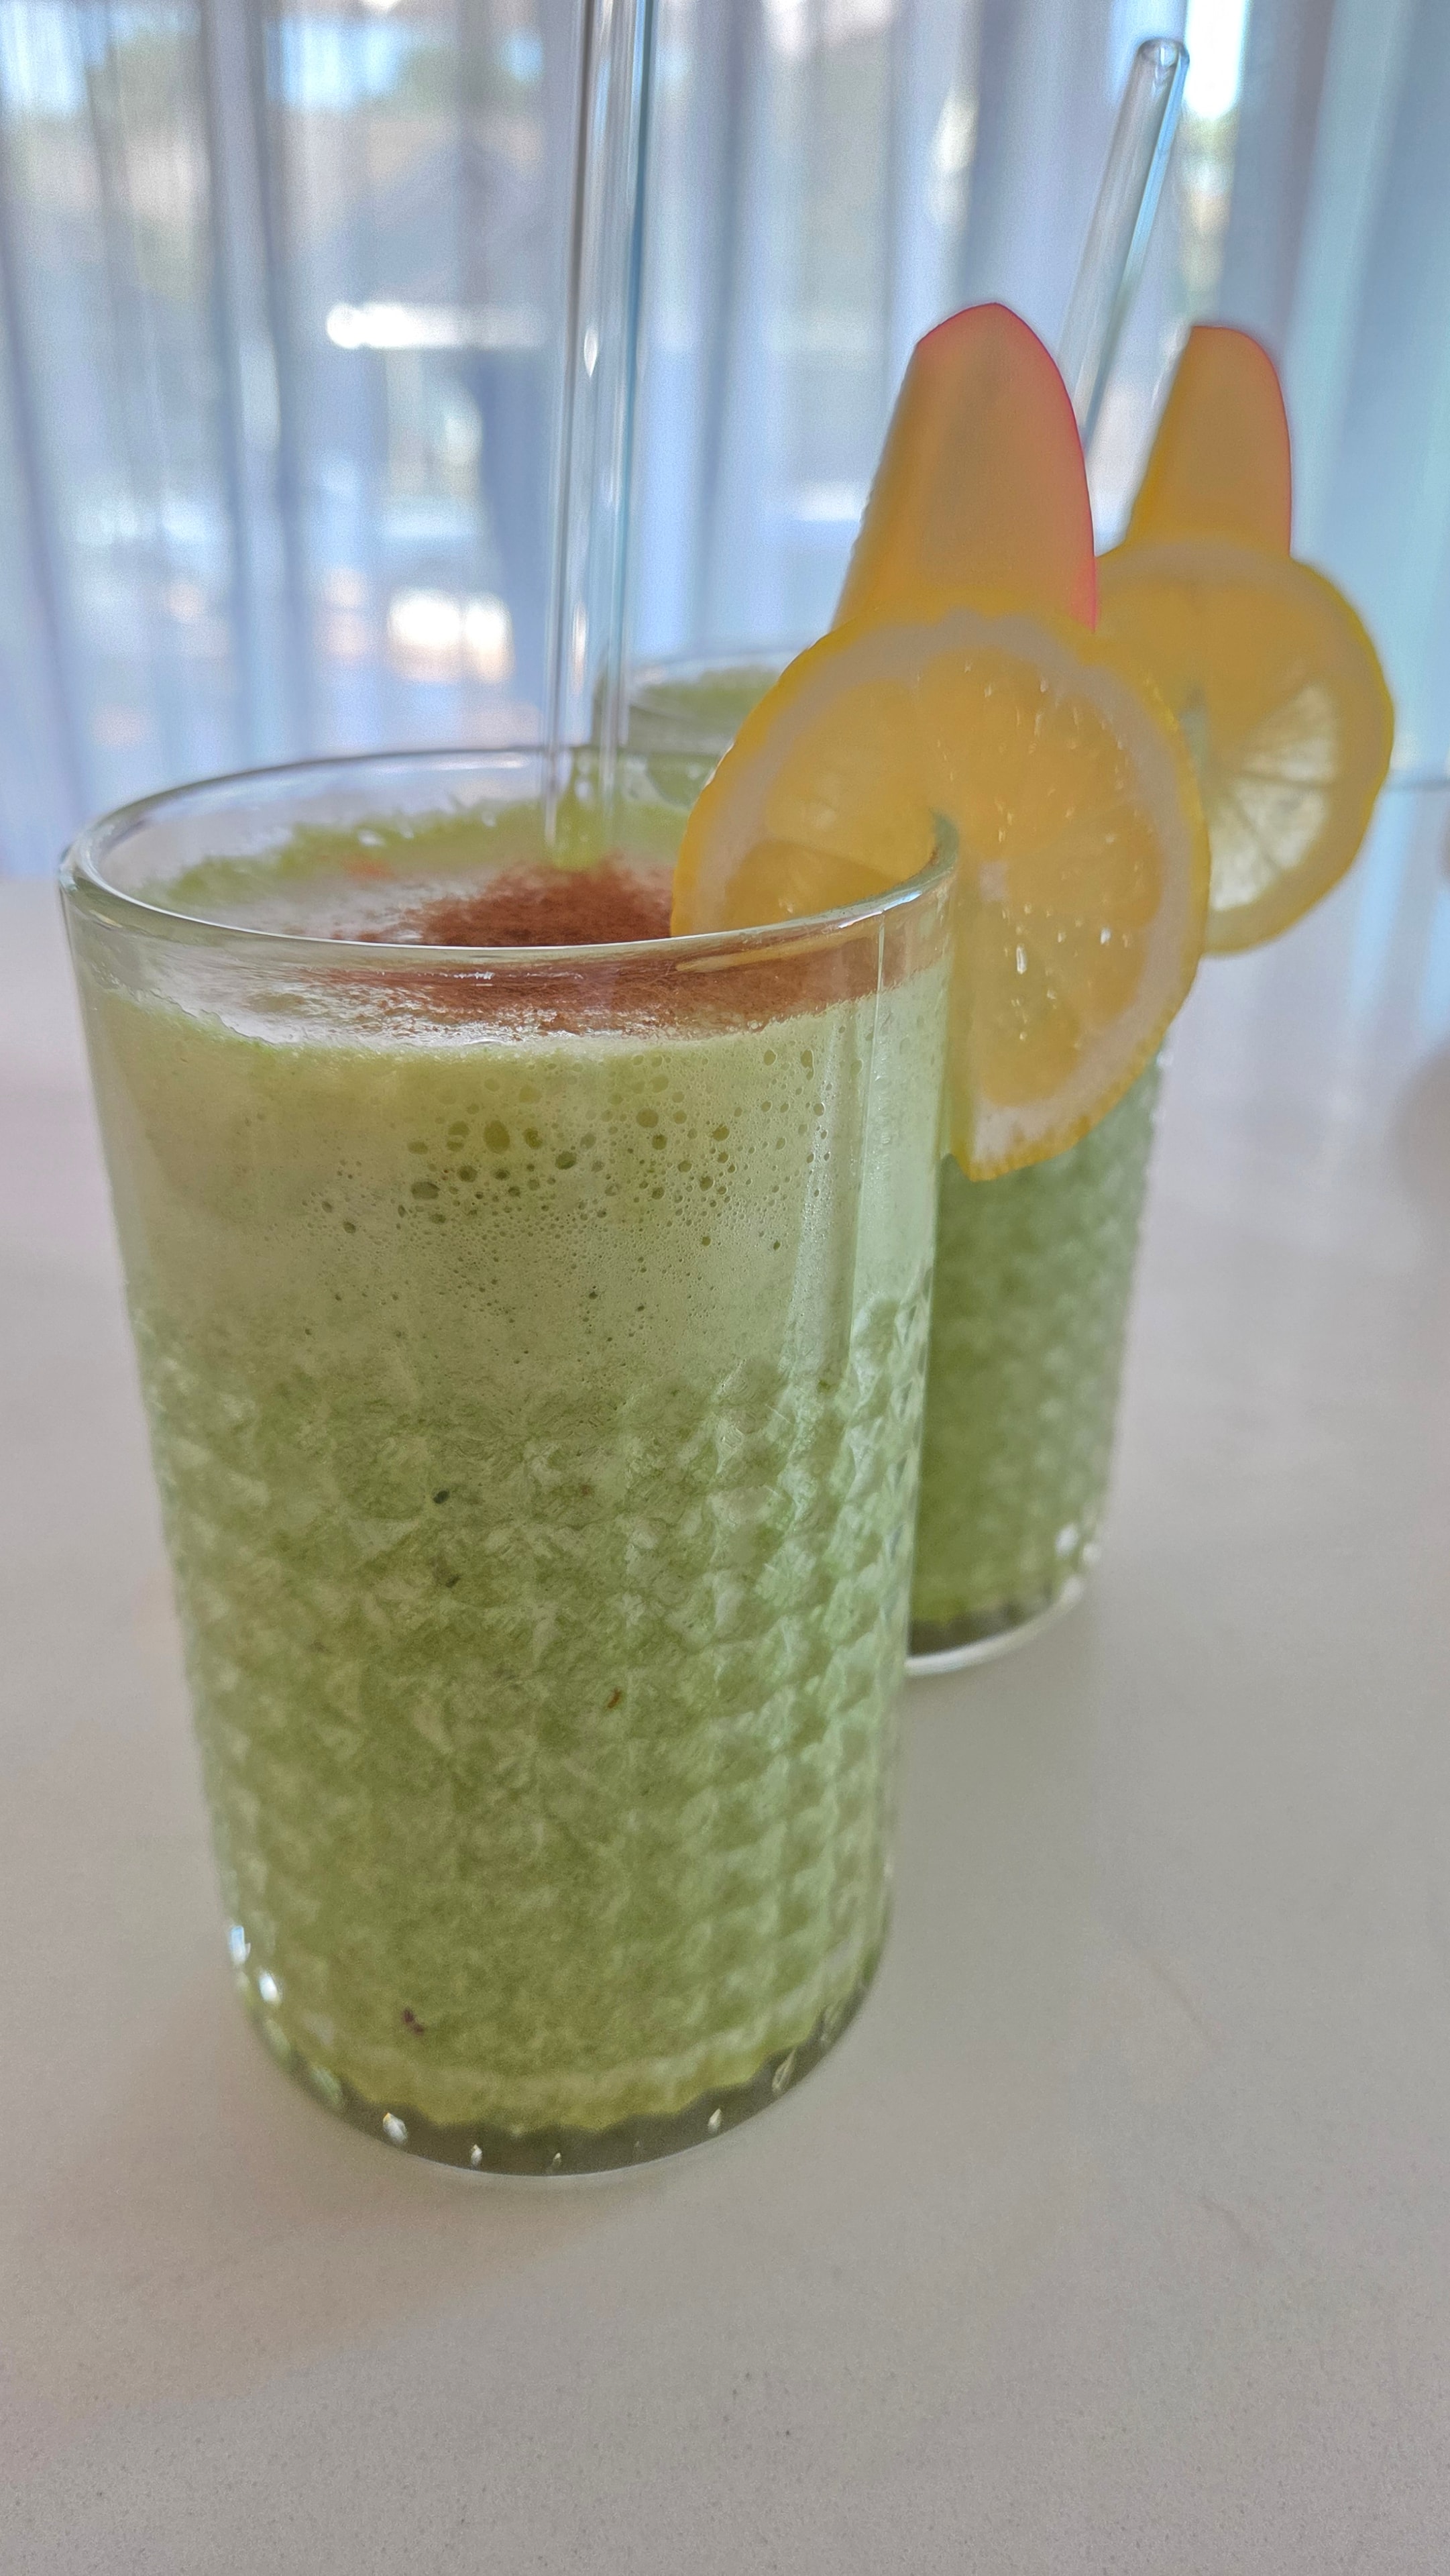
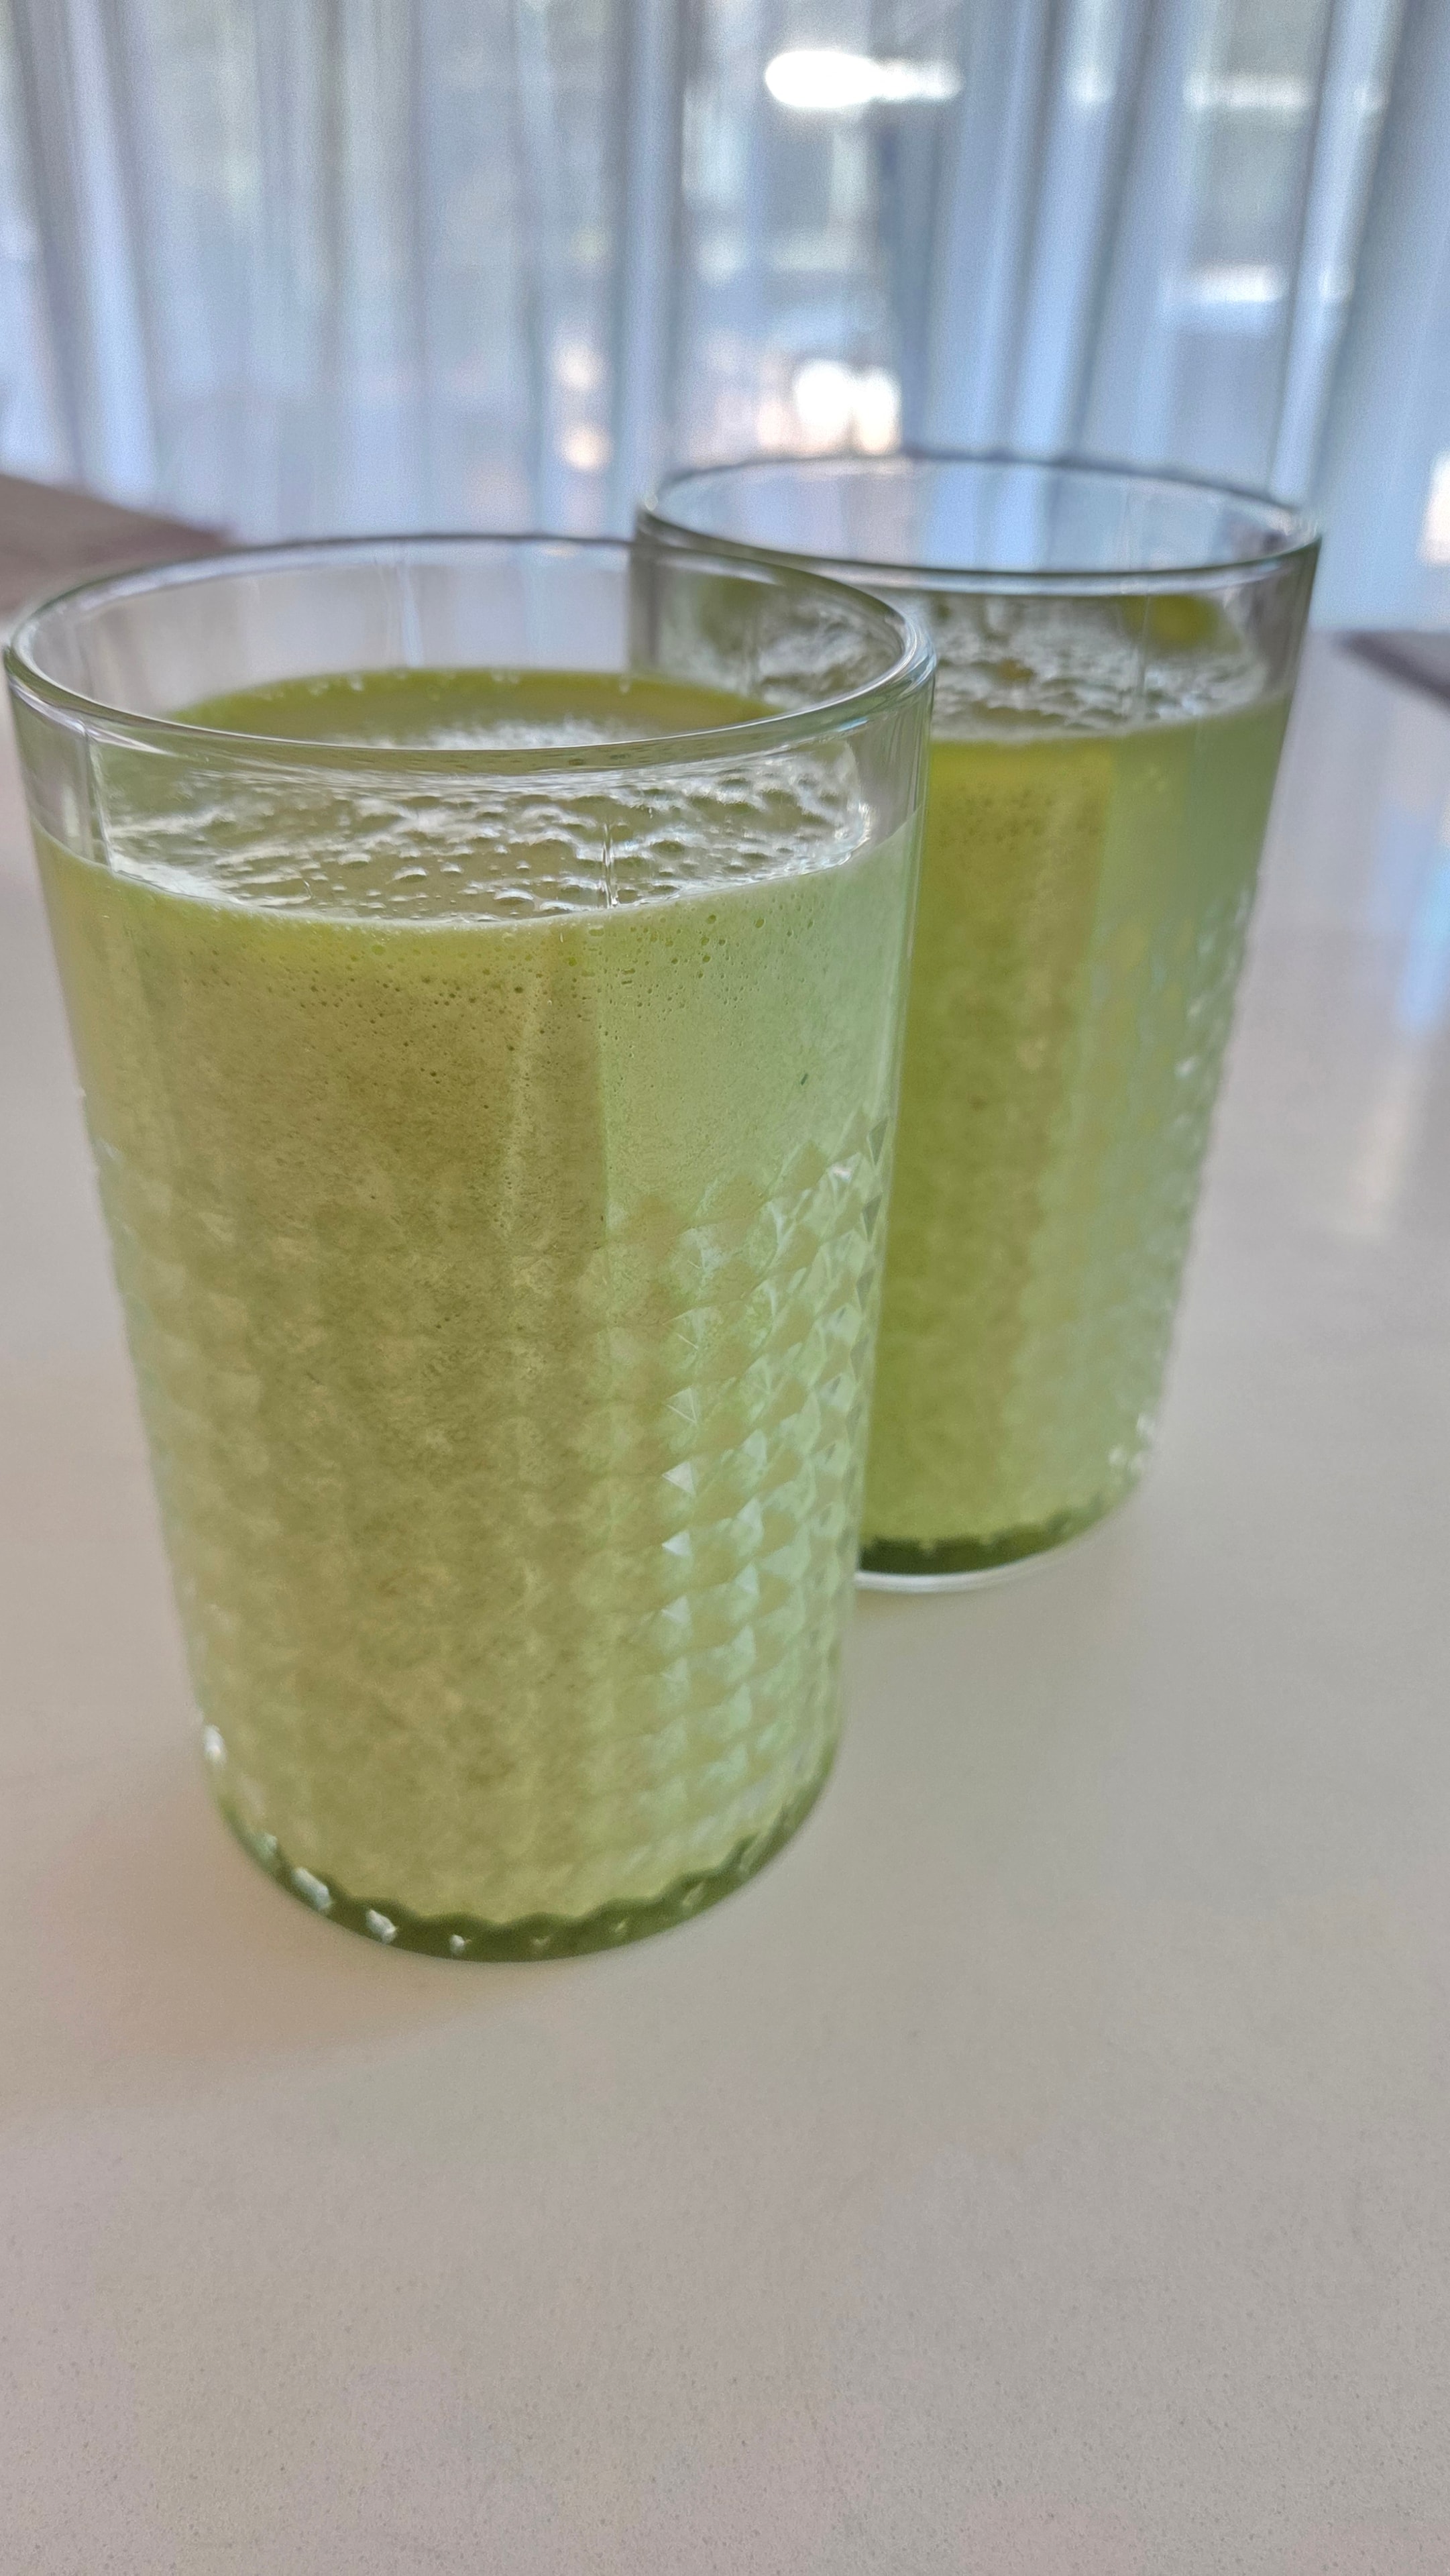
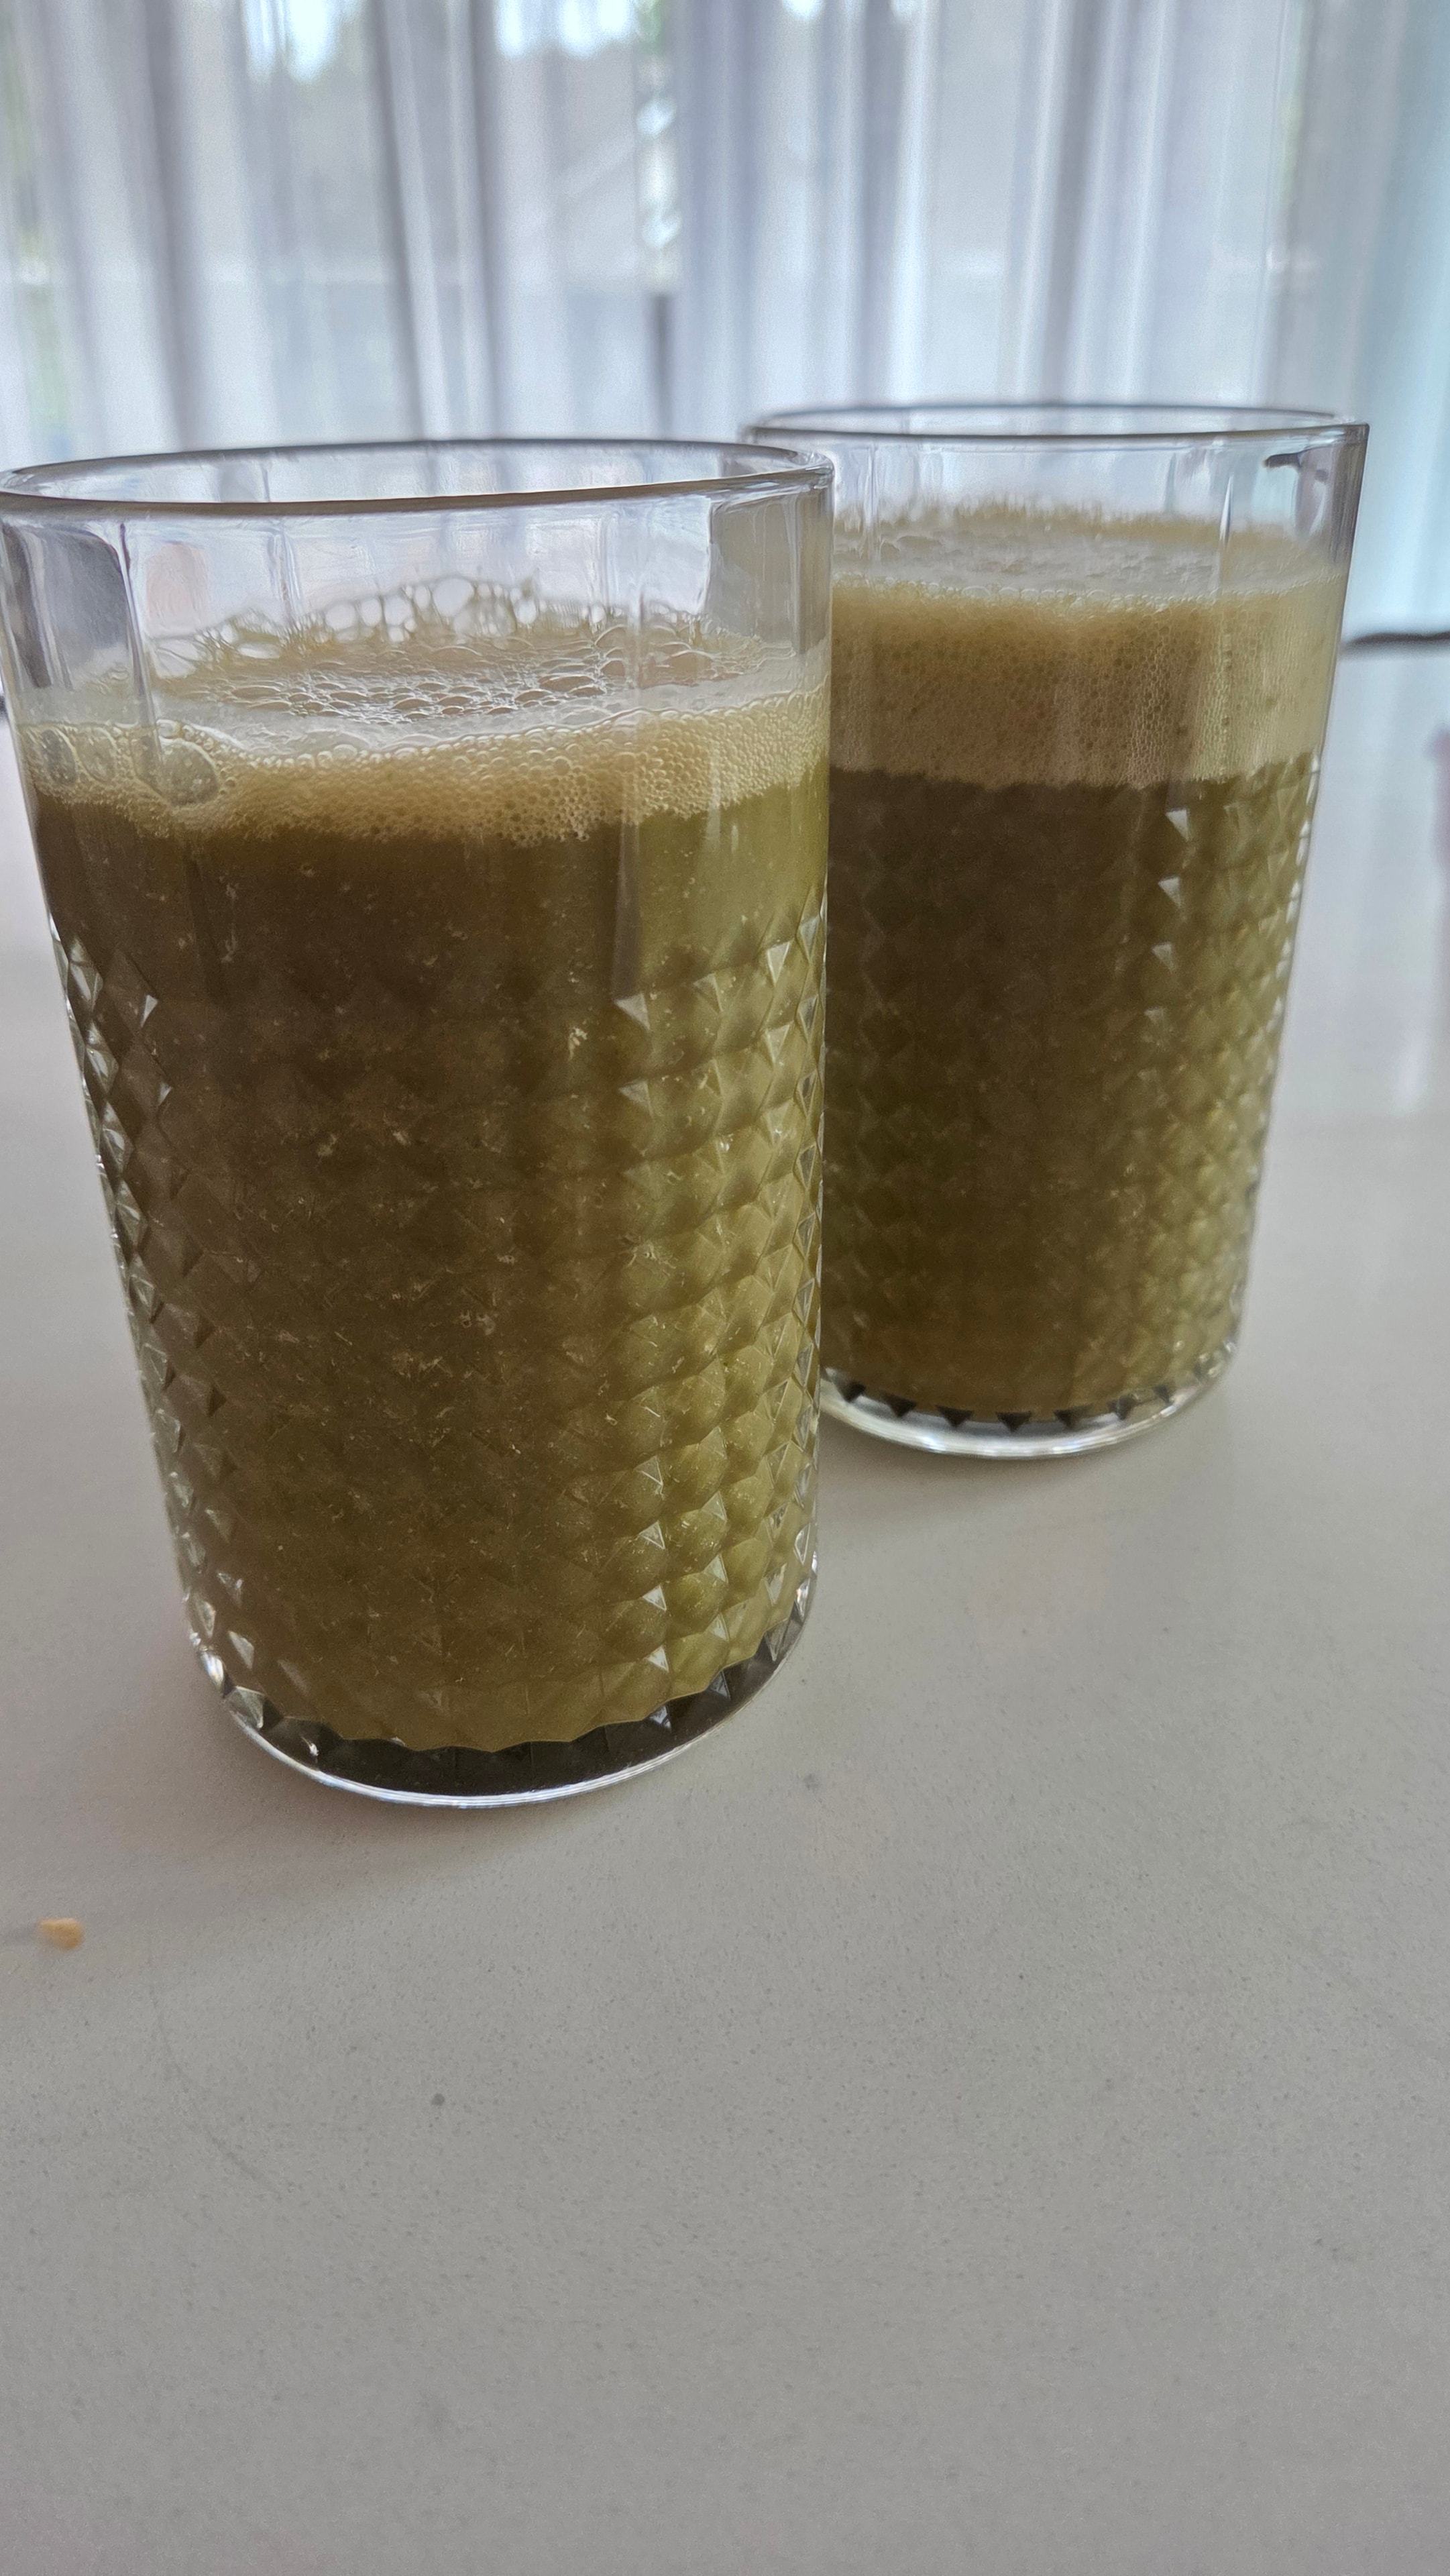
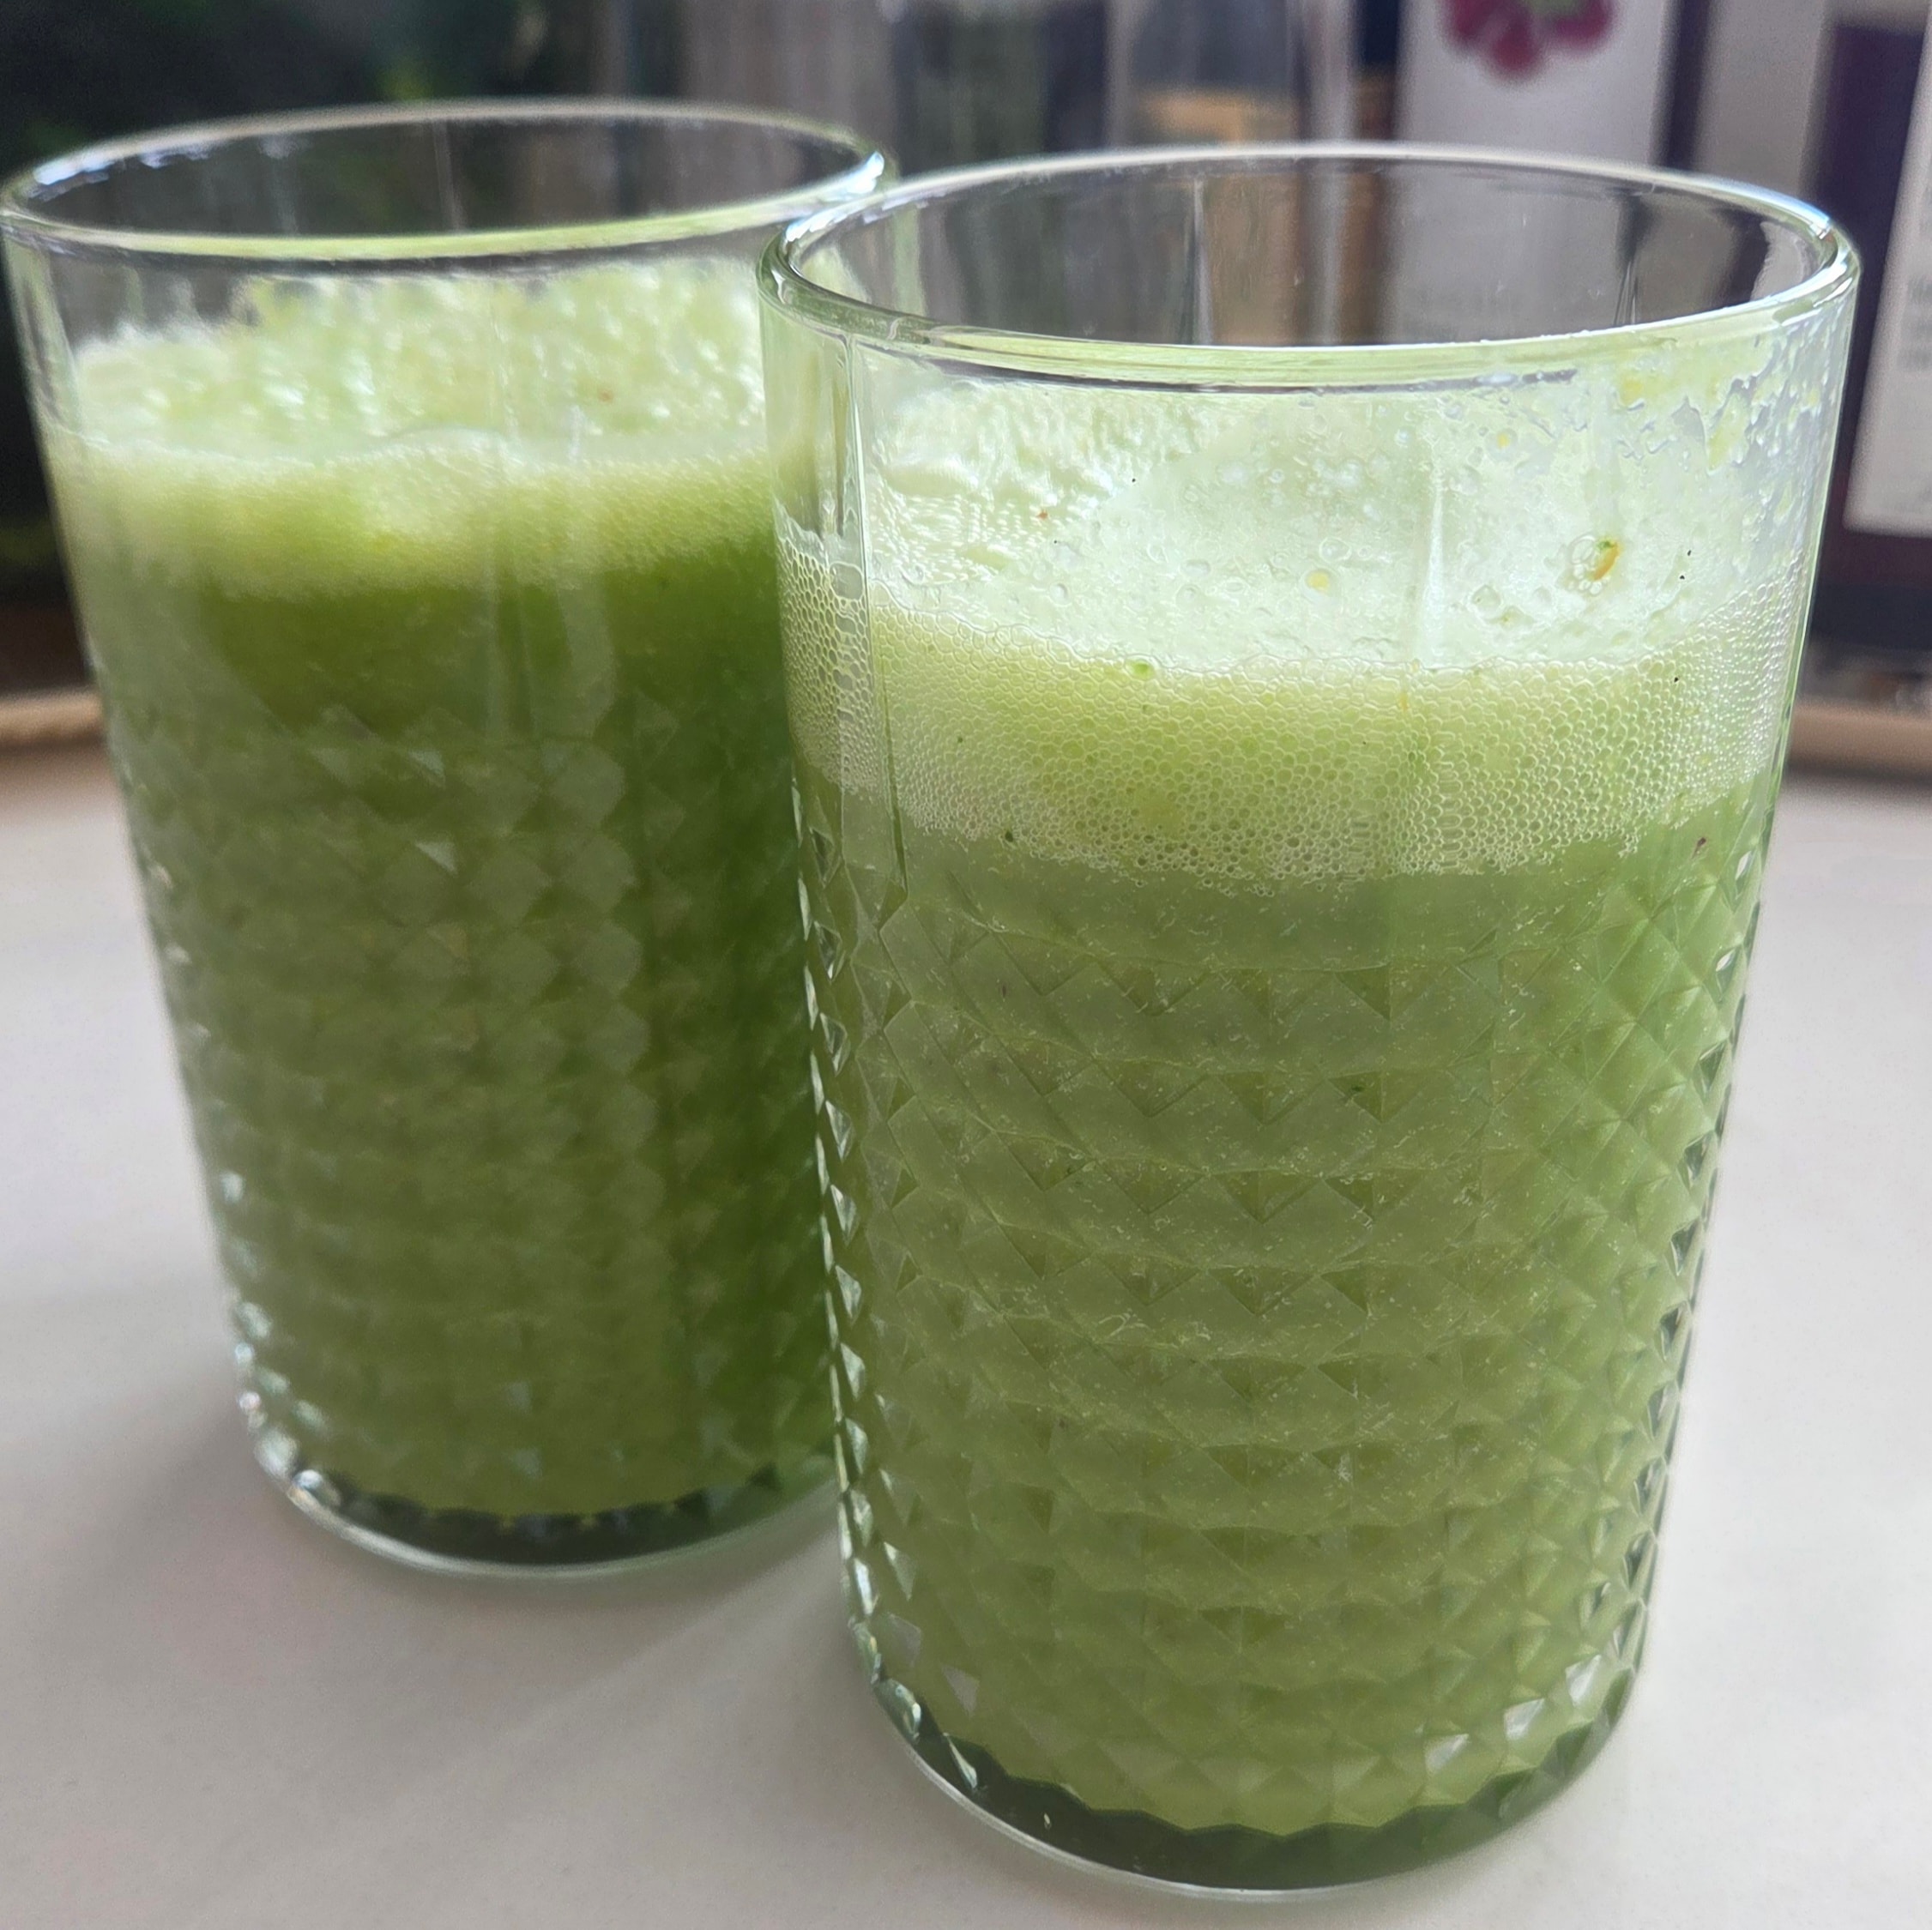
Pour into glasses. Set aside while you make the cold foam.
- 6
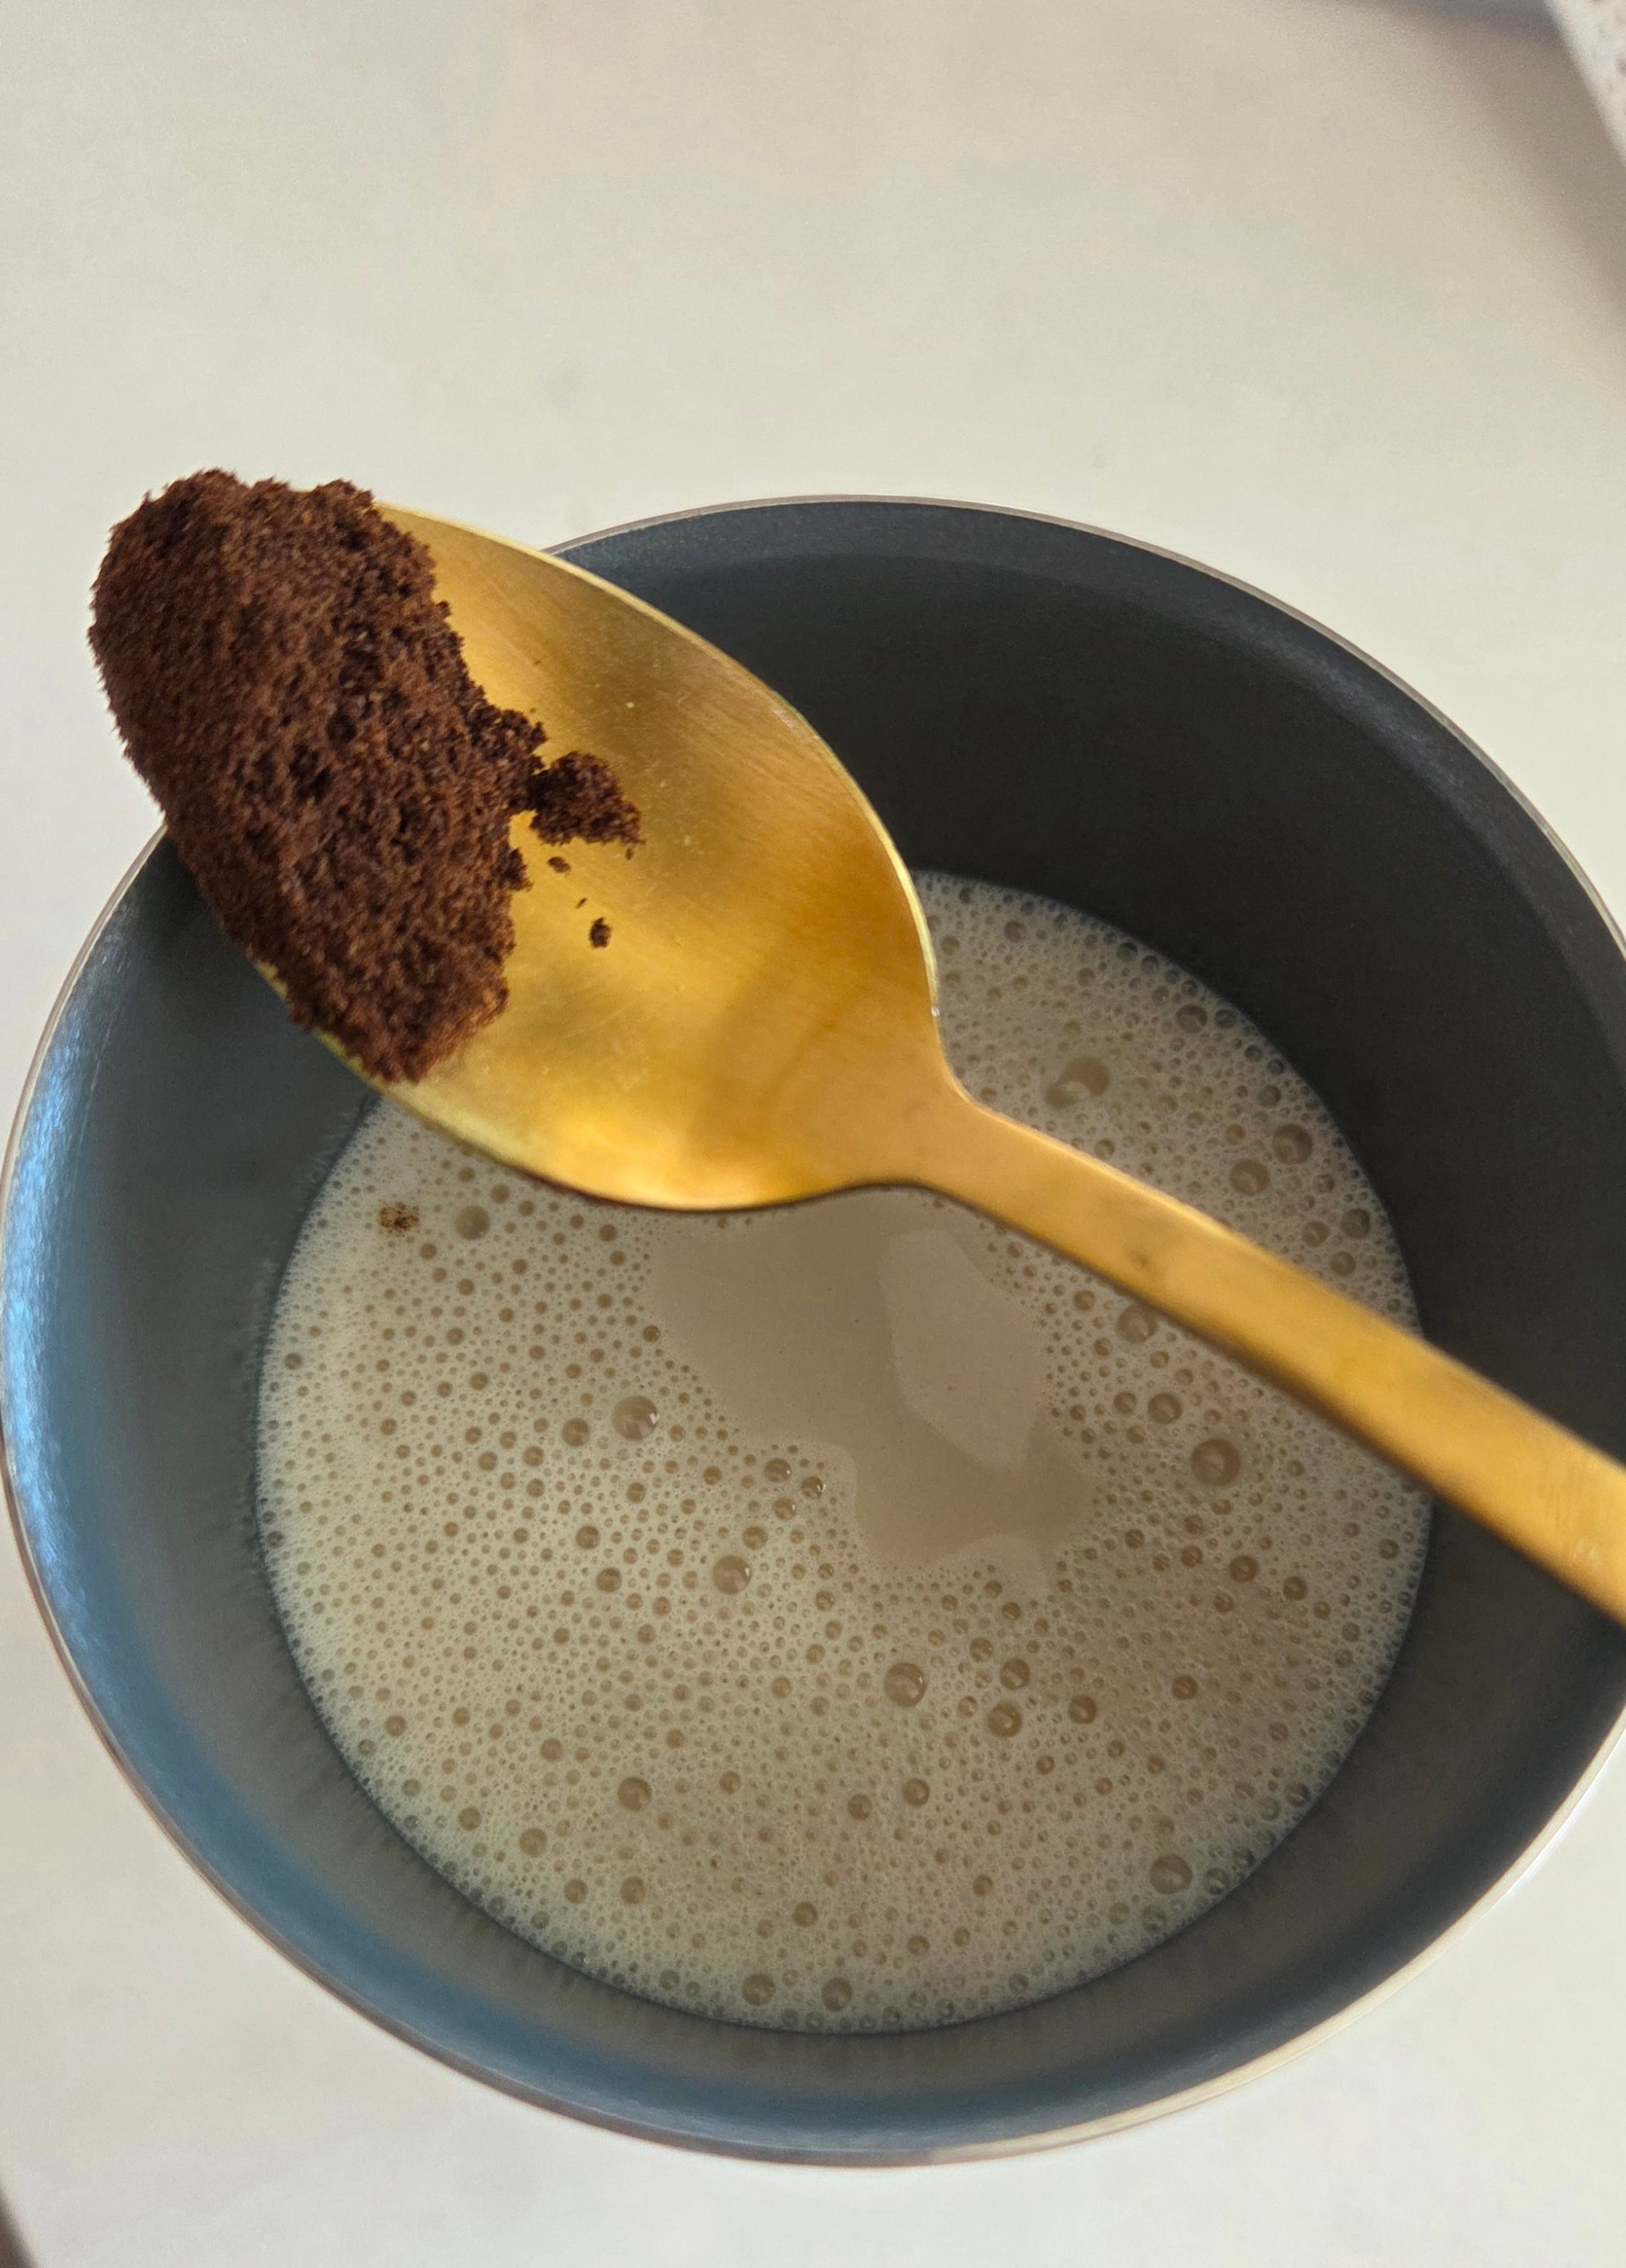
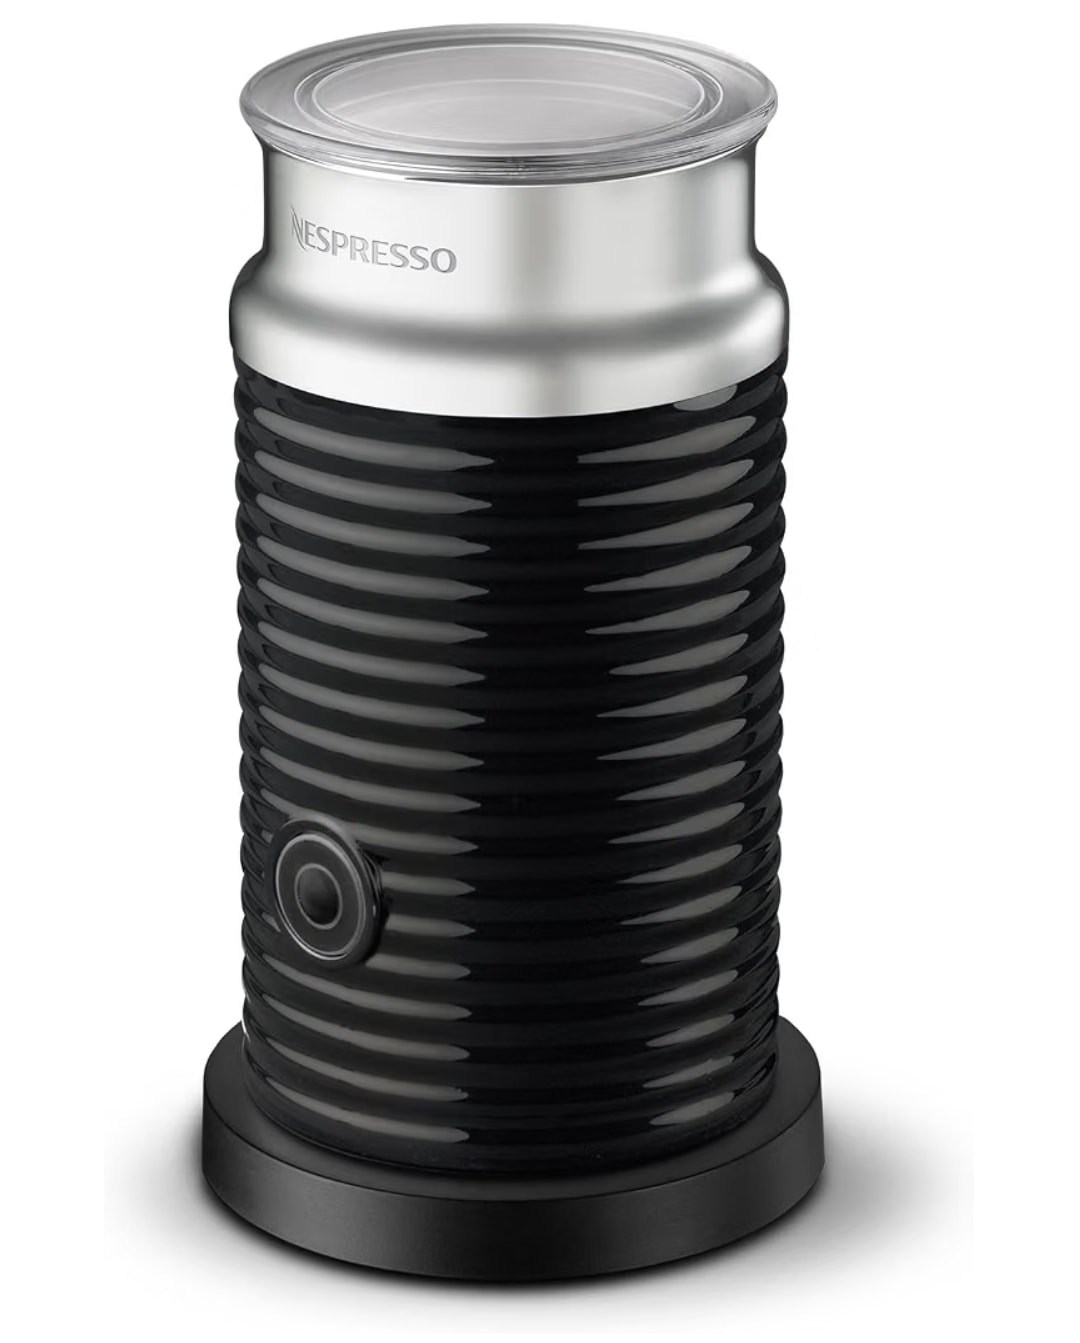
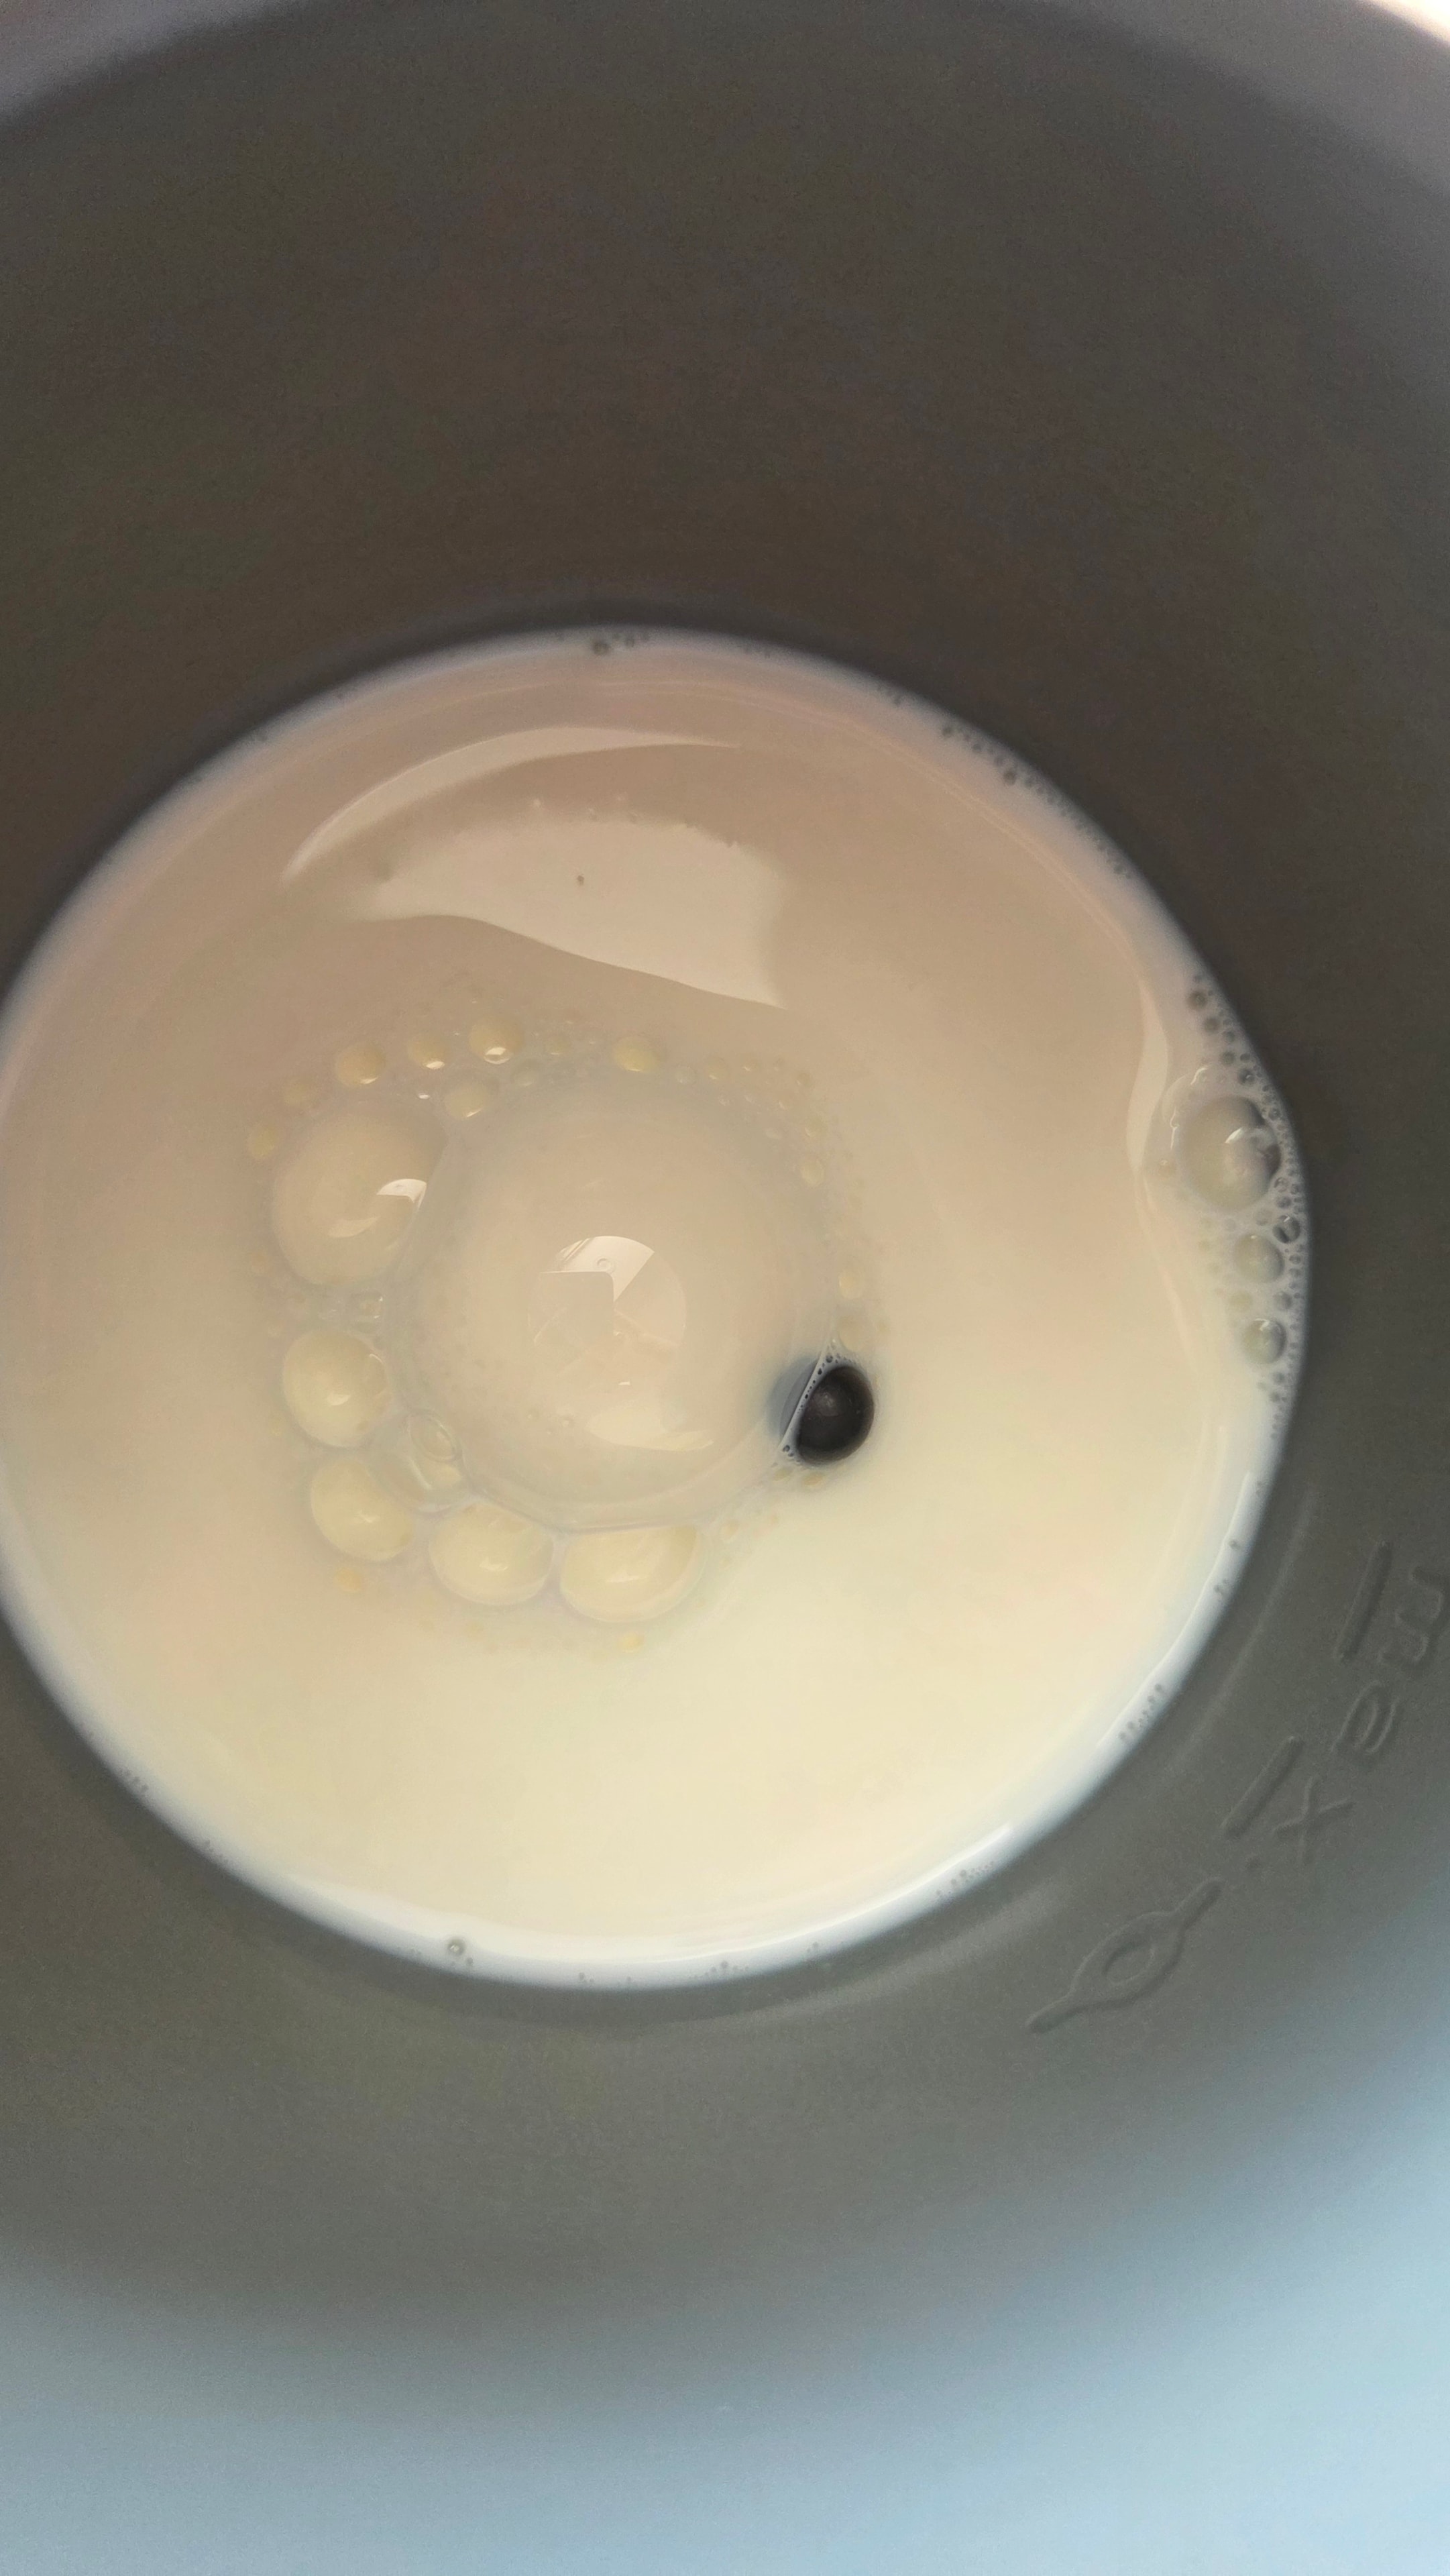
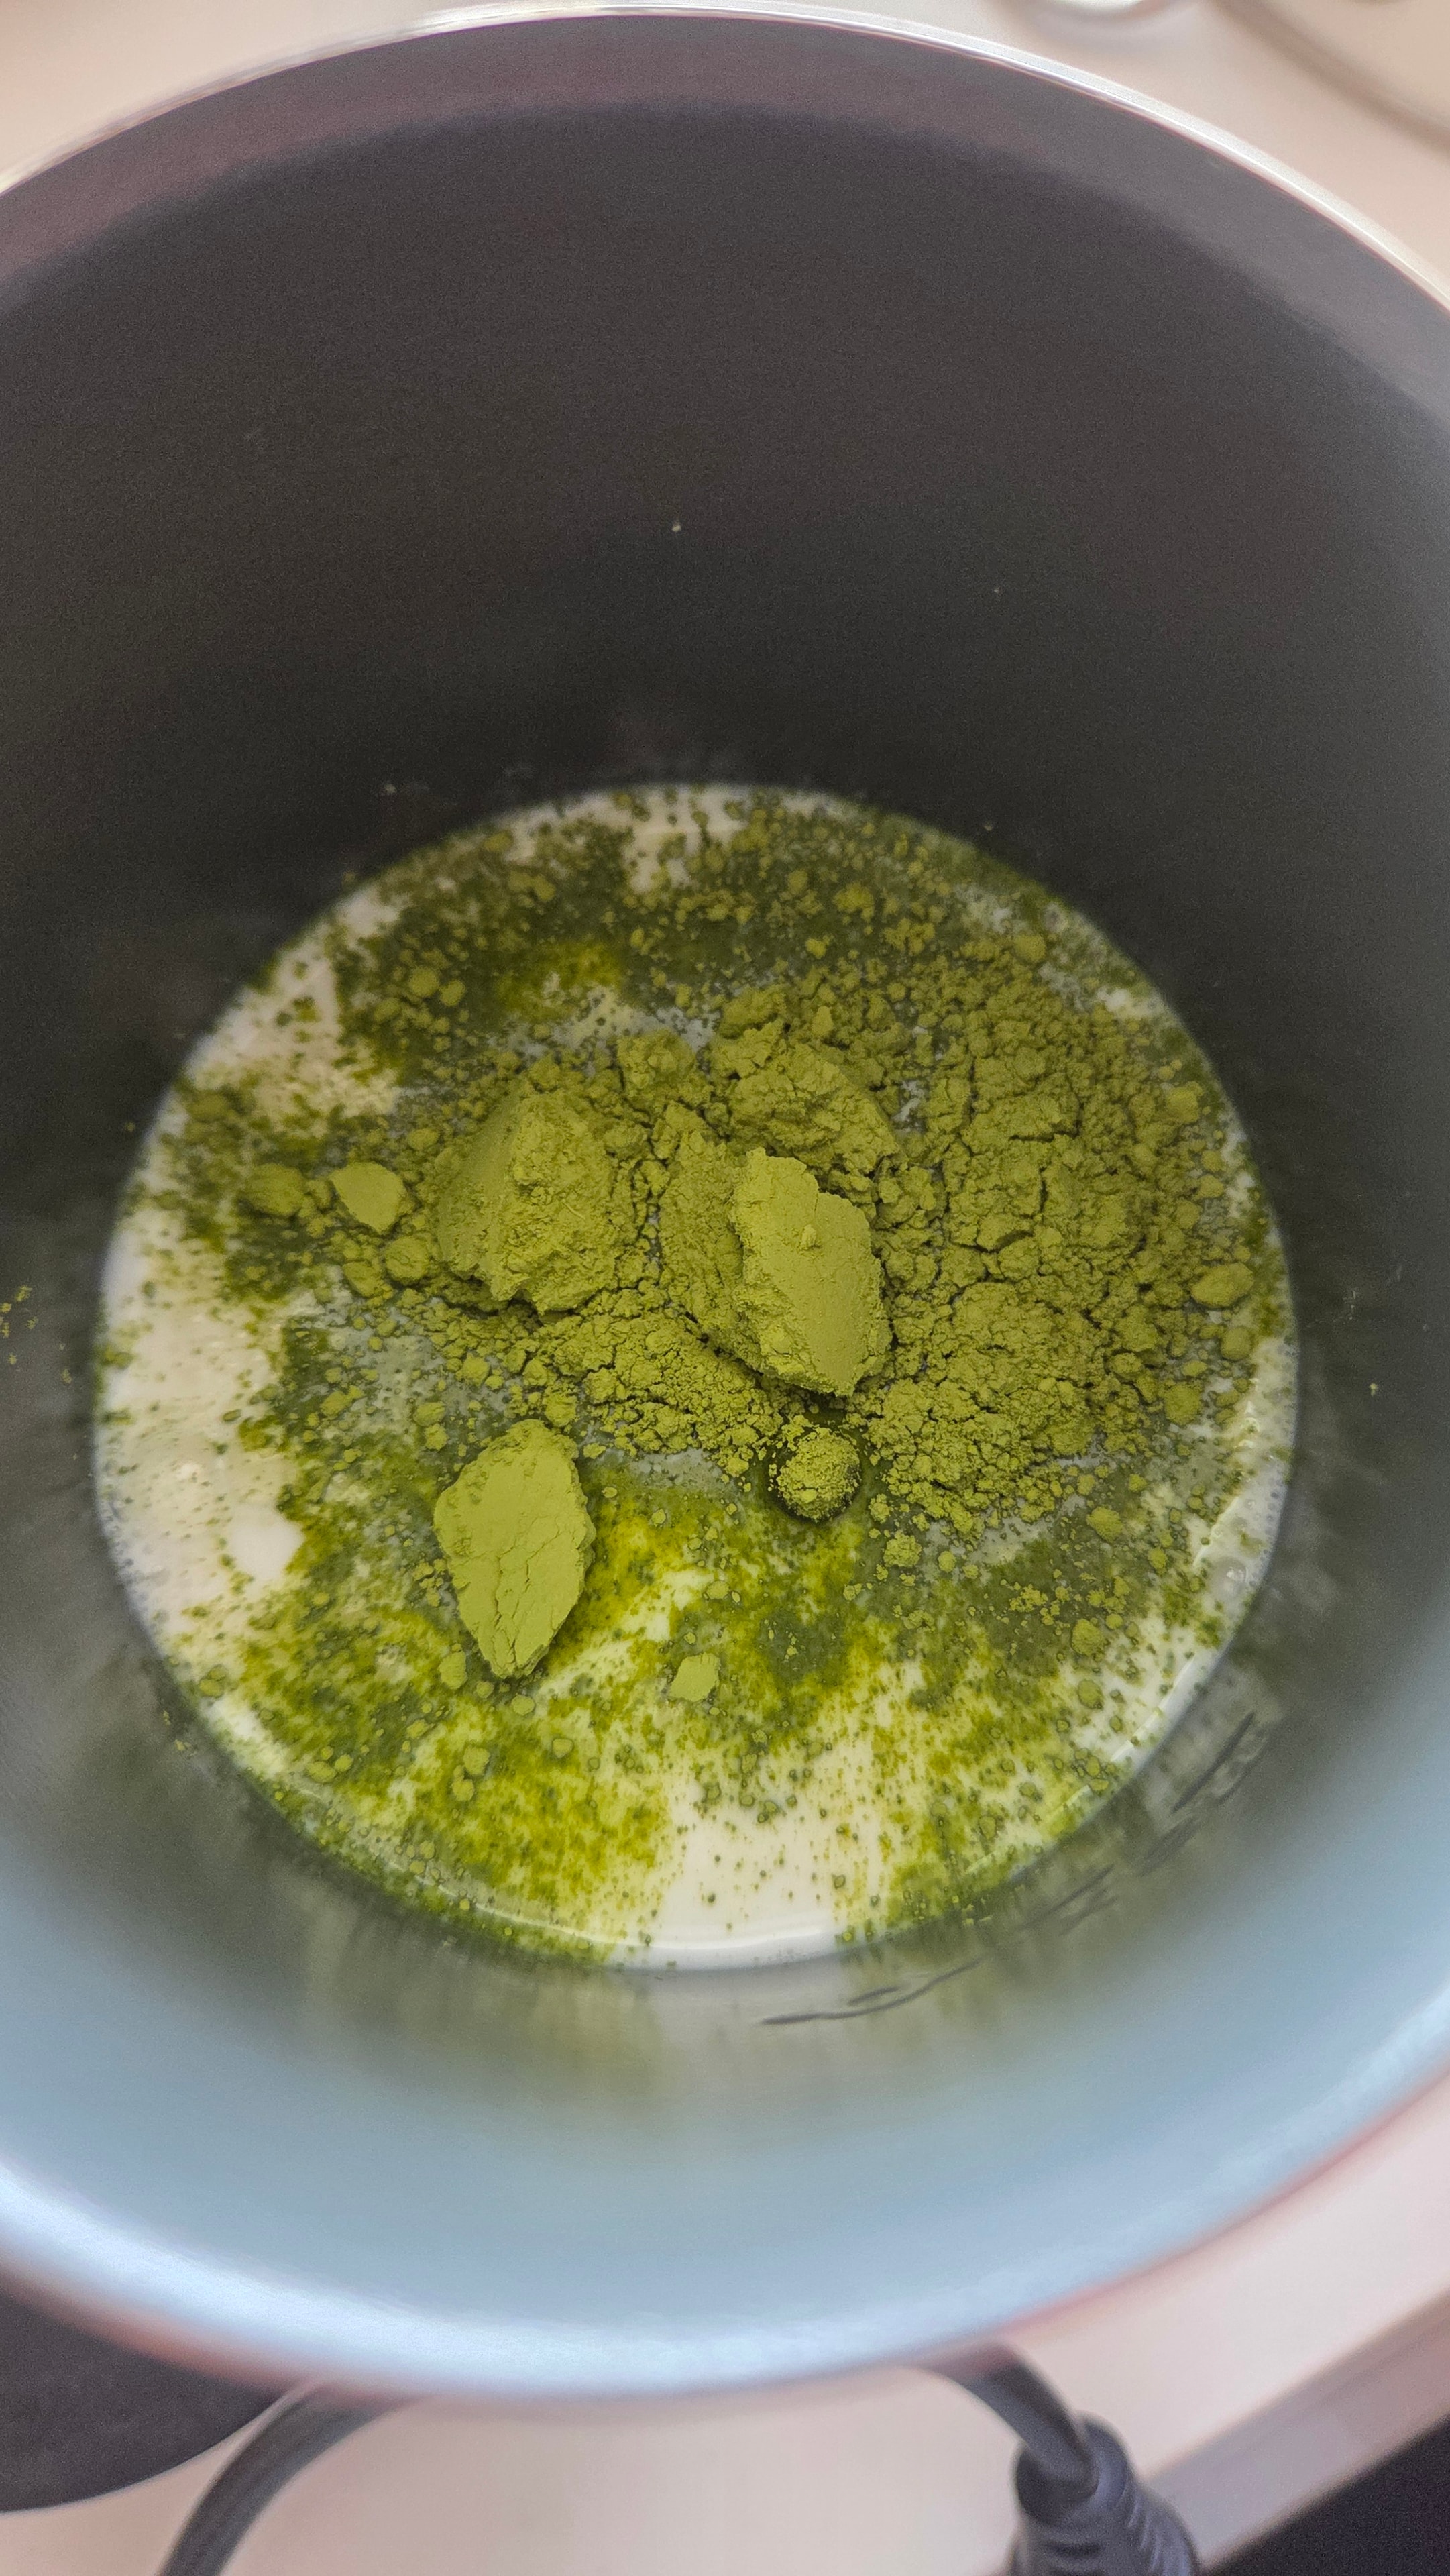
For the cold foam: add ½ cup of organic whole milk and 1½ teaspoons of matcha to your frother. Use the cold-froth setting. If your frother cannot take a full cup, do this in two batches — ½ cup milk and ¾ teaspoon matcha per batch. Froth until light and airy.
- 7
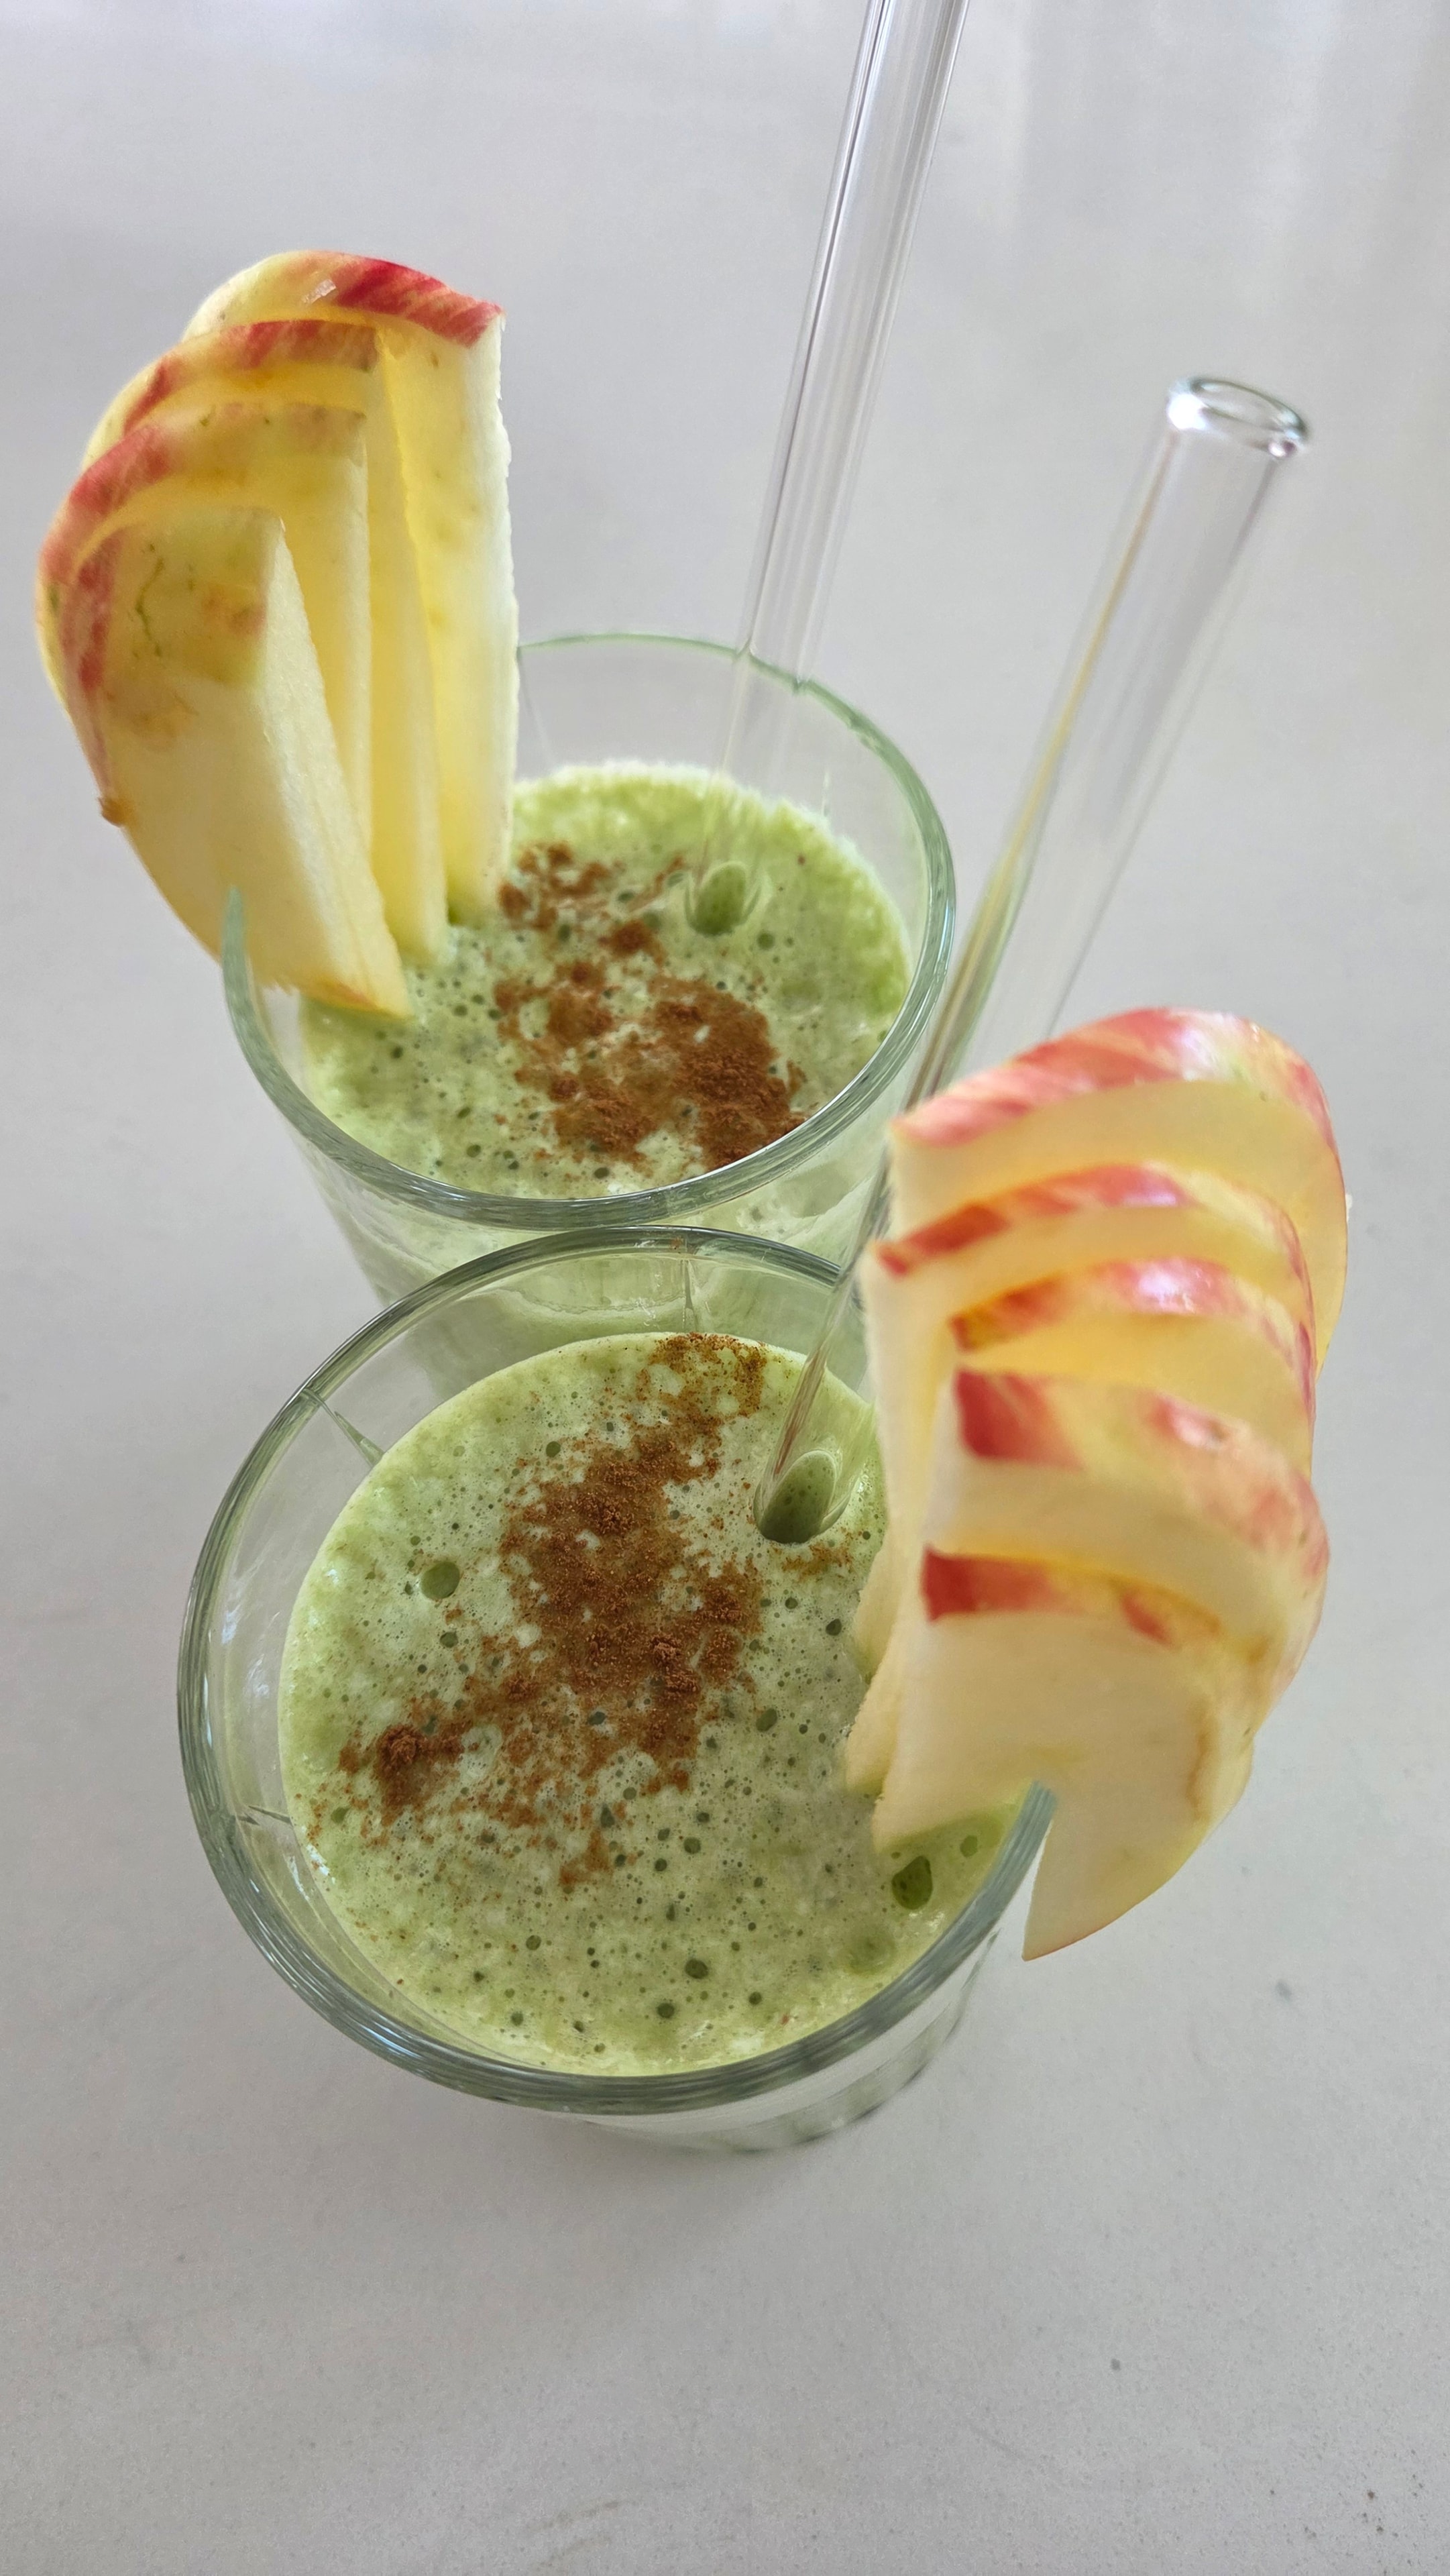
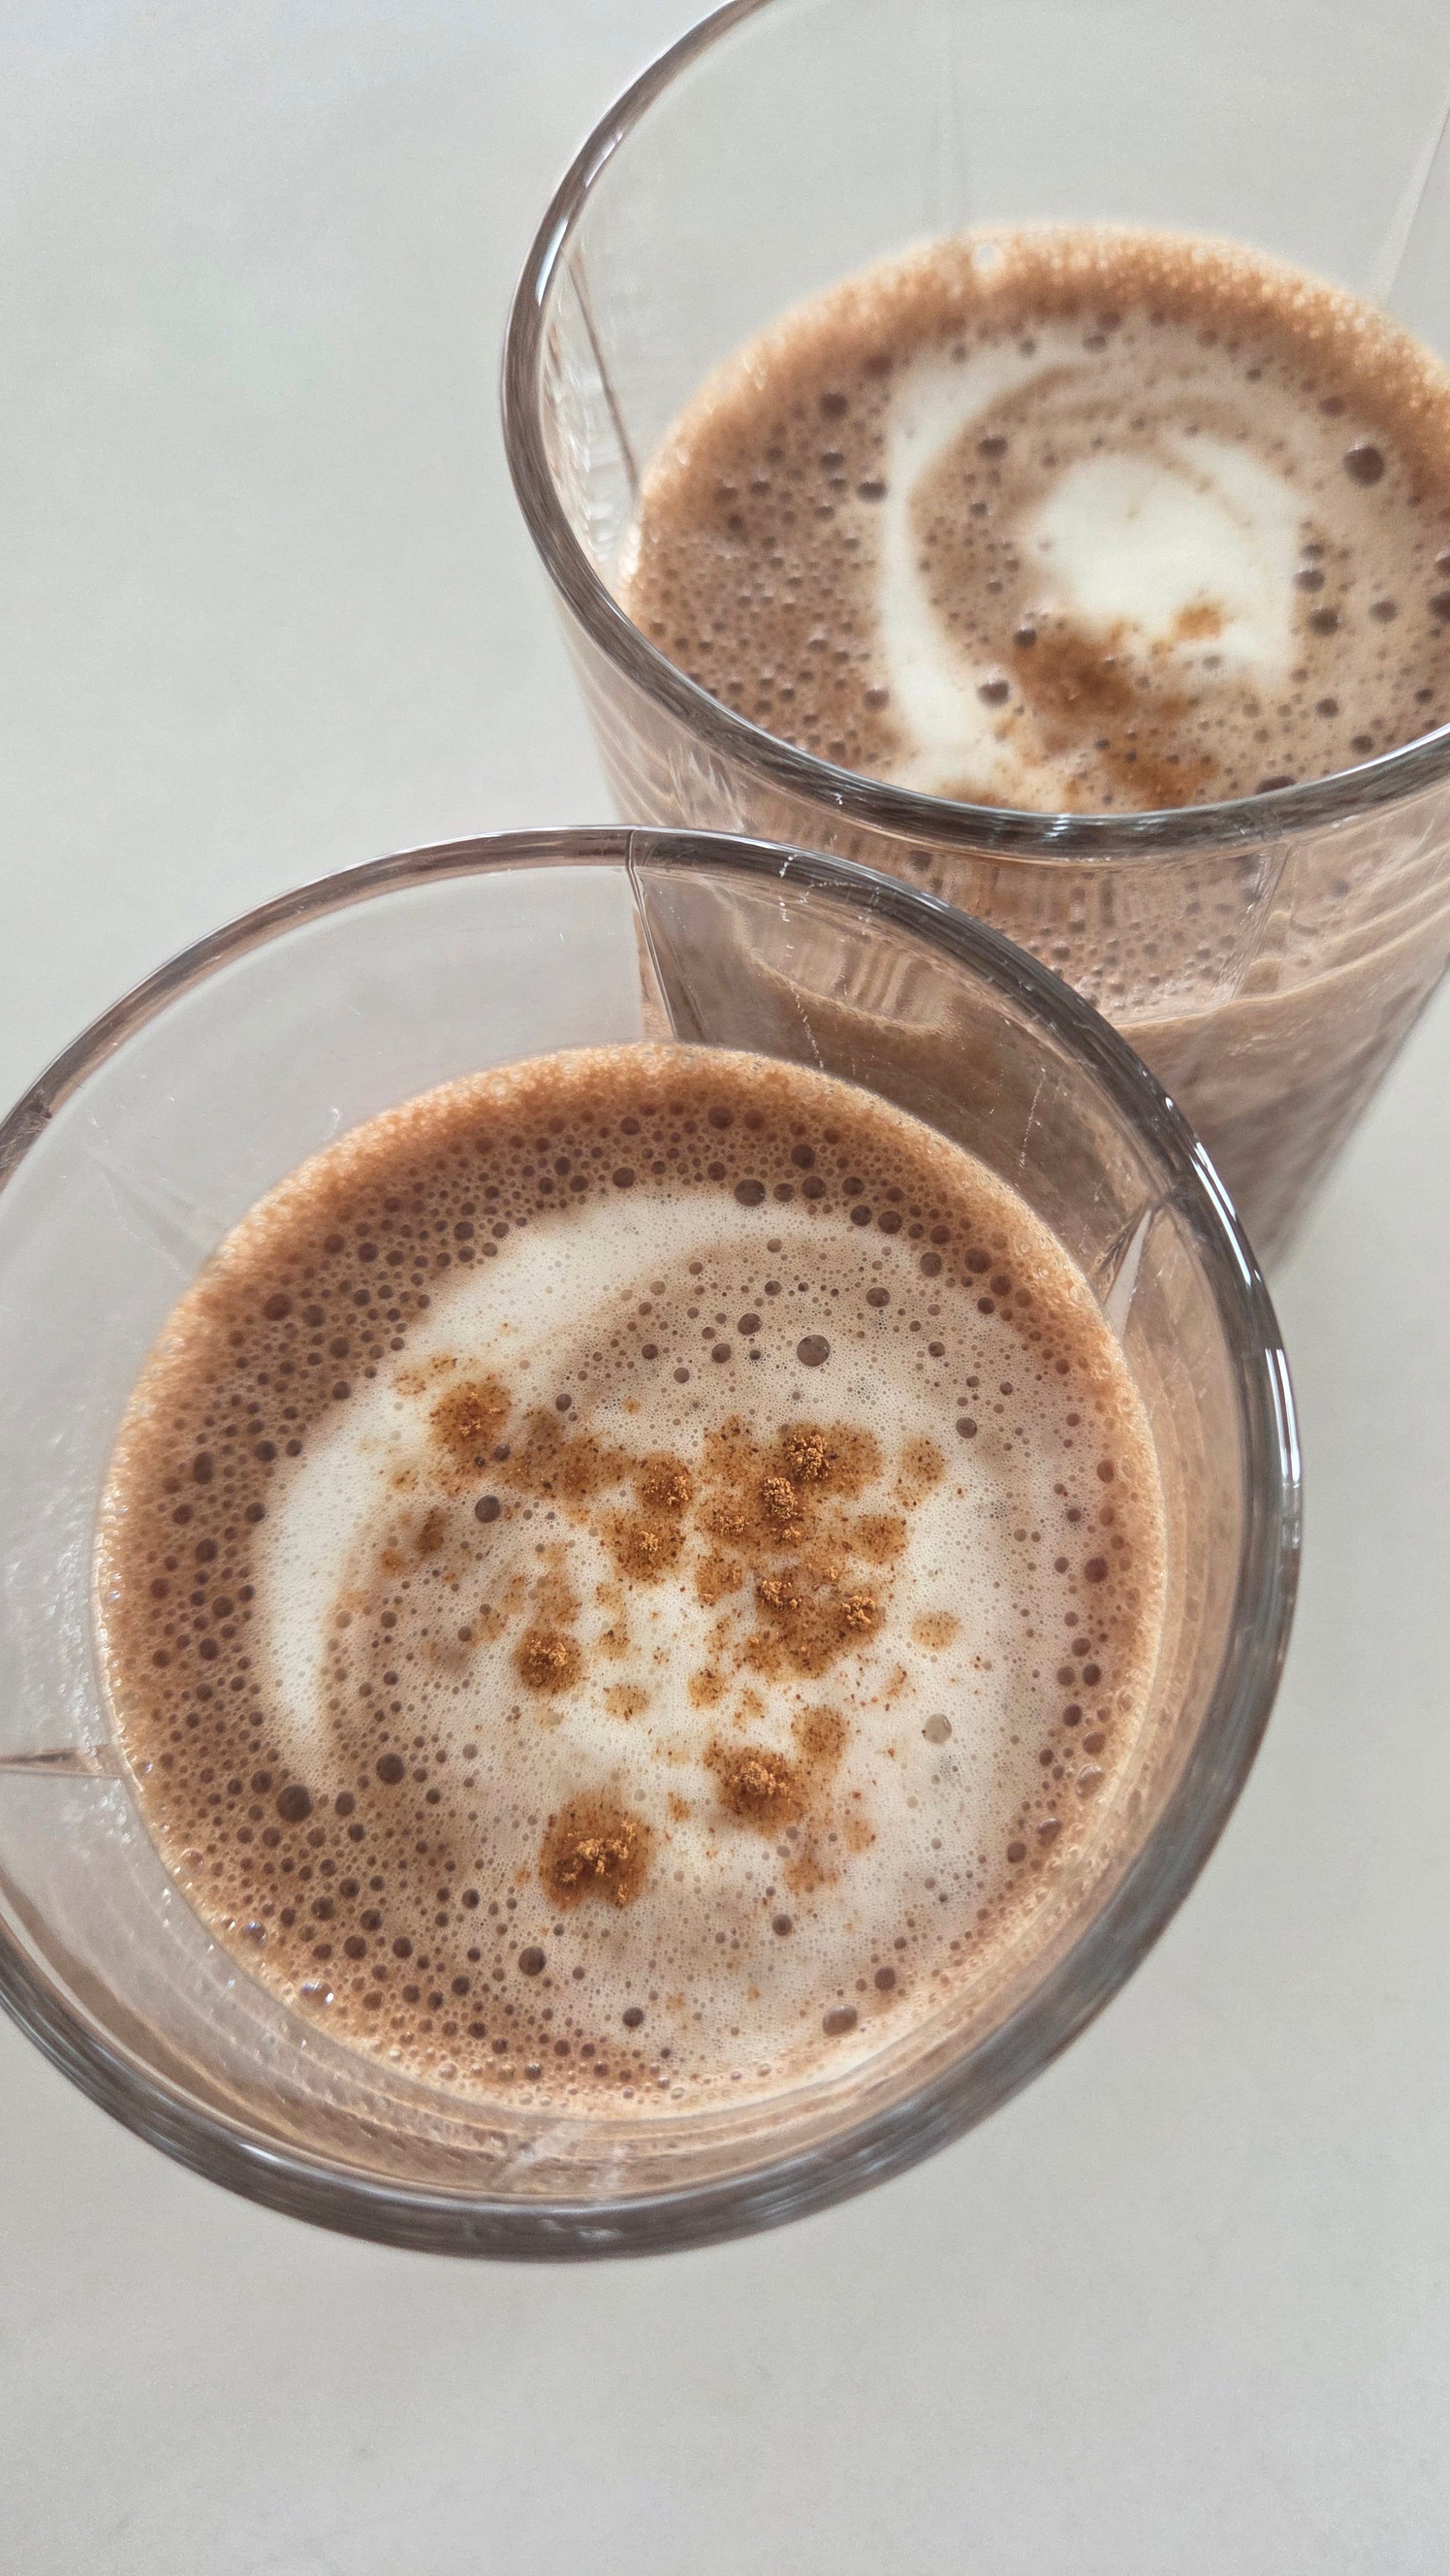
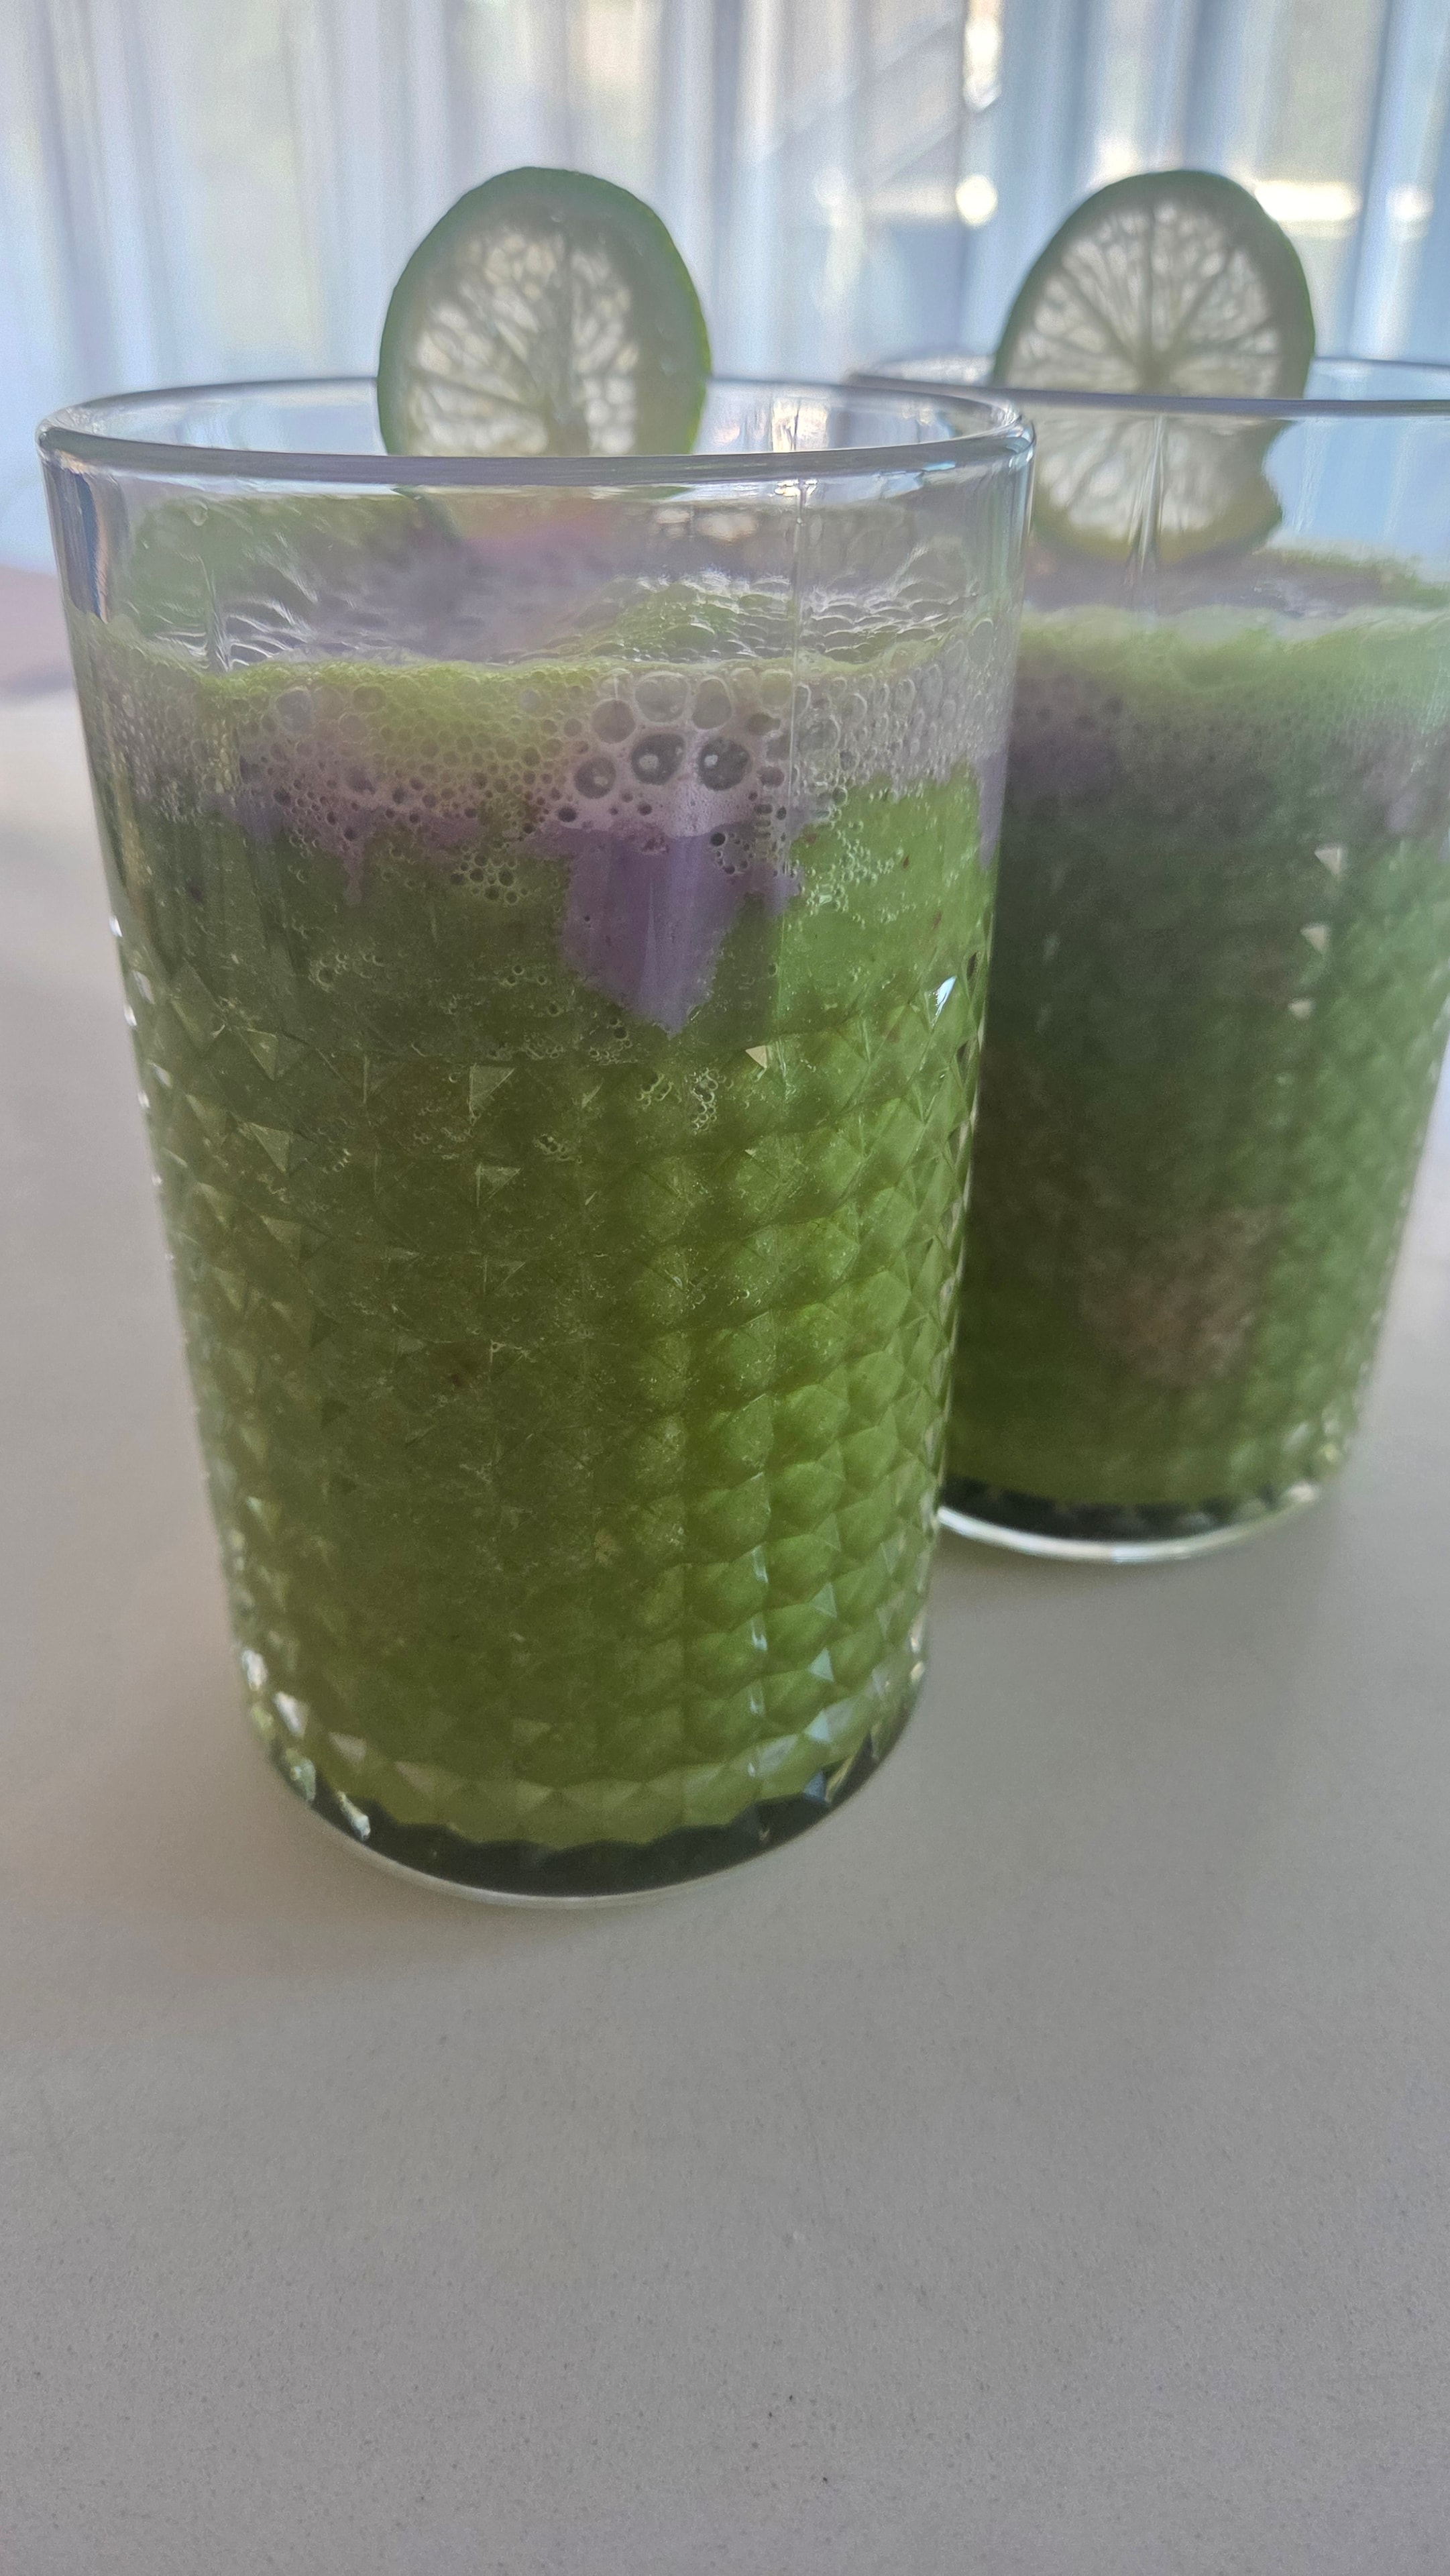
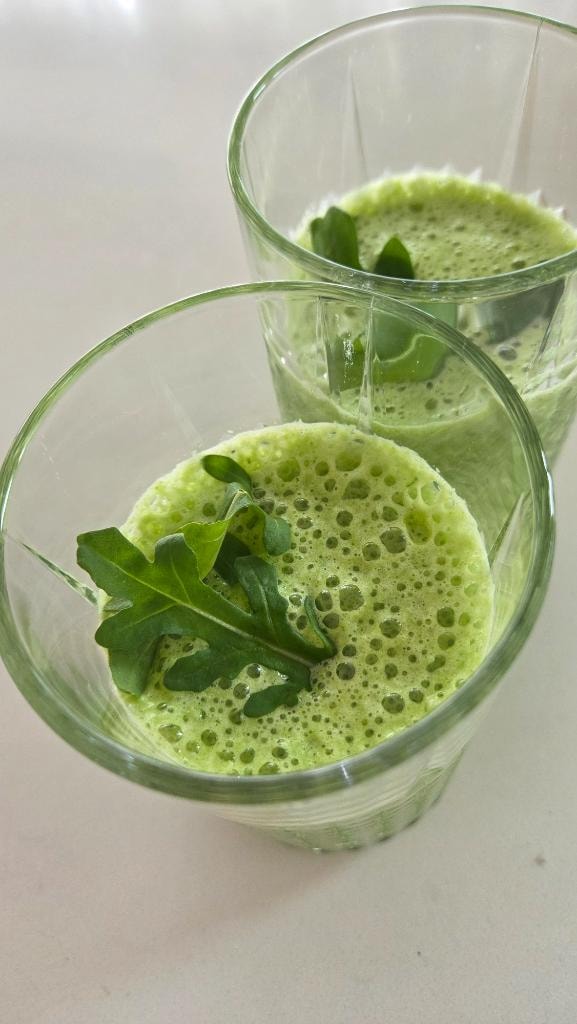
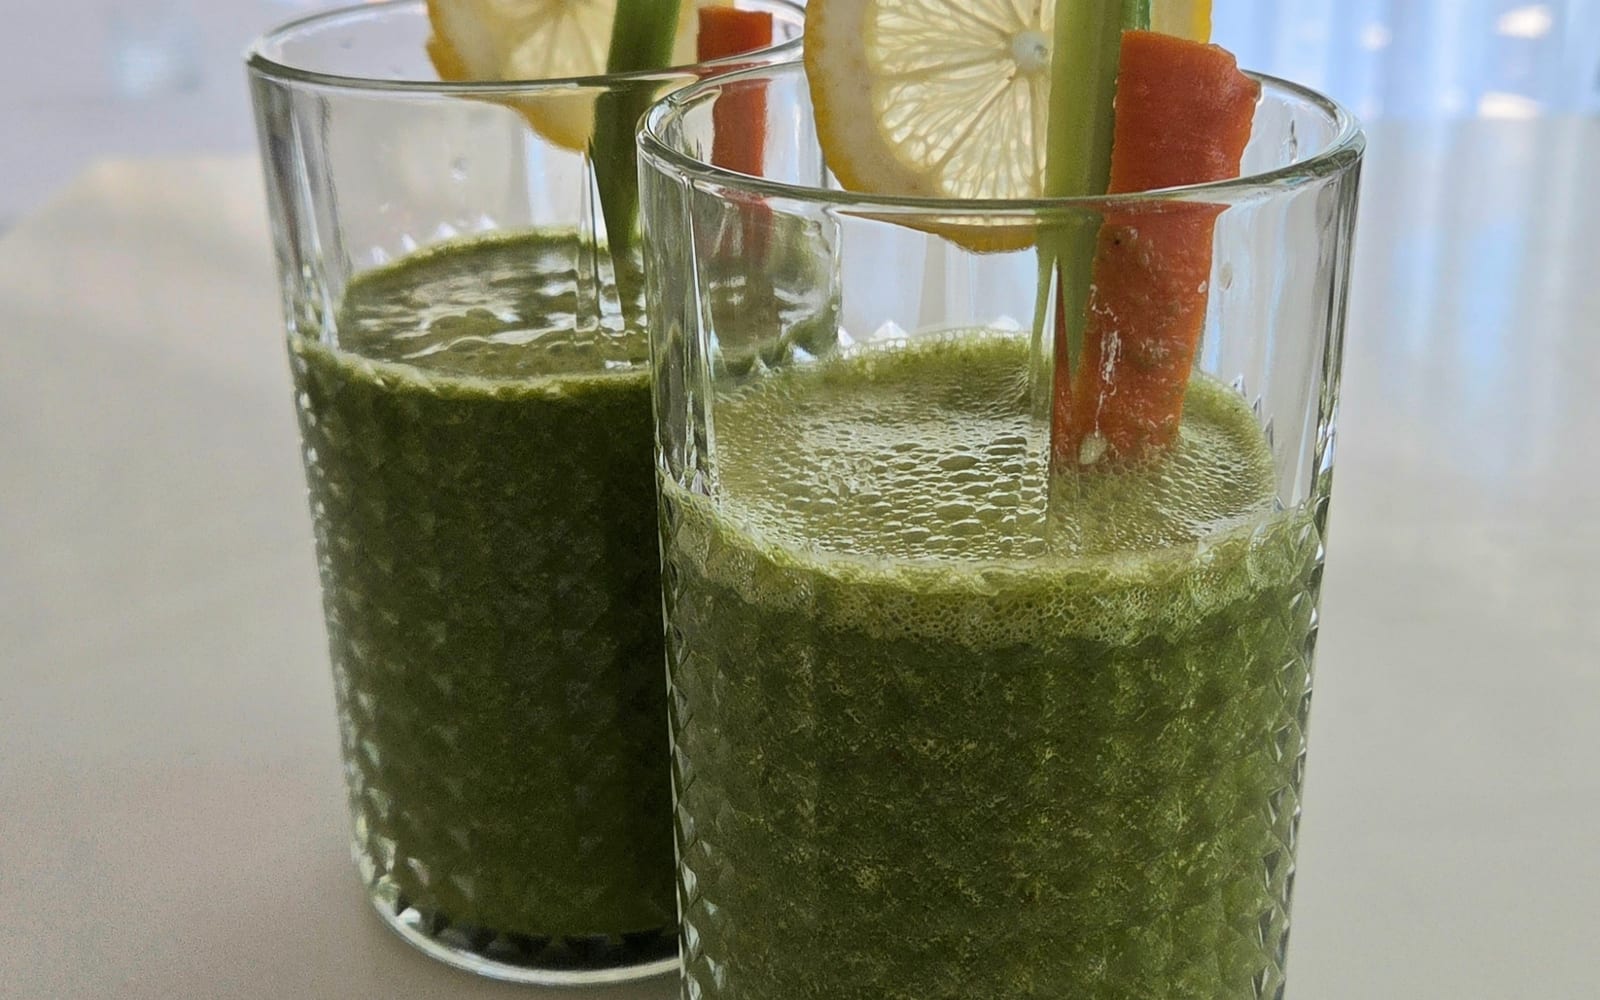
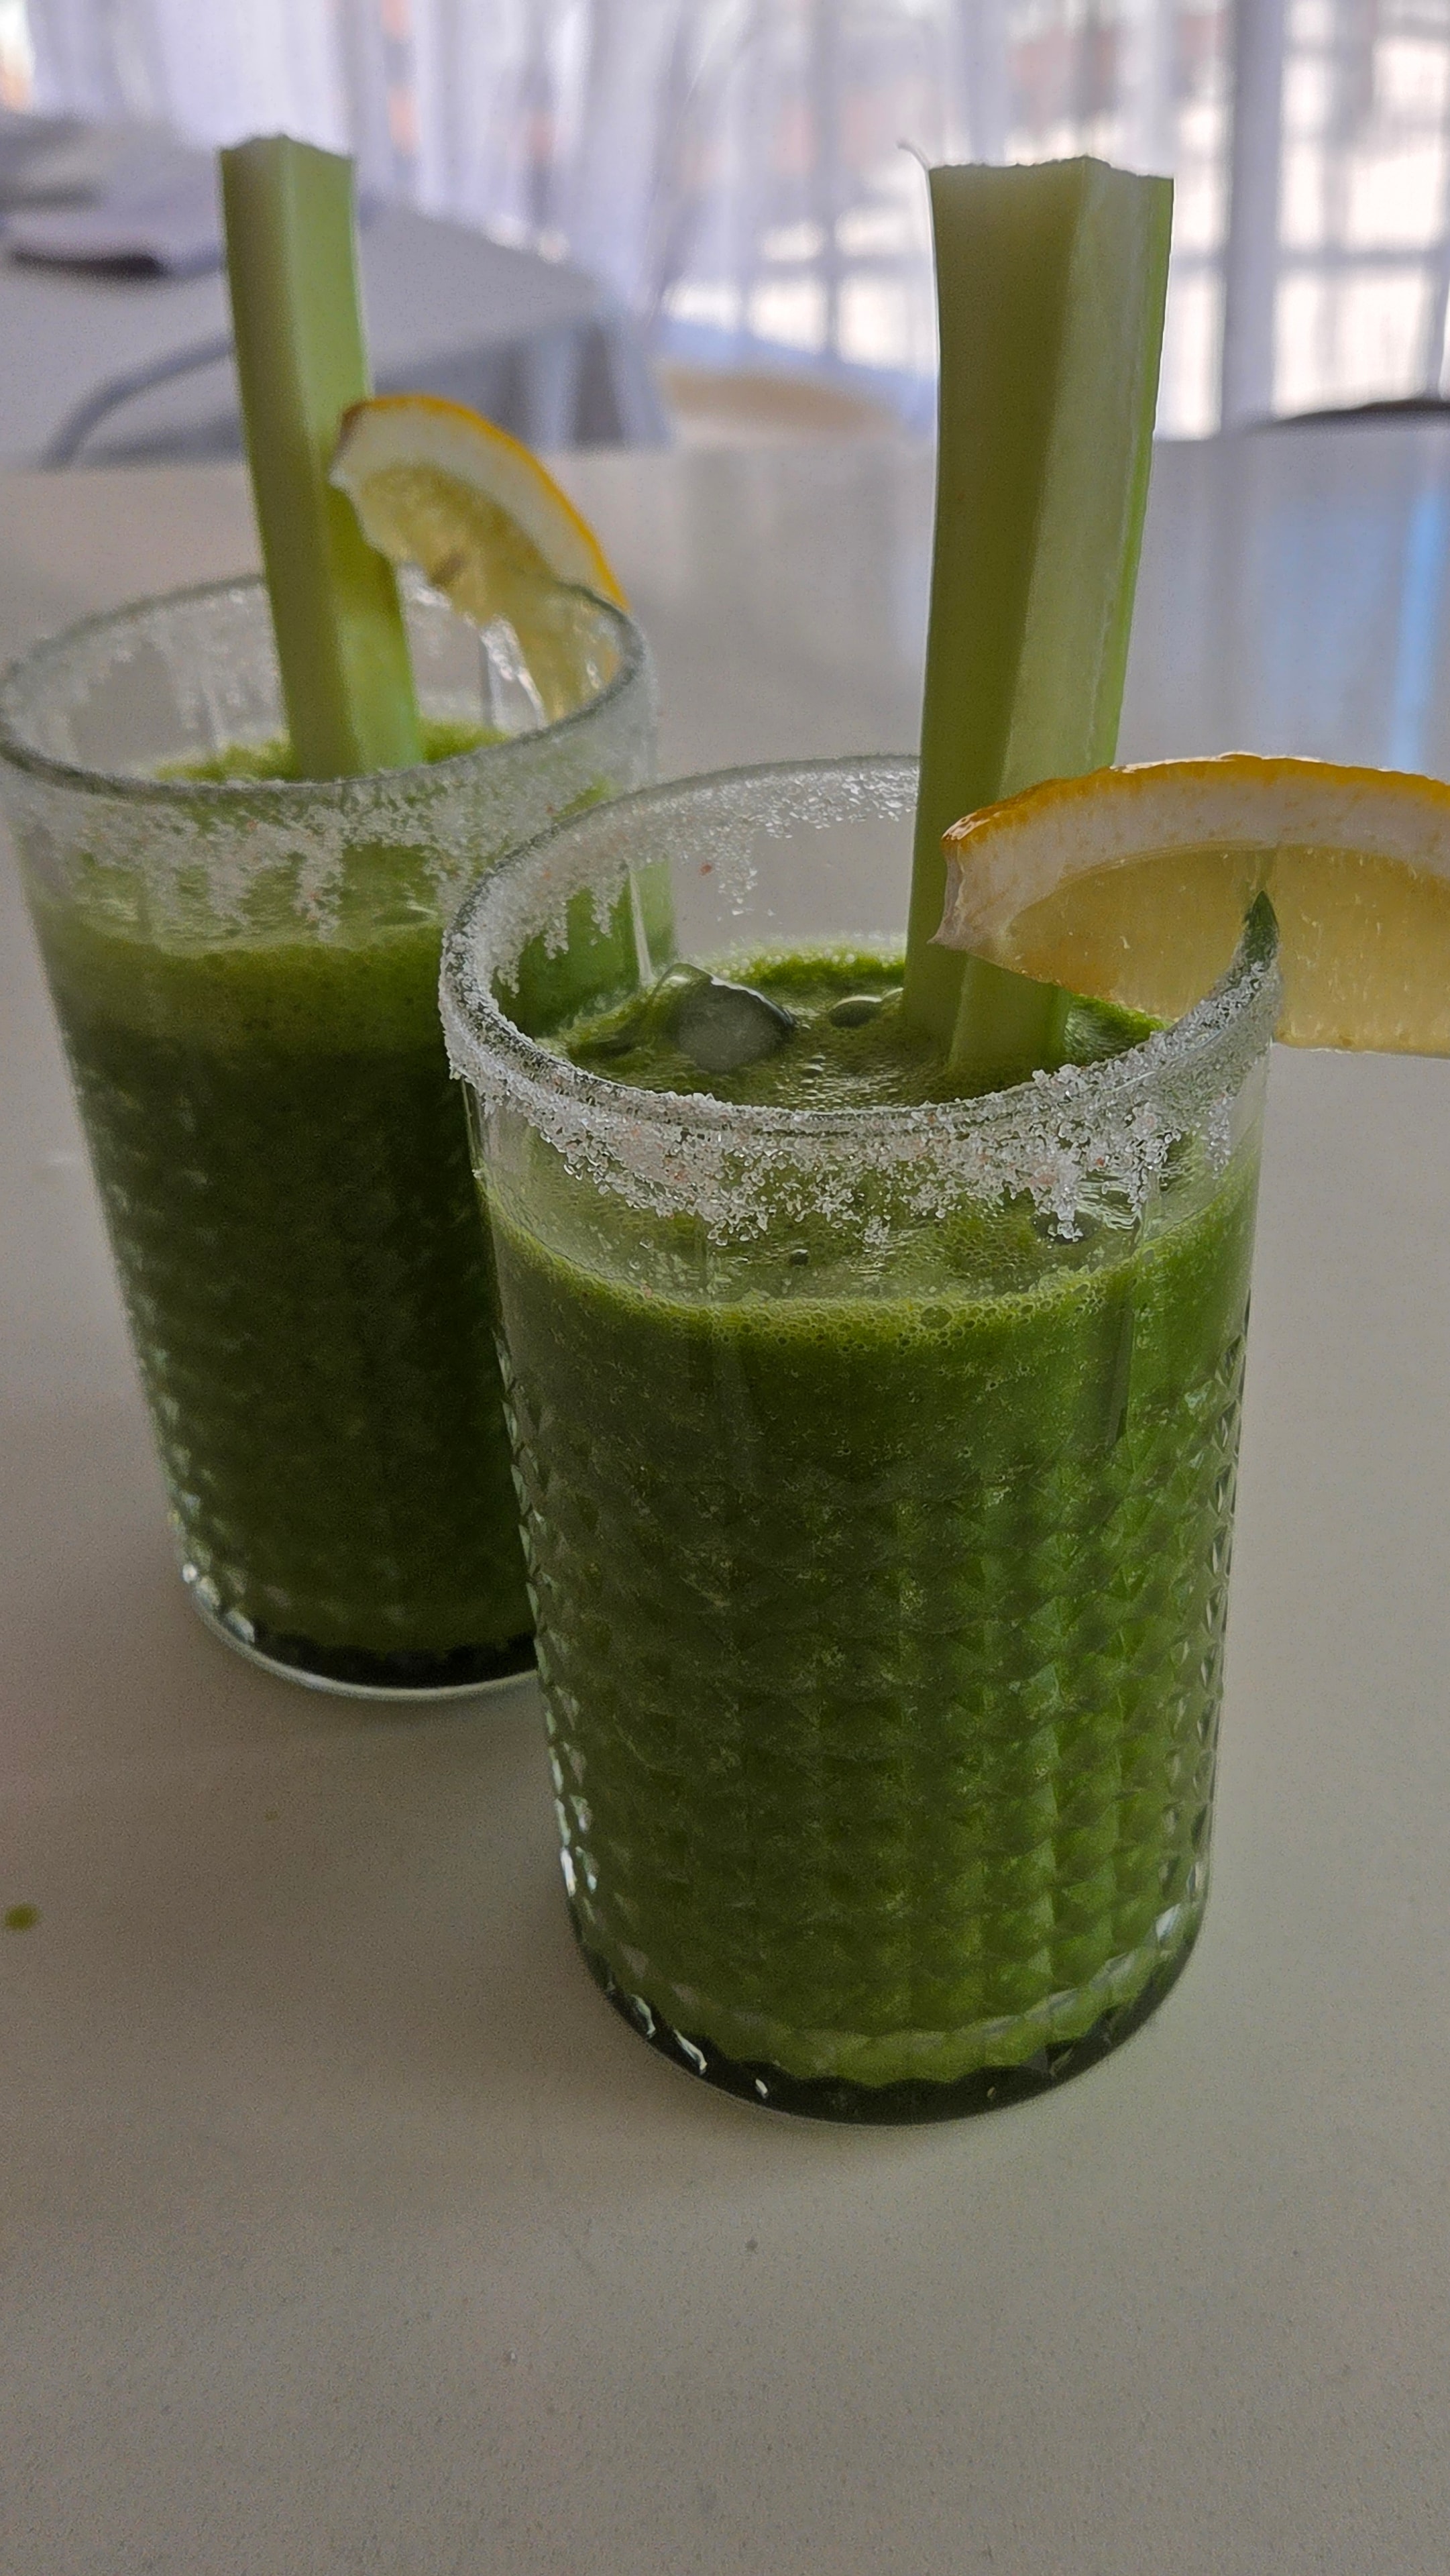
Pour the matcha foam over the smoothie and use a spoon to scoop the thickest foam on top. Place a thin lemon slice on the rim of each glass and serve immediately.
Why it works
- Pink pitaya: Pink pitaya (dragon fruit) powder is rich in antioxidants, particularly betacyanins — the pigments responsible for the vivid colour. It contains fibre, iron, and magnesium, and has a naturally low glycaemic impact. The colour is entirely natural.
- Matcha: Ceremonial grade matcha provides L-theanine alongside its caffeine — a combination that gives focused, calm energy rather than the spike and crash of coffee. Rich in EGCG, one of the most studied antioxidants in green tea.
- Whey protein and creatine: Two scoops of whey protein support muscle repair and recovery. Creatine supports muscle energy, cognitive function, and consistent performance — blended into something this good, it is easy to take every day.
- Rapeseed oil: Cold-pressed rapeseed oil is one of the best sources of omega-3 and omega-6 fatty acids in a near-ideal ratio. It carries fat-soluble vitamins across the blend and adds a smooth, creamy body without any detectable flavour.
- Citrus: A whole lemon and lime together provide vitamin C, limonene, and flavonoids. The peel of a seedless lemon carries compounds that the juice alone does not — blending it whole is worth it.
Shop this recipe
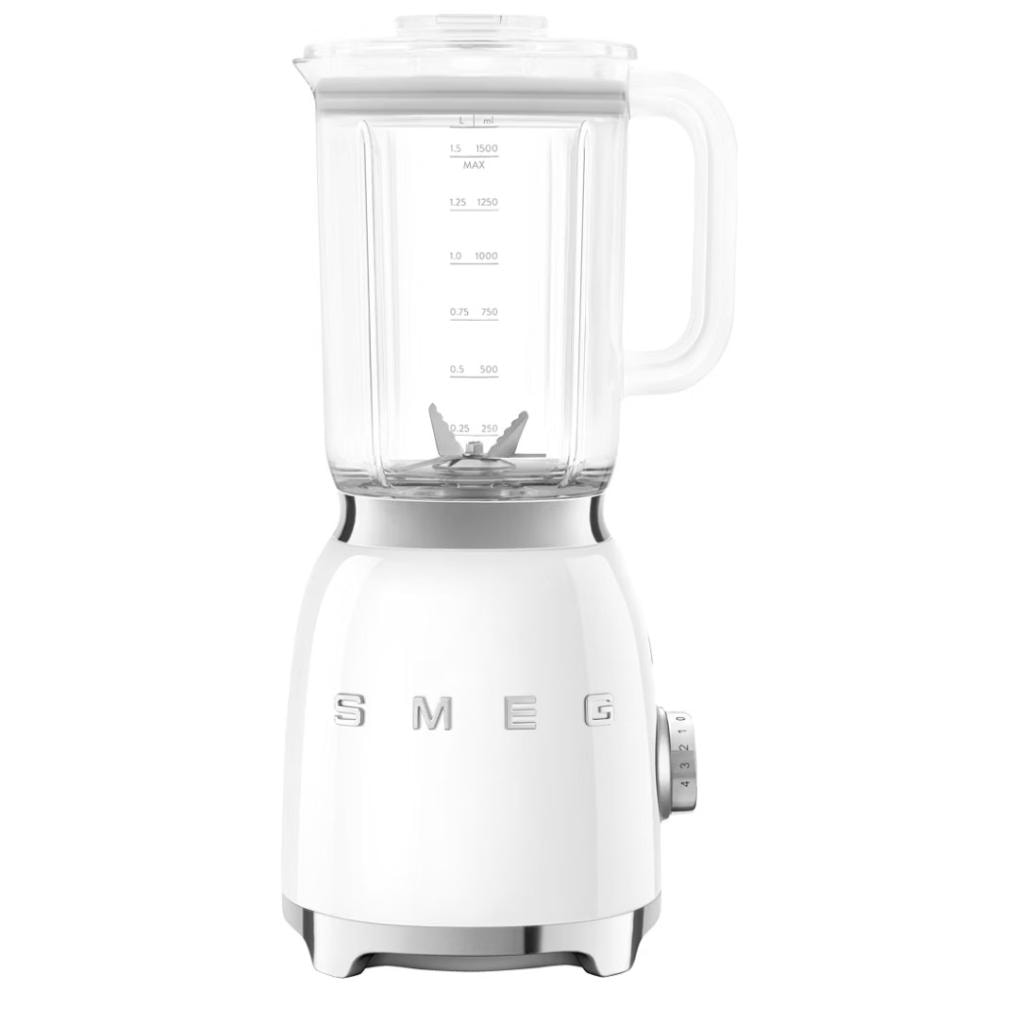
SMEG Retro Style Blender
The most beautiful blender on any countertop. Powerful, smooth, and built to last — SMEG's retro design means it earns its place out in the open rather than hidden in a cupboard.
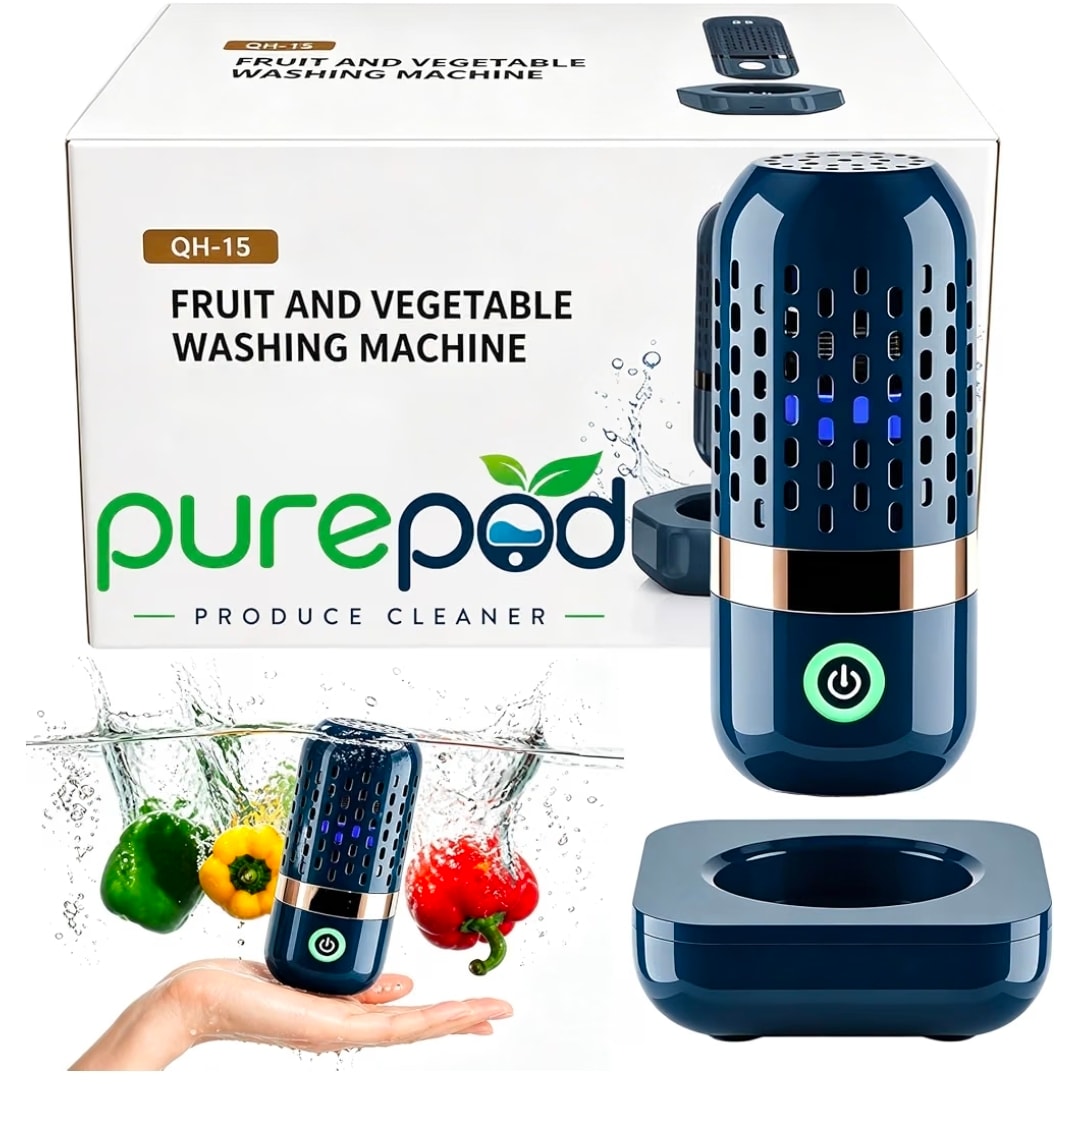
PurePod Produce Cleaner & Vegetable Cleaner with Oh-Ion Technology
A compact fruit and vegetable washing machine that uses Oh-Ion technology to clean produce without chemicals. Drop it in a bowl of water with your fruits or vegetables, press the button, and it neutralises pesticides, wax coatings, and surface bacteria in minutes. Rechargeable and easy to store.
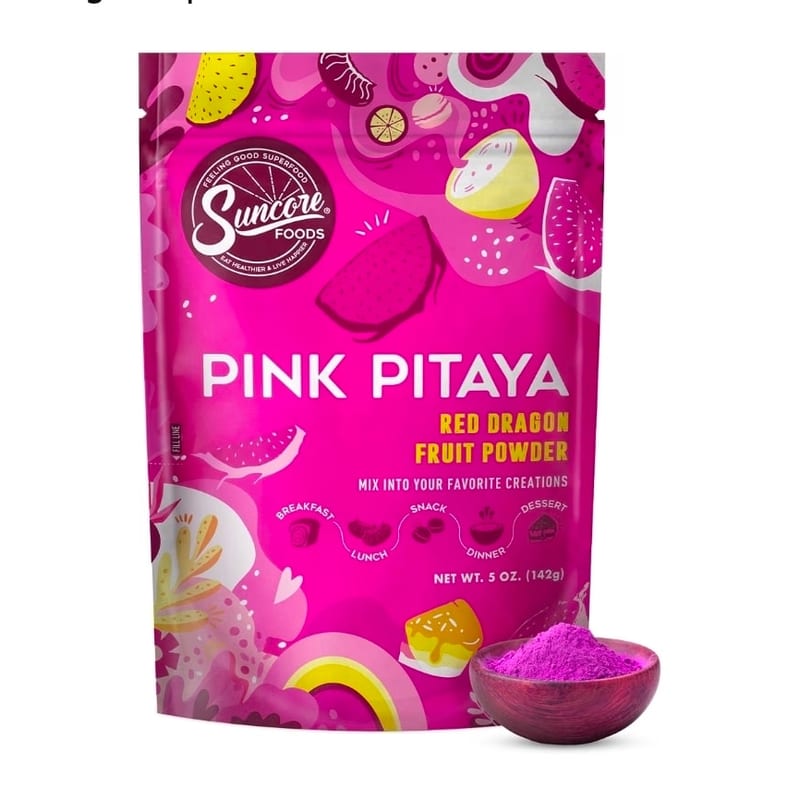
Suncore Foods Pink Pitaya Powder
Vibrant, naturally pink dragon fruit powder made from 100% pink pitaya — no fillers, no additives. A teaspoon or two turns any smoothie a stunning deep rose without artificial colouring.
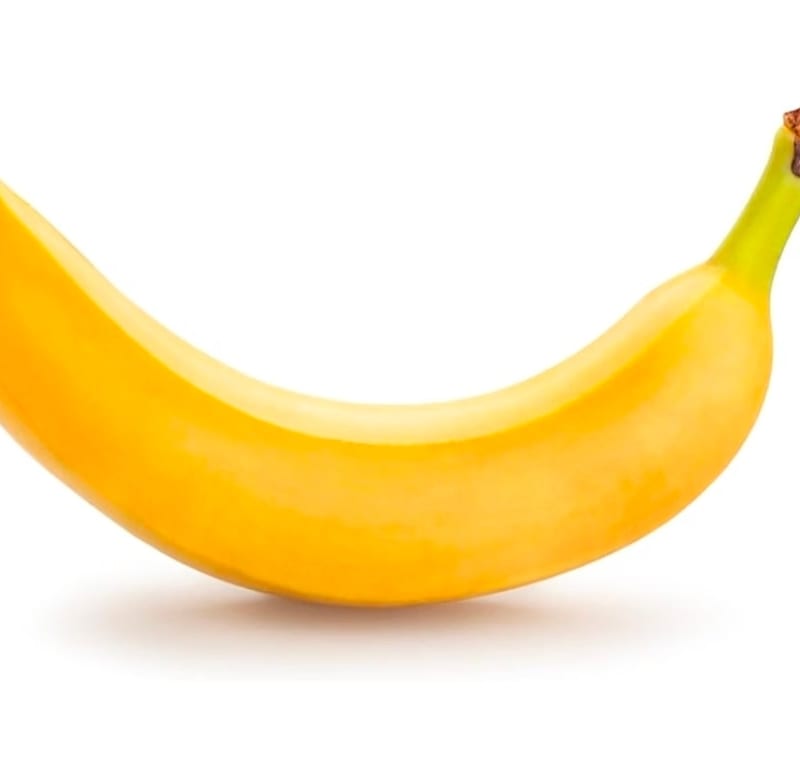
Organic Banana, 1 Each
A ripe organic banana — the smoothie ingredient that adds natural creaminess, sweetness, and body without any dairy. Keep a few in the freezer for instant thick smoothies.
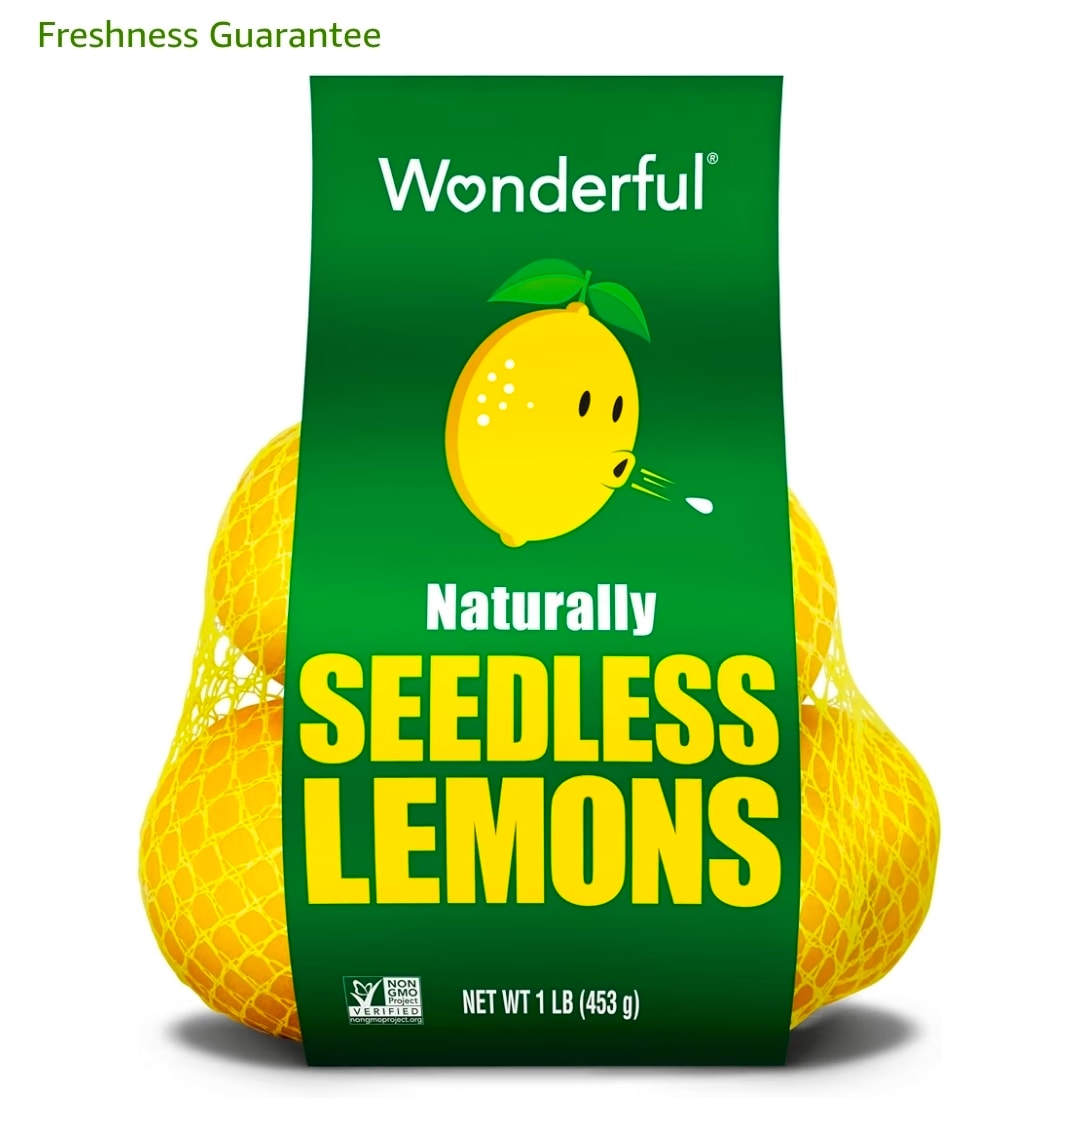
Naturally Seedless Lemons
A bright, practical bag of seedless lemons to keep on hand for smoothies, dressings, and everyday kitchen cooking.
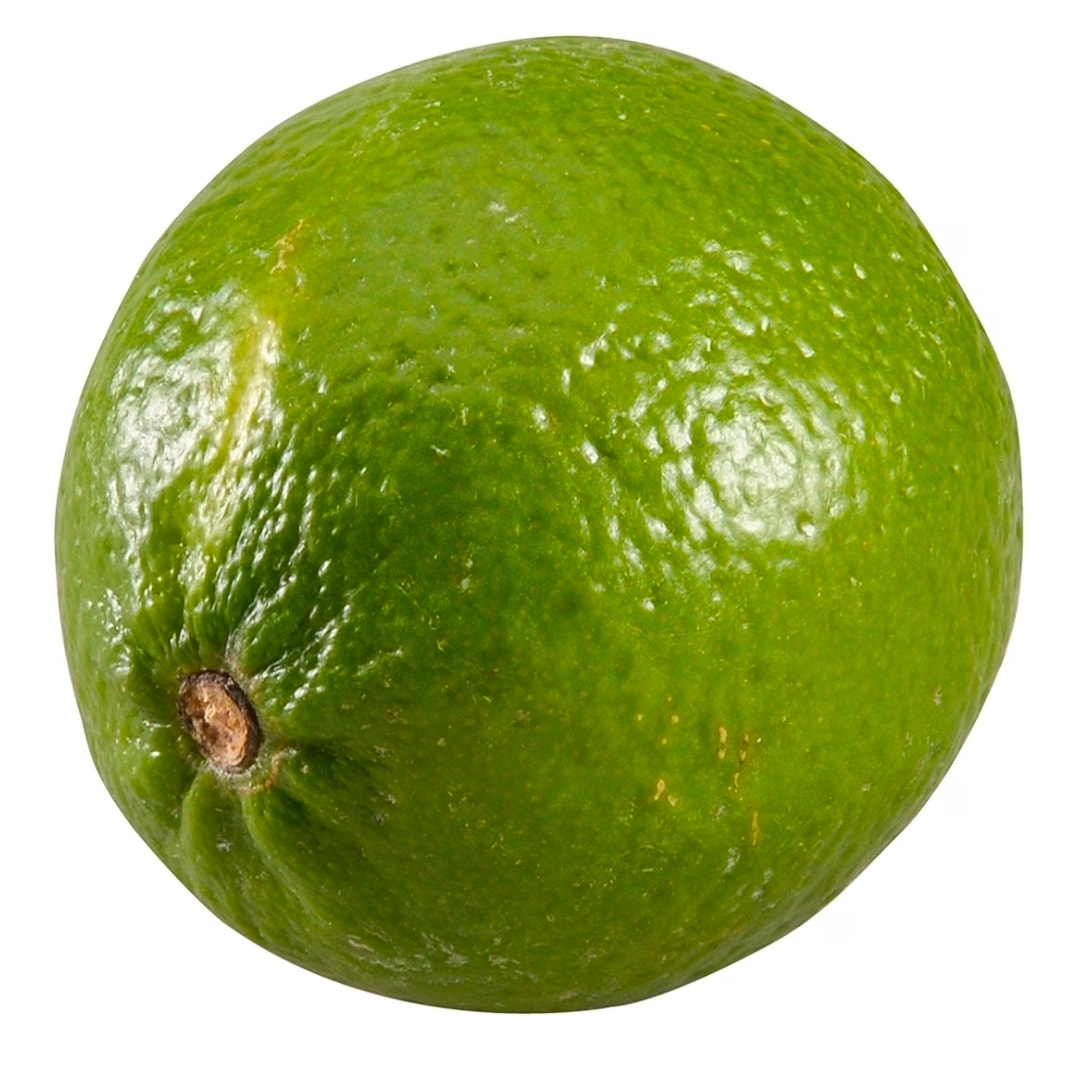
Lime
A fresh, bright lime for smoothies, dressings, and everyday cooking.
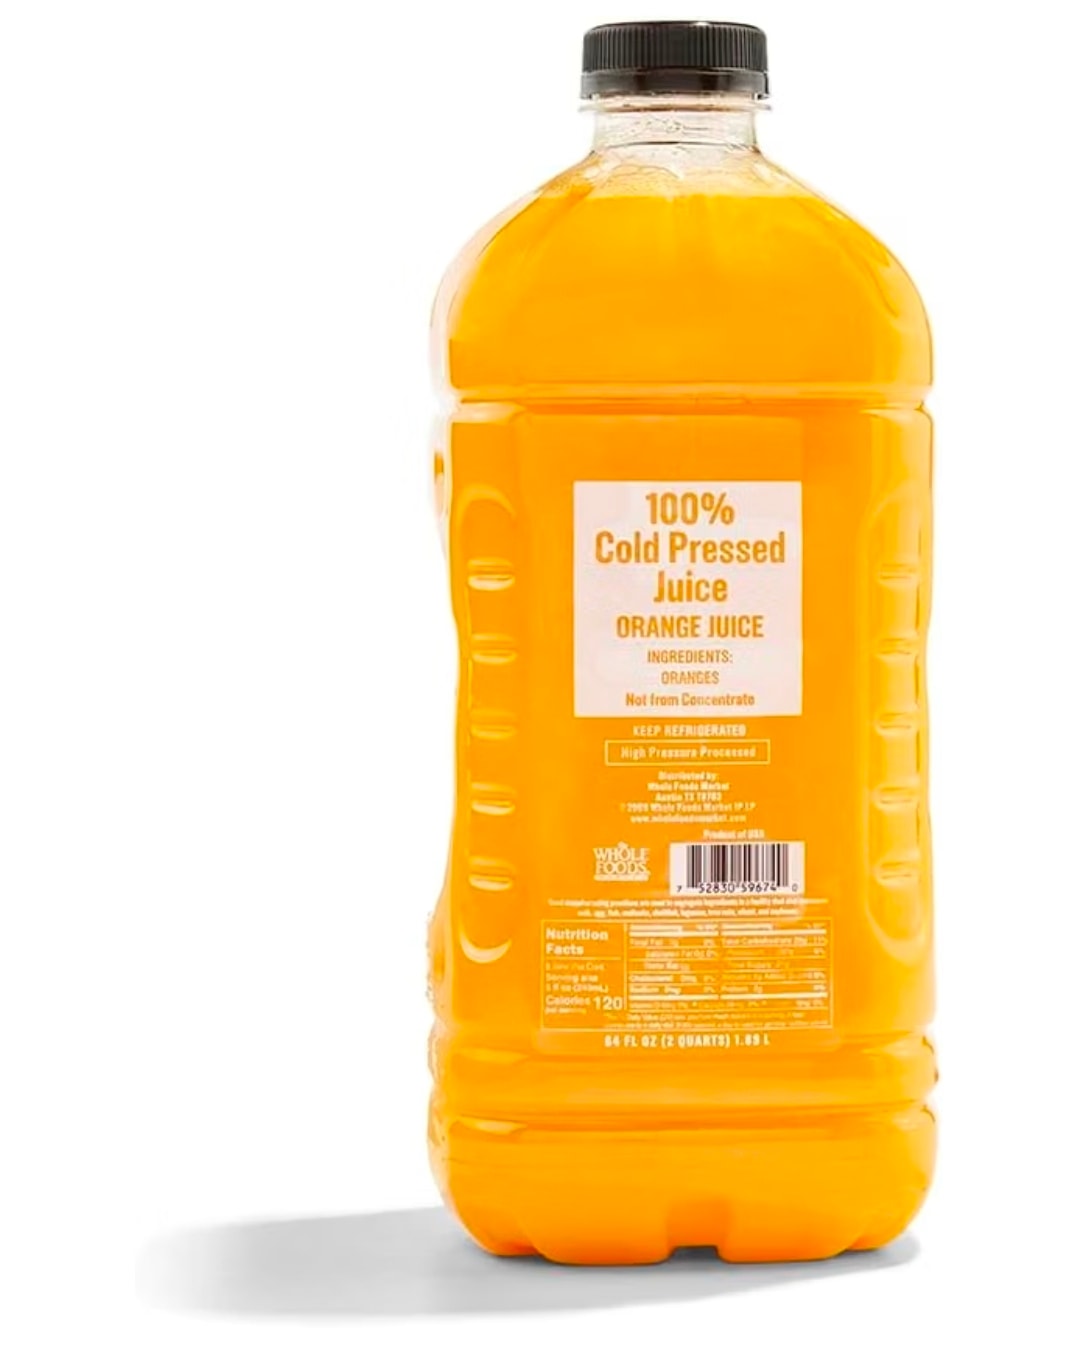
Organic 100% Orange Juice
Cold-pressed organic orange juice with a bright, fresh citrus flavor for smoothies and everyday sipping.
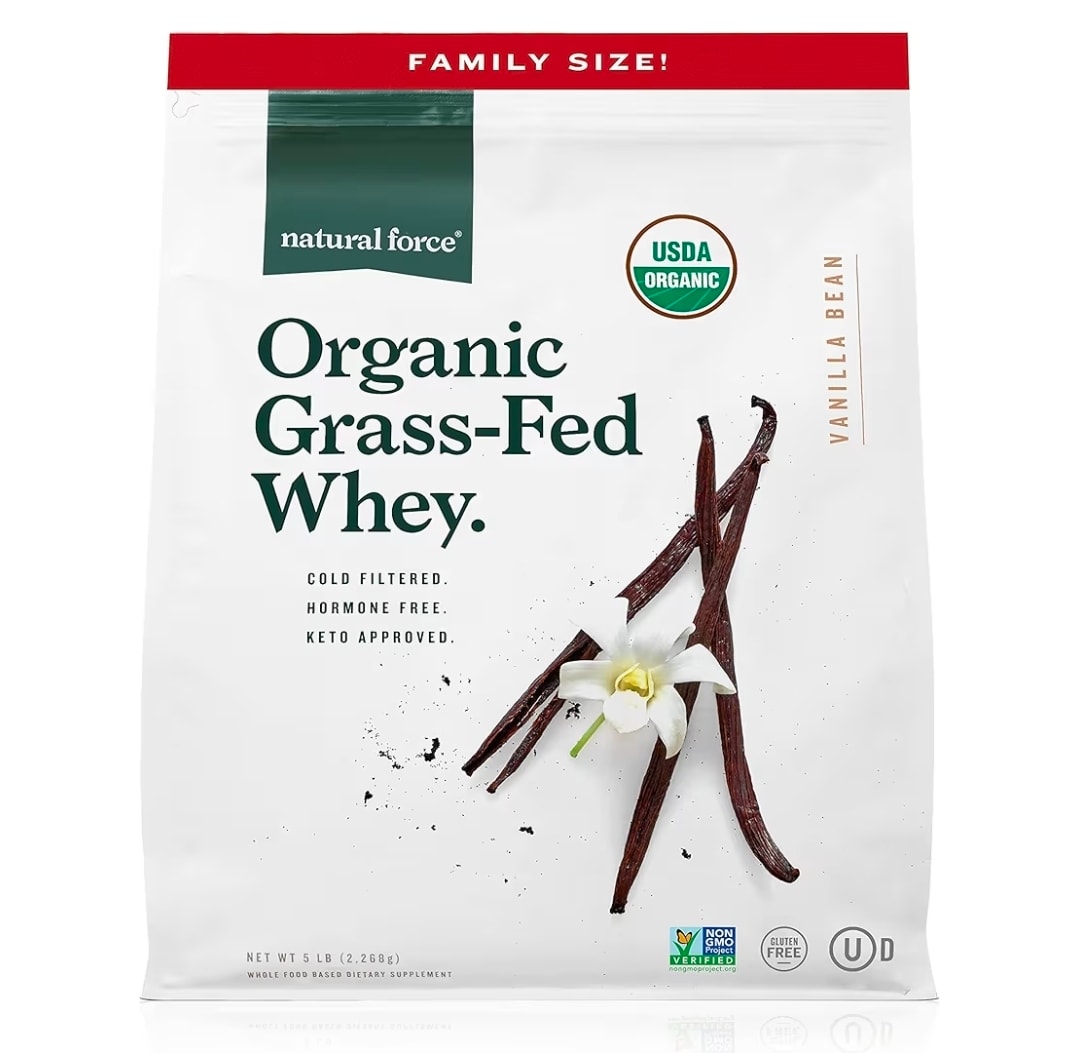
Natural Force Organic Grass-Fed Whey Protein Powder, Vanilla Bean, 5 lb
USDA Organic · Grass-fed · Cold filtered · Hormone free · Non-GMO · Gluten free · Keto approved
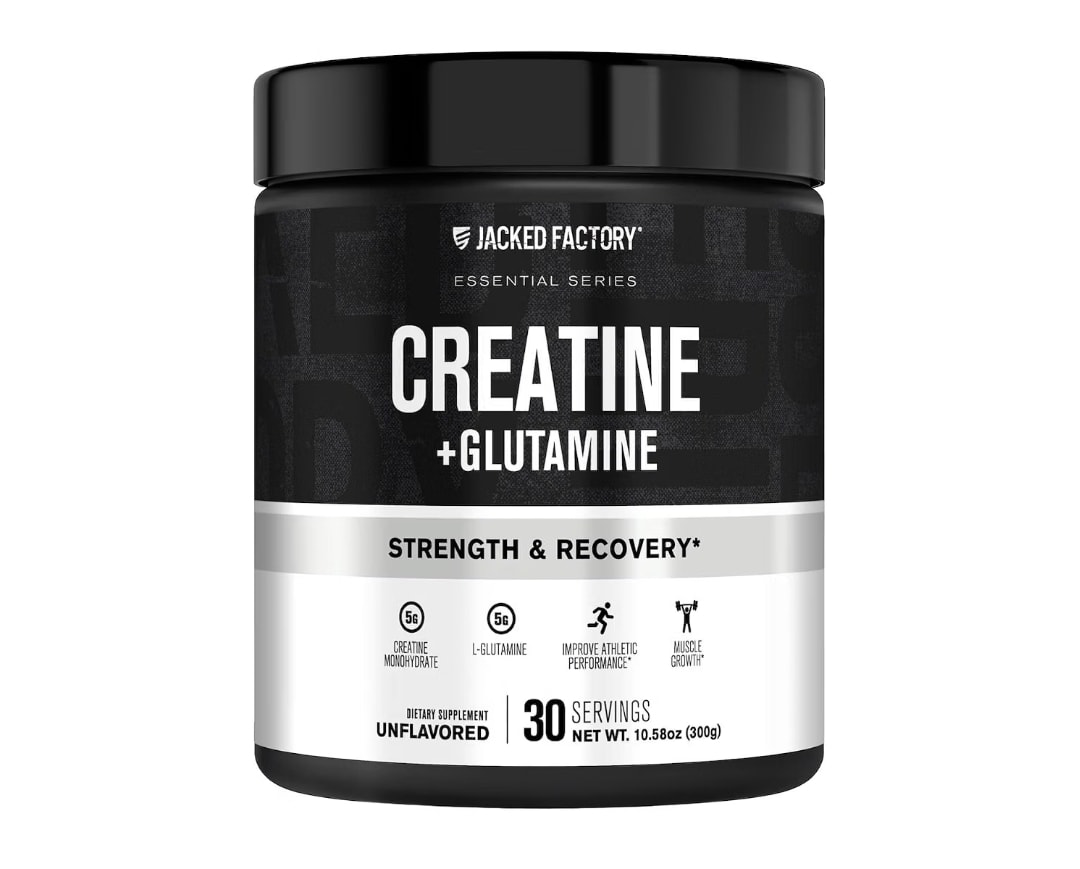
Jacked Factory Creatine + Glutamine — Strength & Recovery Supplement
5g creatine monohydrate and 5g L-glutamine per serving, unflavoured, 30 servings. Mixes cleanly into any liquid — or straight into an egg mix for a post-workout omelette.
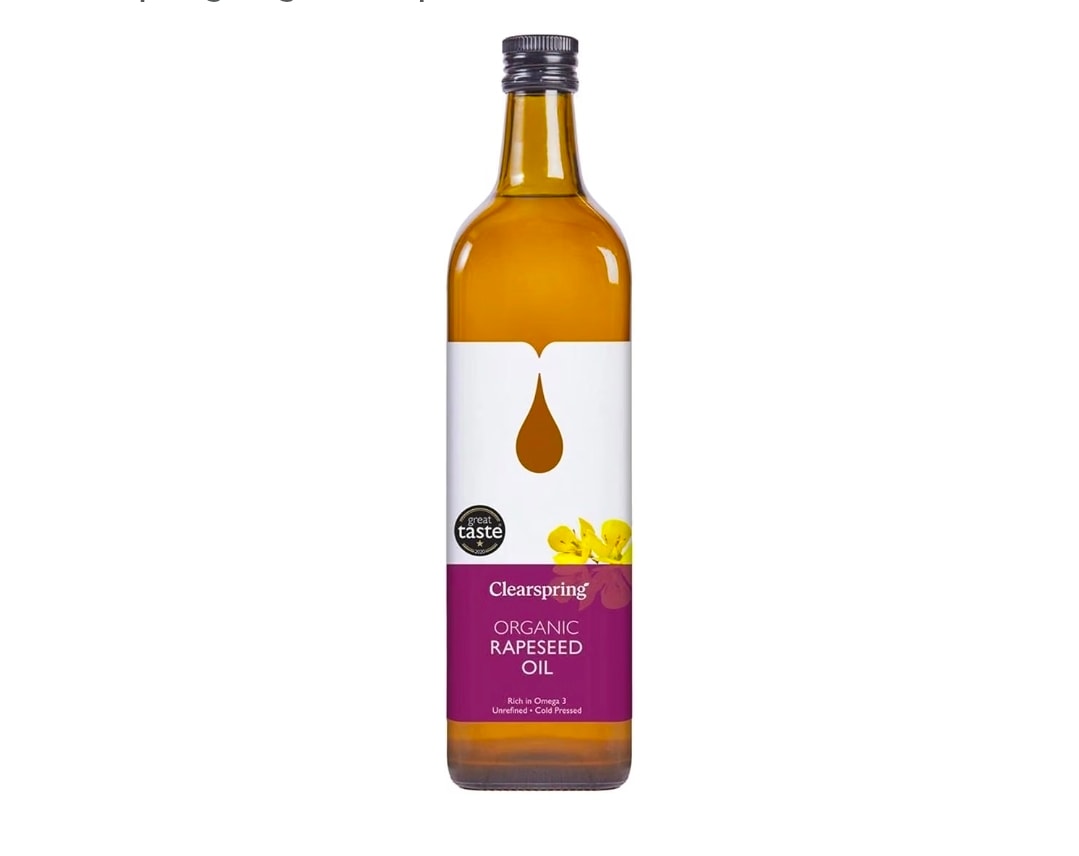
Clearspring Organic Rapeseed Oil 1 L
Cold pressed and unrefined — this is the oil I reach for when I want something lighter than olive oil but just as clean. Rich in Omega 3, beautiful golden colour, and a Great Taste Award winner. Wonderful for dressings, light sautéing, and baking.
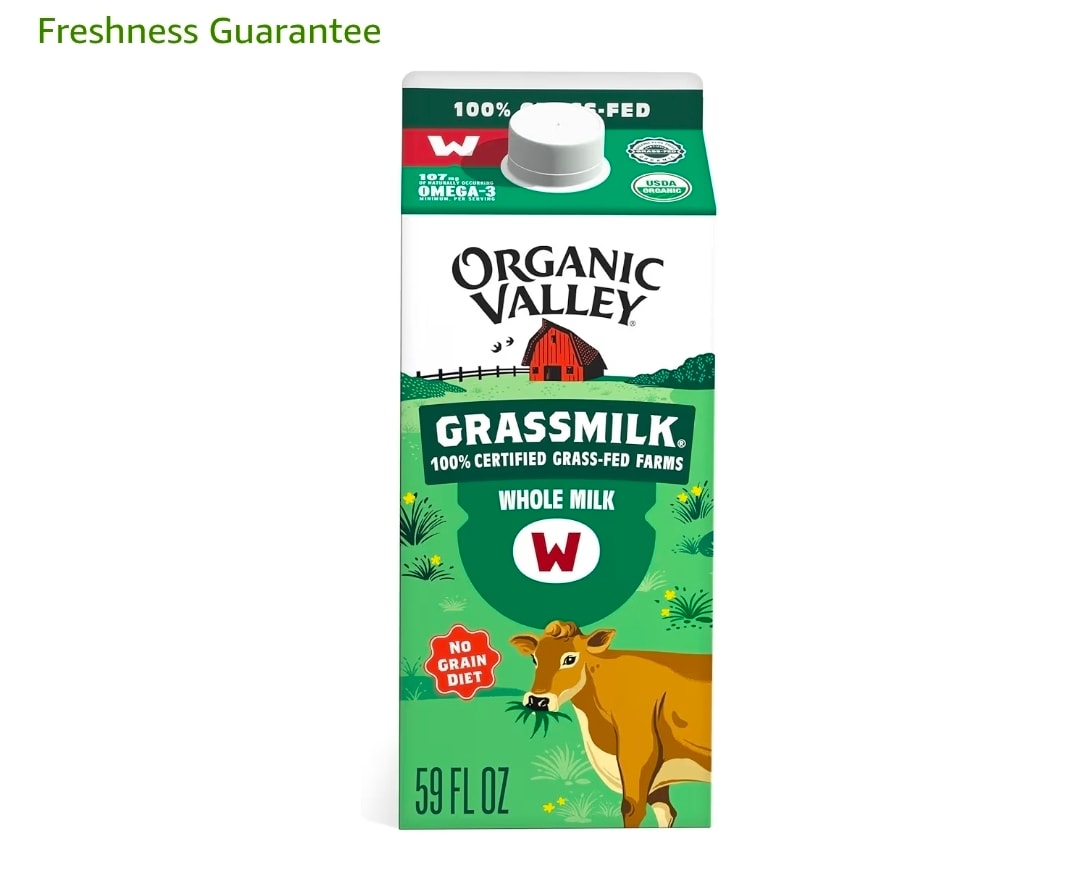
Organic Valley® Grassmilk® 100% Grass-Fed Whole Milk, 59 fl oz
100% grass-fed · USDA Organic · No grain diet · Higher omega-3s